Text Behind and In Front of a Person: Typography Poster Tutorial
Combine background blur, portrait curves, silver dimensional type and perspective. Use matching type layers and a painted layer mask to weave lettering behind the portrait and in front of the jacket.
Pause at each step and follow the shortcuts on screen. The practice files contain separate source layers; the video is a recorded UI demonstration.
Watch the vertical Shorts tutorial
English subtitles (SRT)Steps
-
Create the document and place the city
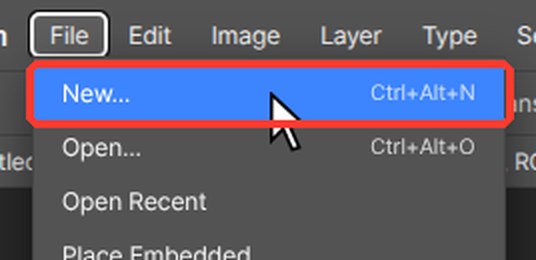
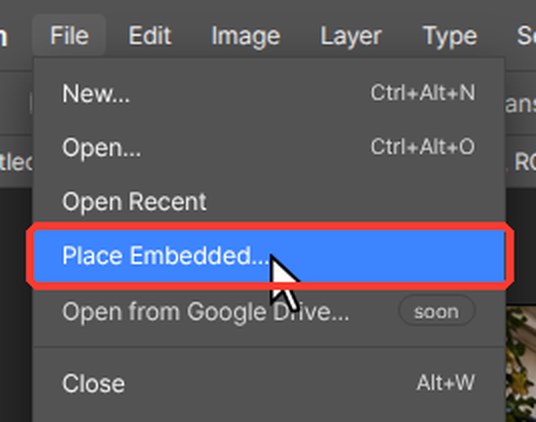
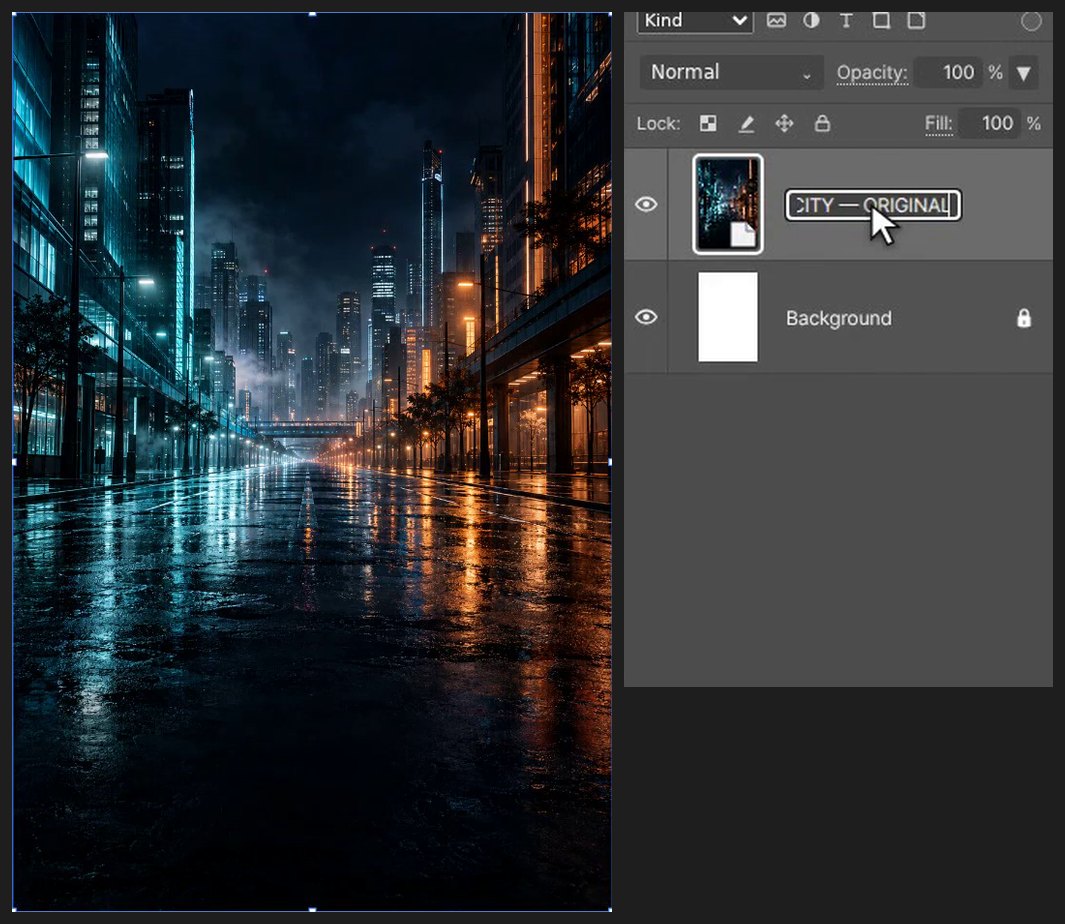
Press Ctrl+Alt+N (or File > New…). Type 1024 in Width and 1536 in Height, then click Create. Choose File > Place Embedded… and pick 02_BACKGROUND.png. Drag inside the box to move it and drag a corner handle to resize it. Press Enter (or double-click the image) to finish.
-
Blur a copy of the background
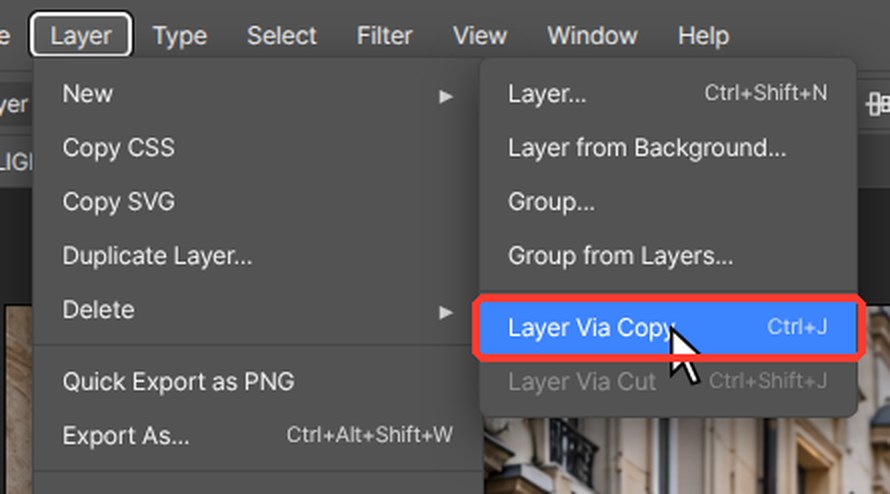
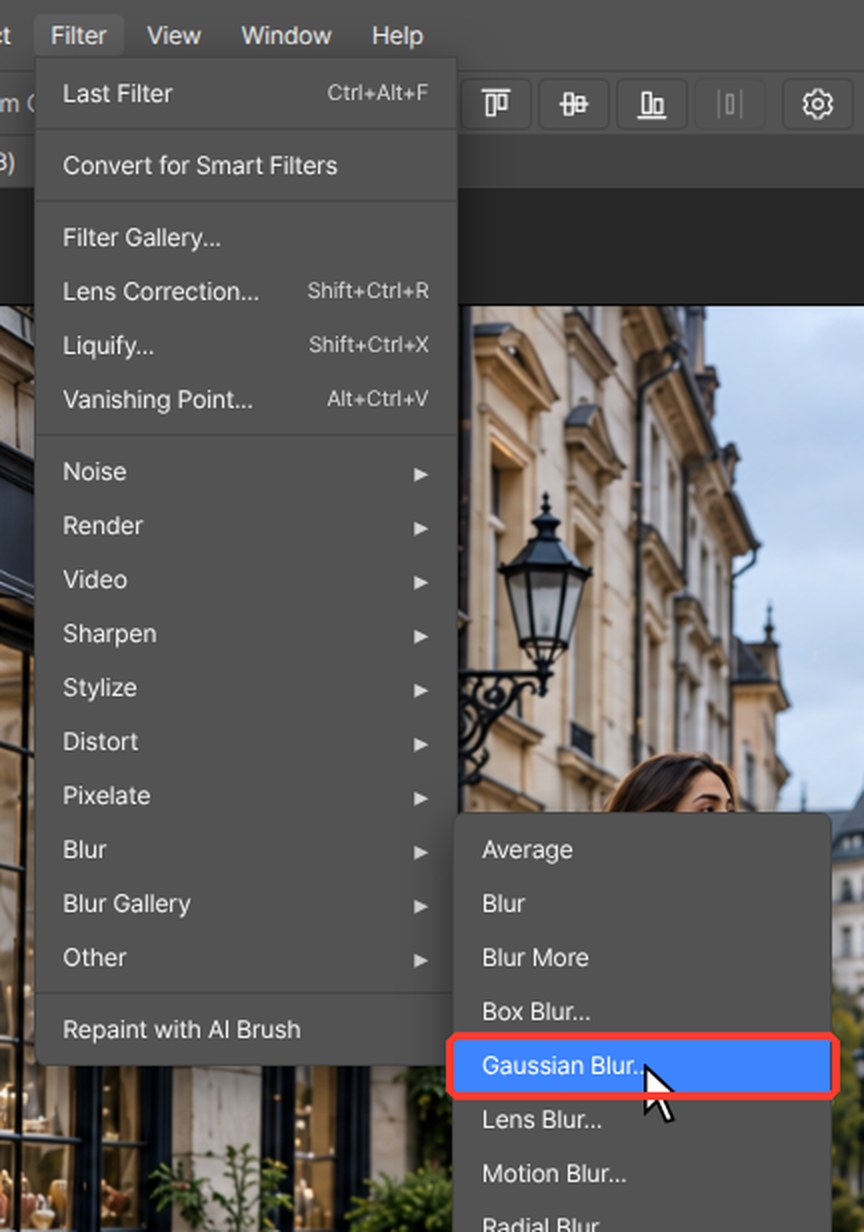
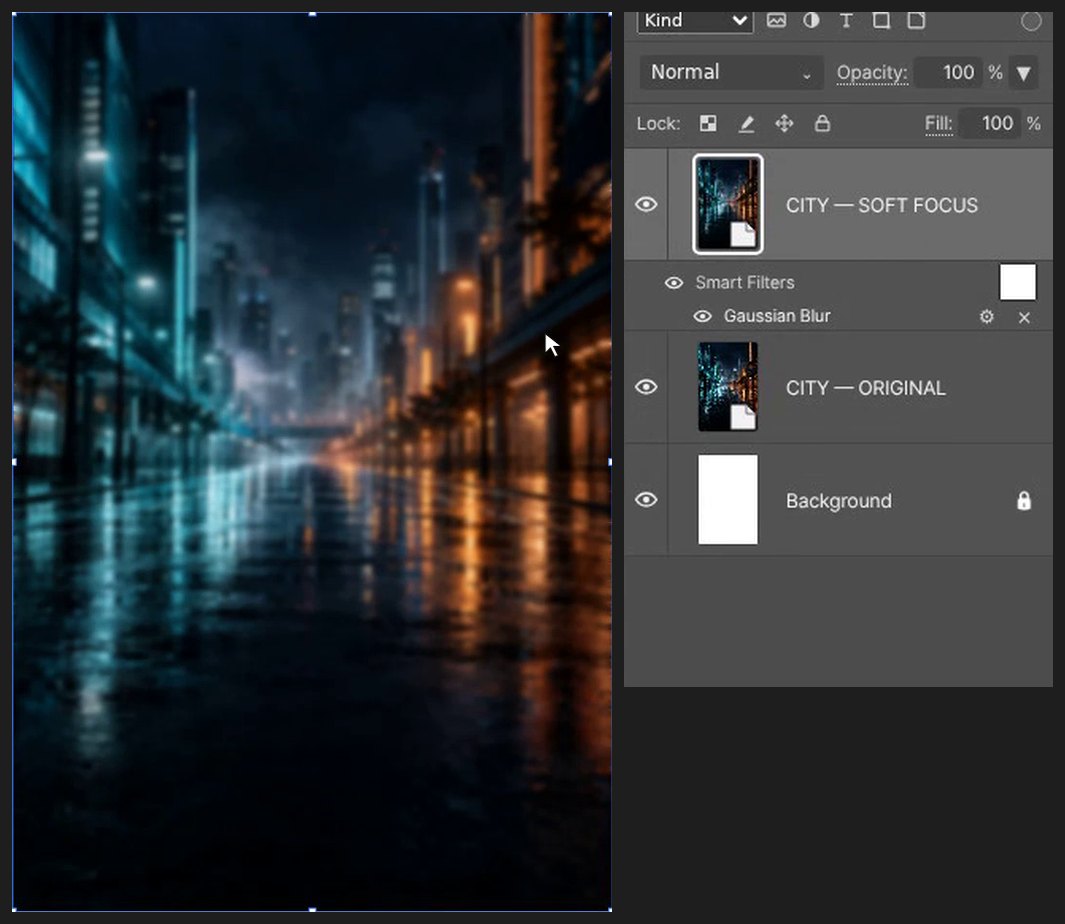
Press Ctrl+J (Layer > New > Layer Via Copy) to keep the original. Choose Filter > Blur > Gaussian Blur…, set a small Radius so the city goes soft, and click OK.
-
Type the big words
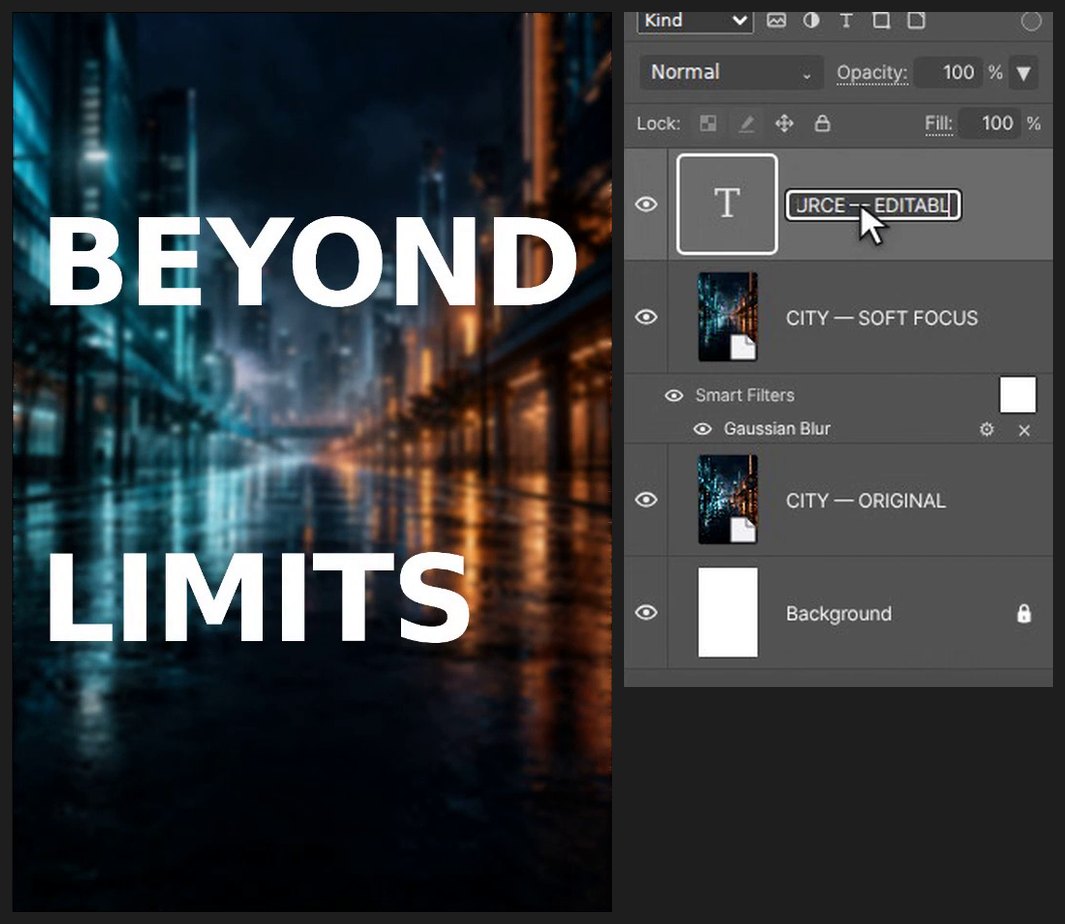
Press D, then X so white is the foreground color. Press T for the Type tool, click on the canvas and type BEYOND, press Enter, and type LIMITS. Press Ctrl+Enter to finish. In the Character panel set the size to 205 px, tracking -5 and leading 2.8.
-
Give the letters a silver edge
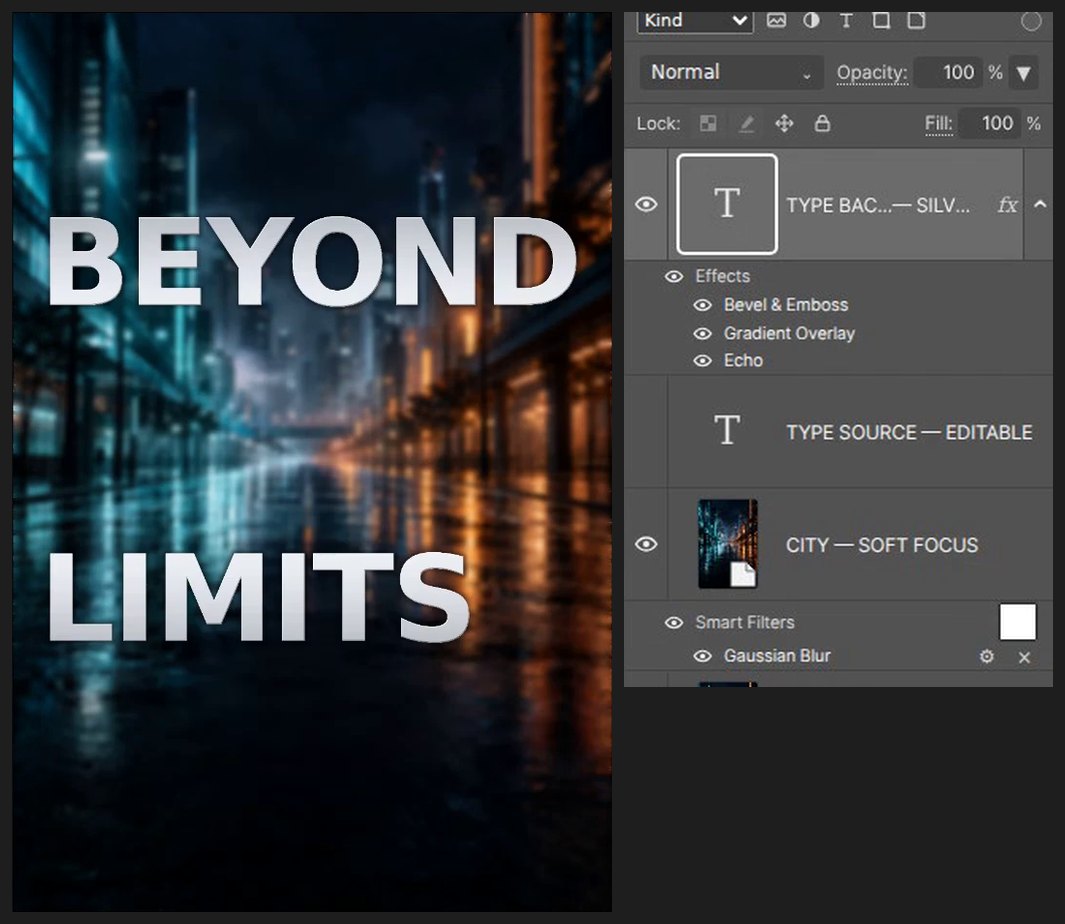
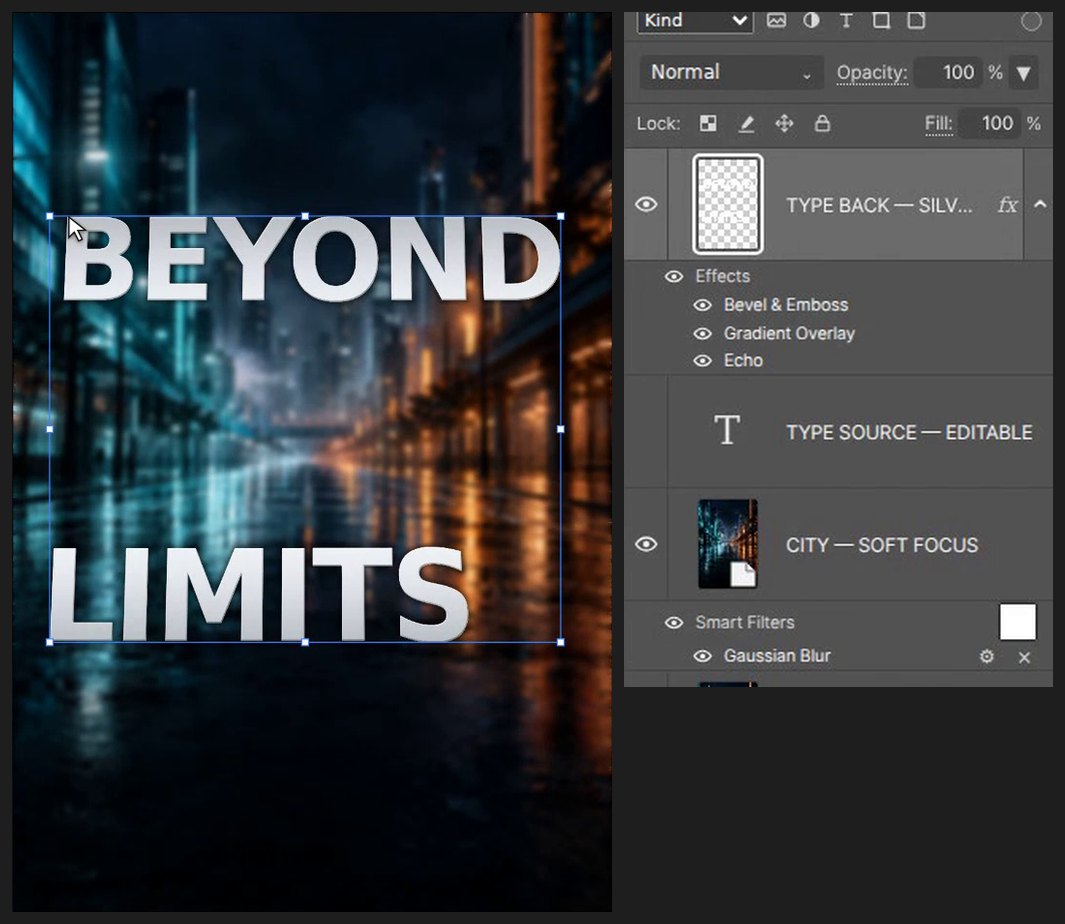
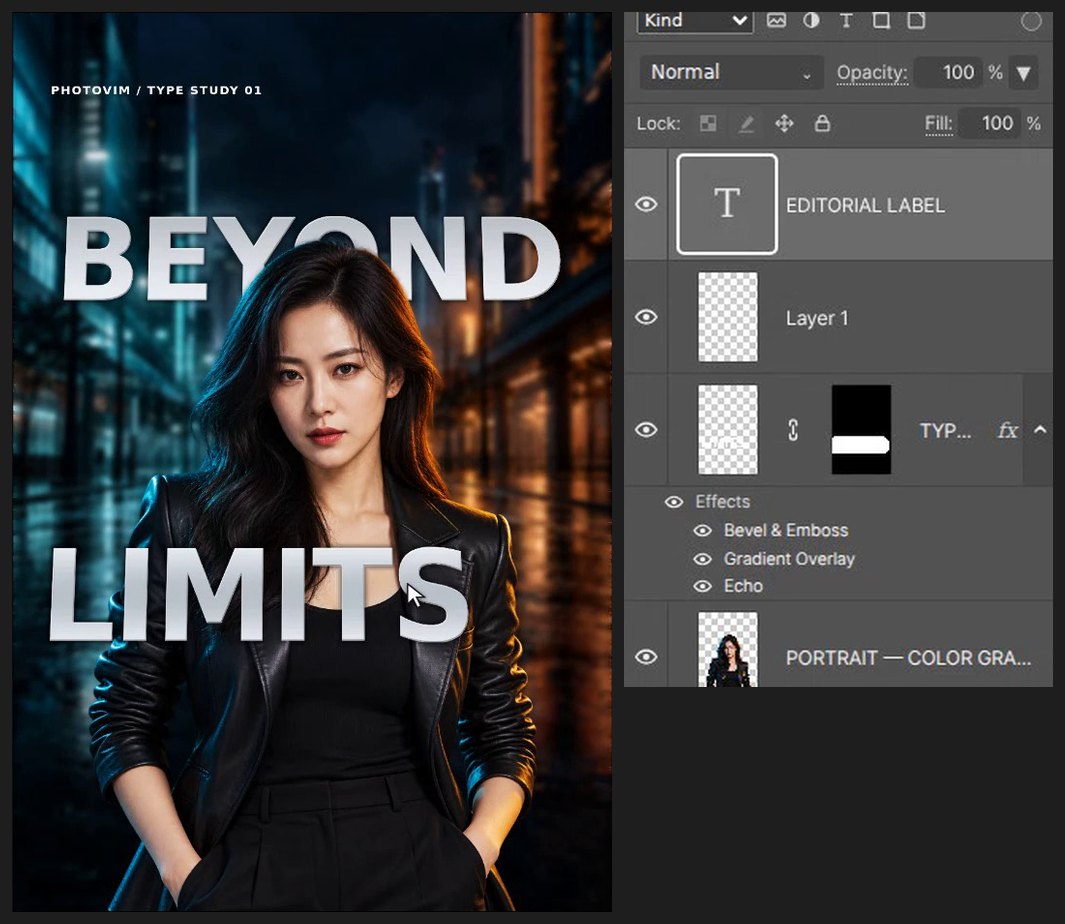
Press Ctrl+J to keep an editable copy. Click the fx button at the bottom of the Layers panel and add Bevel & Emboss (2 px, depth 110%), Gradient Overlay (Silver) and a subtle Echo.
-
Tilt the words
Press Ctrl+T, right-click inside the box and choose Perspective. Drag a top corner inward a little, then press Enter.
-
Make front and back copies
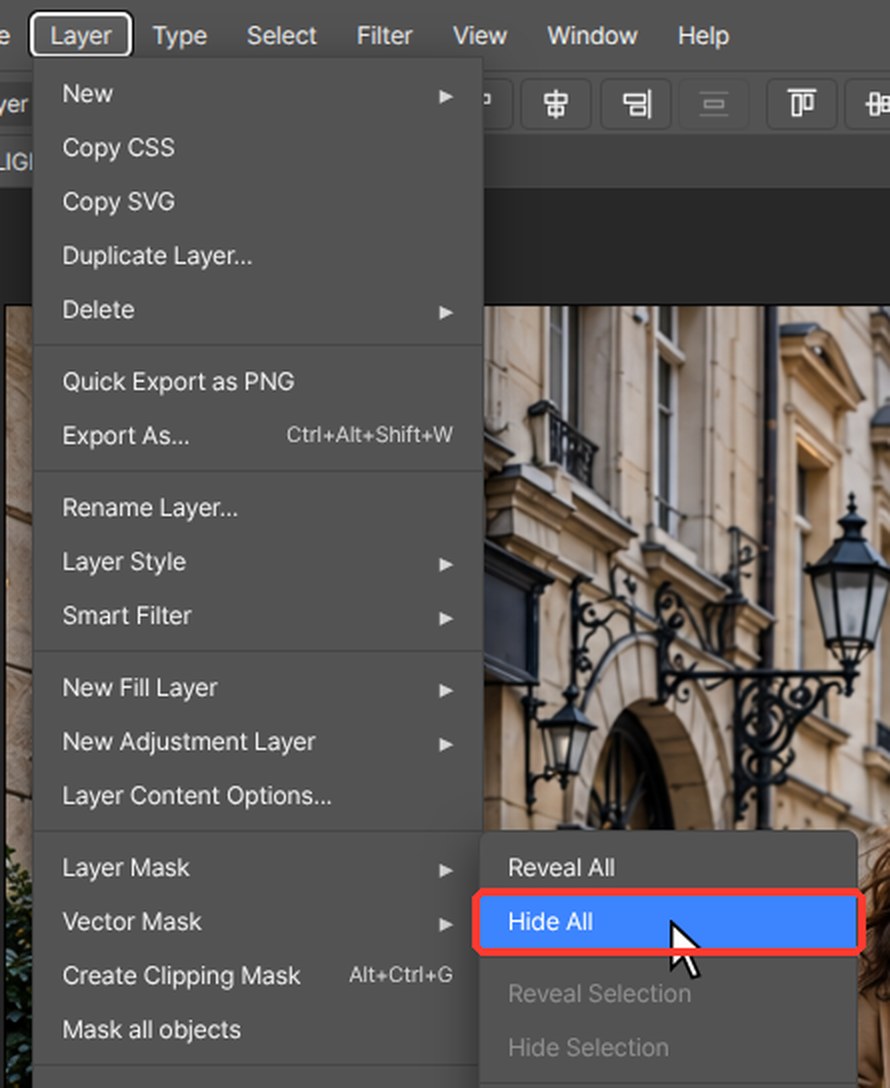
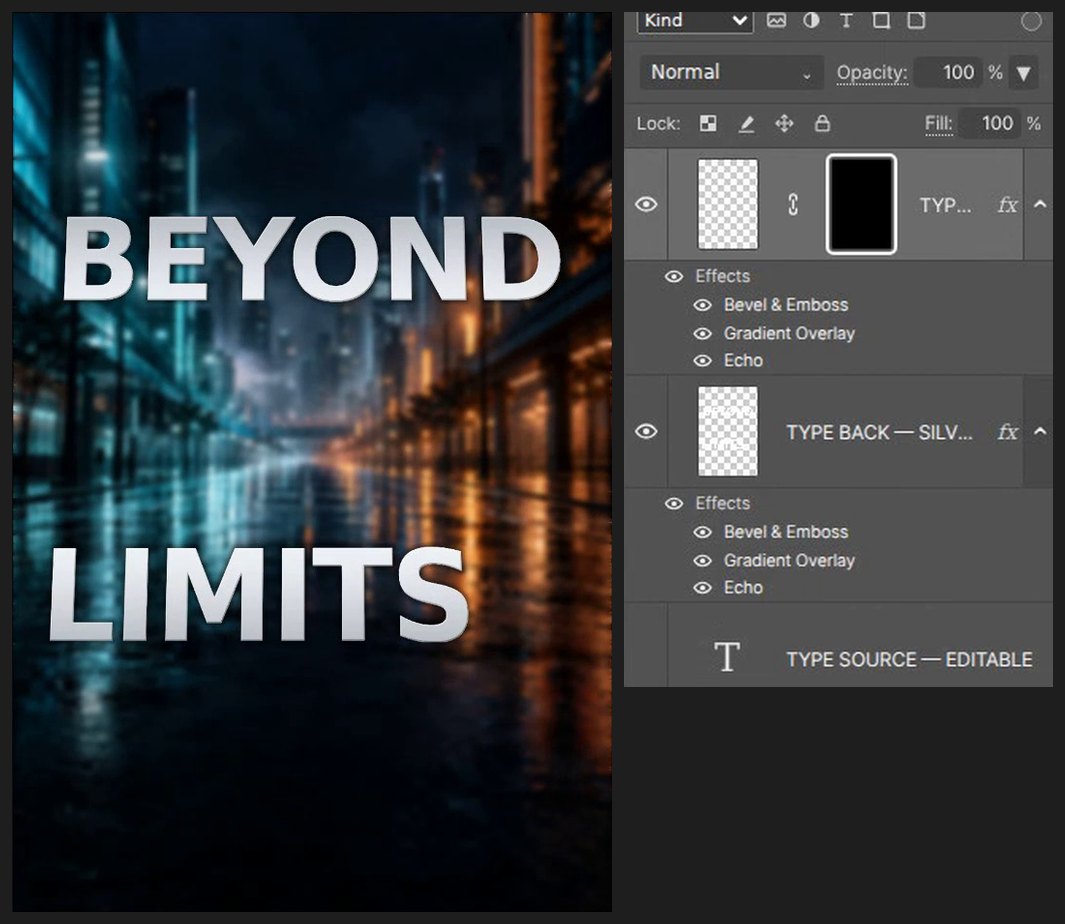
Press Ctrl+J to make a second copy of the type. Hold Alt and click the Add mask button at the bottom of the Layers panel. You get a black mask that hides the whole layer (same as Layer > Layer Mask > Hide All).
-
Place the person between the words
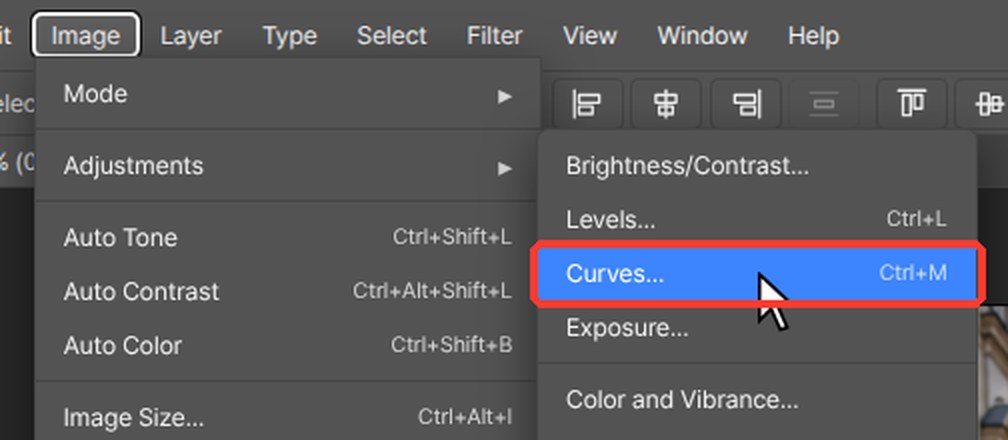
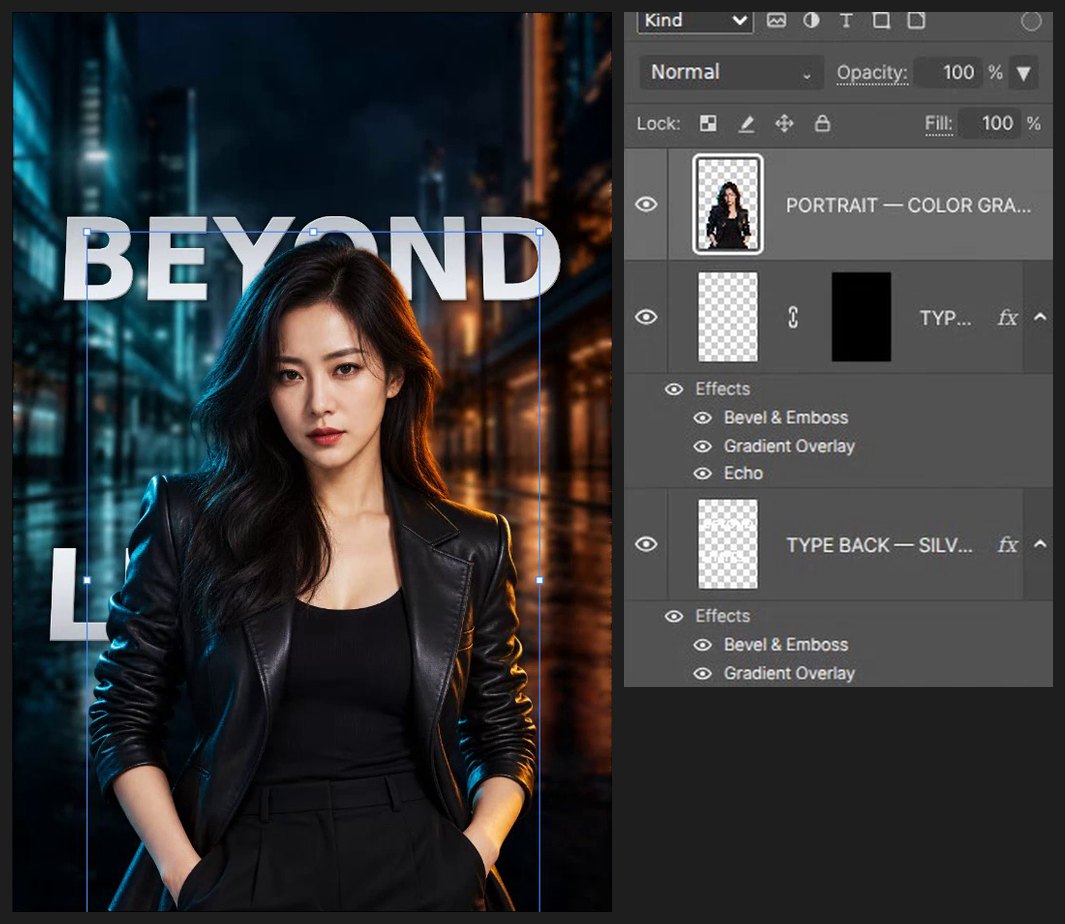
Choose File > Place Embedded… and pick 01_PERSON_TRANSPARENT.png. Drag inside the box to move it and drag a corner handle to resize it. Press Enter (or double-click the image) to finish. Press Ctrl+M for Curves and give her face cleaner contrast.
-
Bring some letters in front
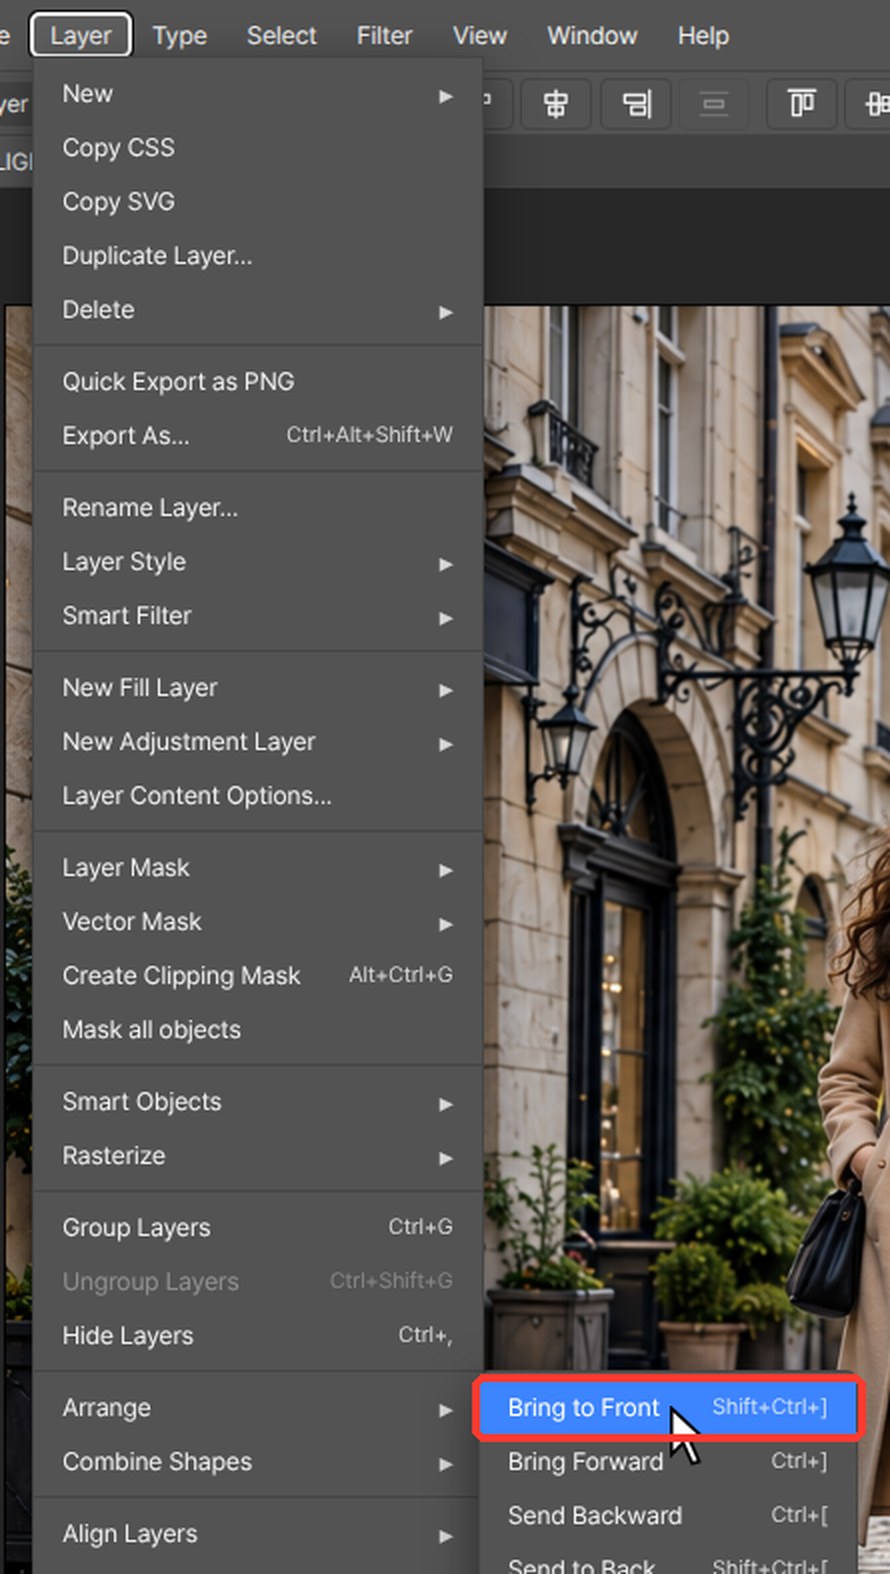
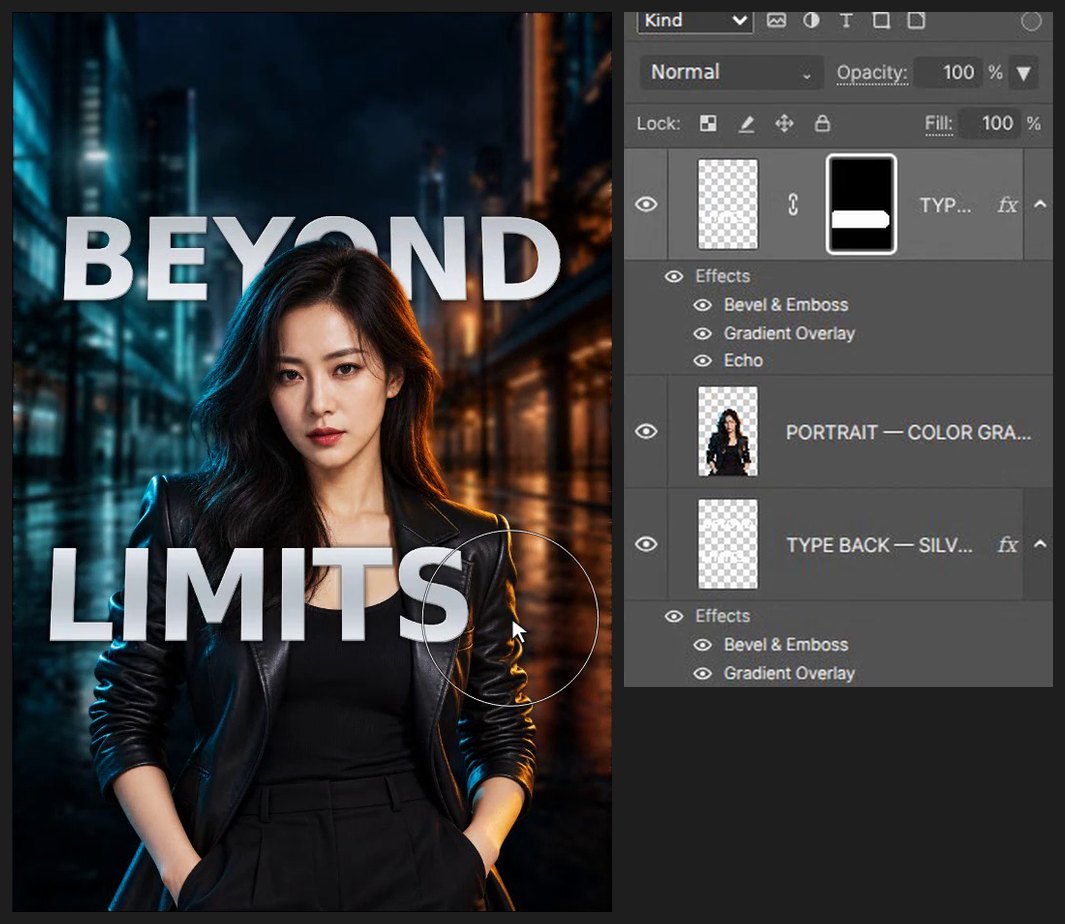
Click the black mask of the front copy. Press B, press X for white, set Size to 300 and paint over the lower word so it shows in front of the jacket. Choose Layer > Arrange > Bring to Front (Ctrl+Shift+]) so the copy sits above her.
-
Check and save
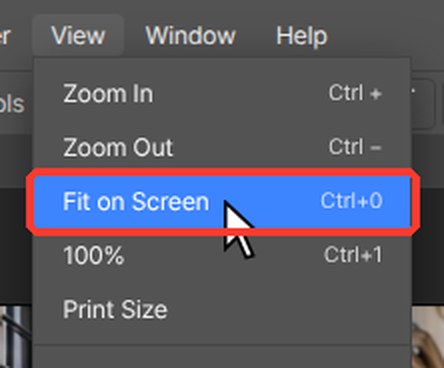
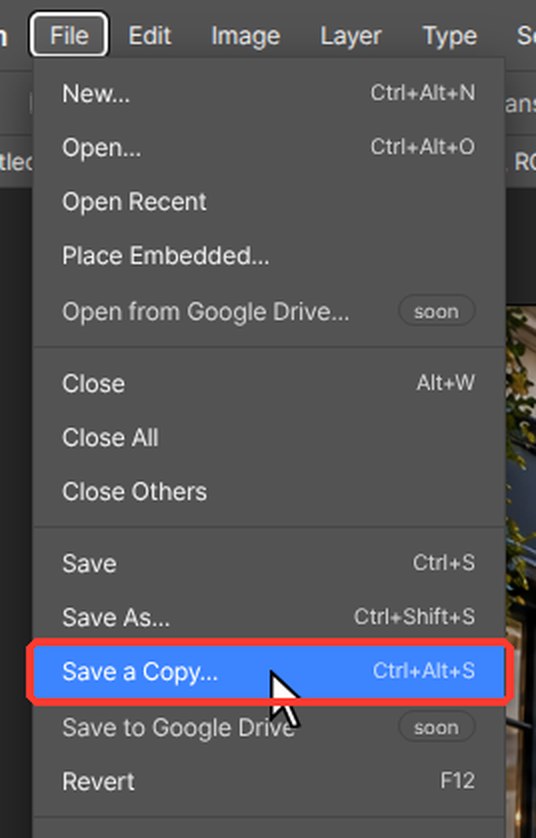
Press Z for the Zoom tool and click on the area you want to check. Press Ctrl+0 (View > Fit on Screen) to see the whole picture again. Press Ctrl+Alt+S (File > Save a Copy…) and choose PSD to keep an editable layered copy.
Keep an editable source type layer before perspective rasterizes the result. Use the native PhotoVim project to preserve PhotoVim-specific effects such as Echo.
Questions
Do I need Photoshop for this tutorial?
No. Every step is done in PhotoVim in your browser, with nothing to install. Menu names and shortcuts follow Photoshop, so the steps look familiar if you already use it.
How do the letters go both behind and in front of the person?
Two copies of the type sit above and below the portrait. The top copy has a black mask, and painting white on it reveals only the letters that should cross in front of the jacket.