Dreamy Portrait Poster: Contrast, Color Grading and Dimensional Text
Transform a muted portrait with S-curve contrast and color balance, selective background blur, painted light, gradient type, bevel, Echo depth and perspective. Follow a real editing recording with settings, shortcuts and practice files.
Pause at each step and follow the shortcuts on screen. The practice files contain separate source layers; the video is a recorded UI demonstration.
Watch the vertical Shorts tutorial
English subtitles (SRT)Steps
-
Create the document and place the photo
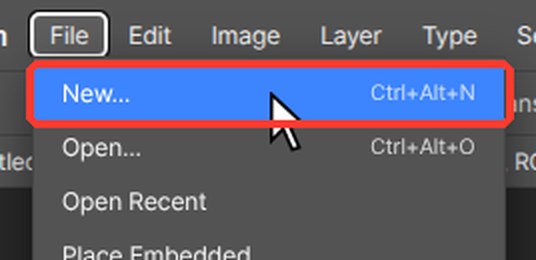
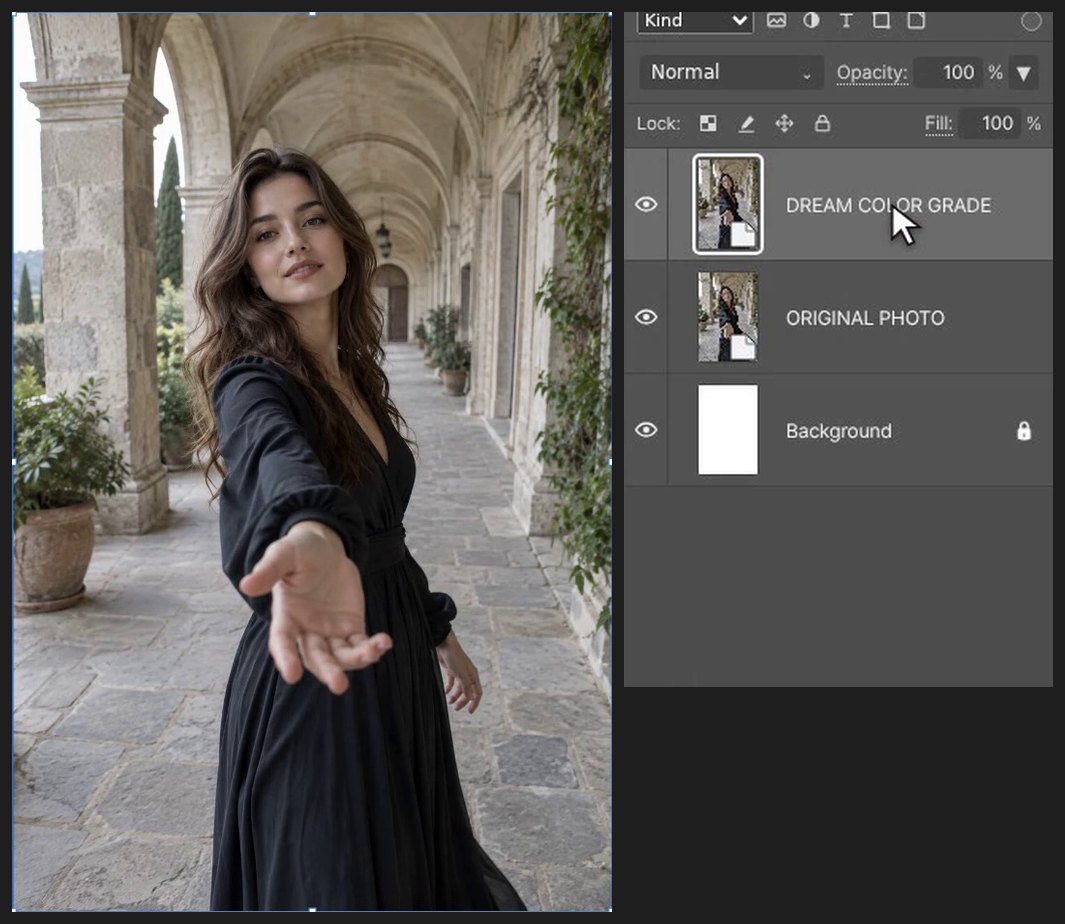
Press Ctrl+Alt+N (or File > New…). Type 1024 in Width and 1536 in Height, then click Create. Choose File > Place Embedded… and pick ORIGINAL.png. Drag inside the box to move it and drag a corner handle to resize it. Press Enter (or double-click the image) to finish. Press Ctrl+J to keep the original.
-
Add contrast with an S curve
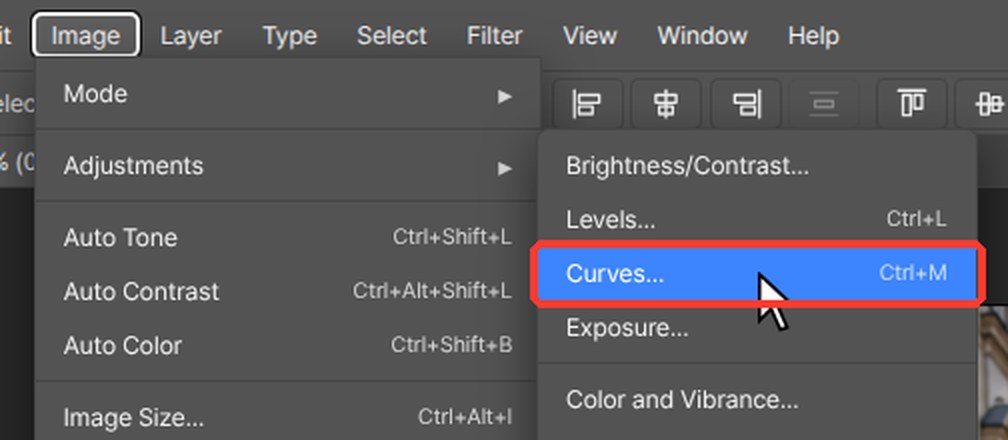
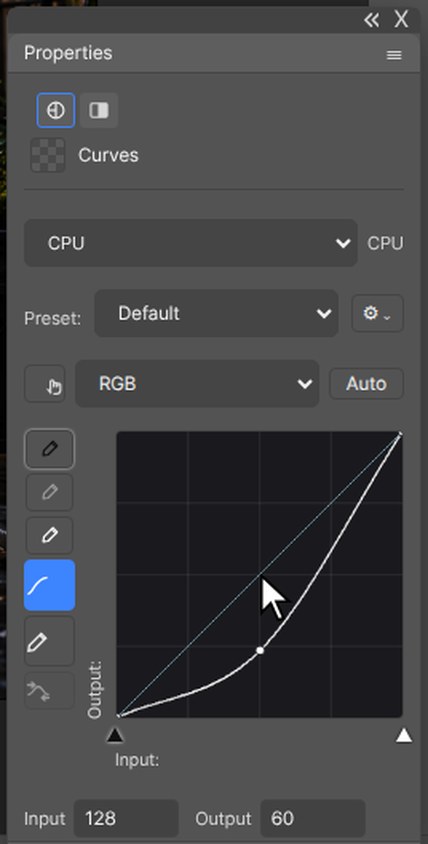
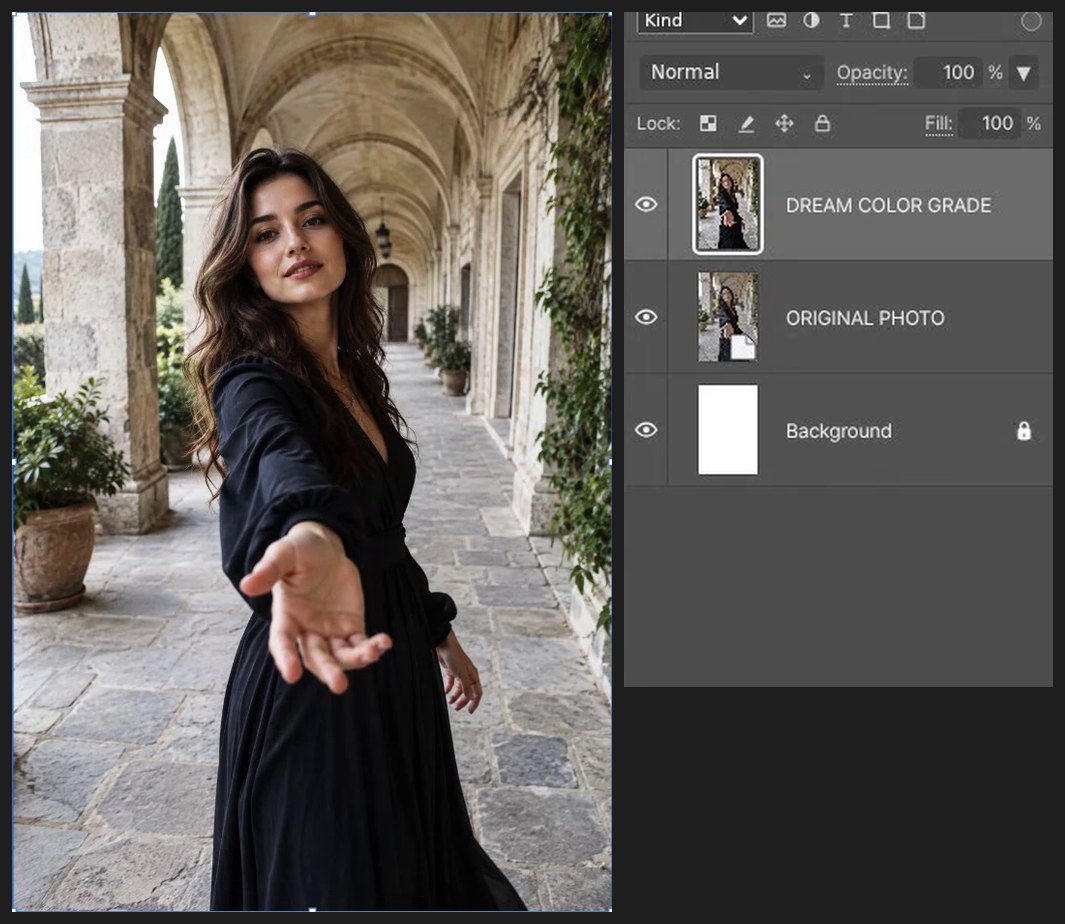
Press Ctrl+M for Curves. Drag the lower part of the line down (64 to 43) and the upper part up (192 to 218). Turn Preview off and on to compare, then click OK.
-
Grade the colors
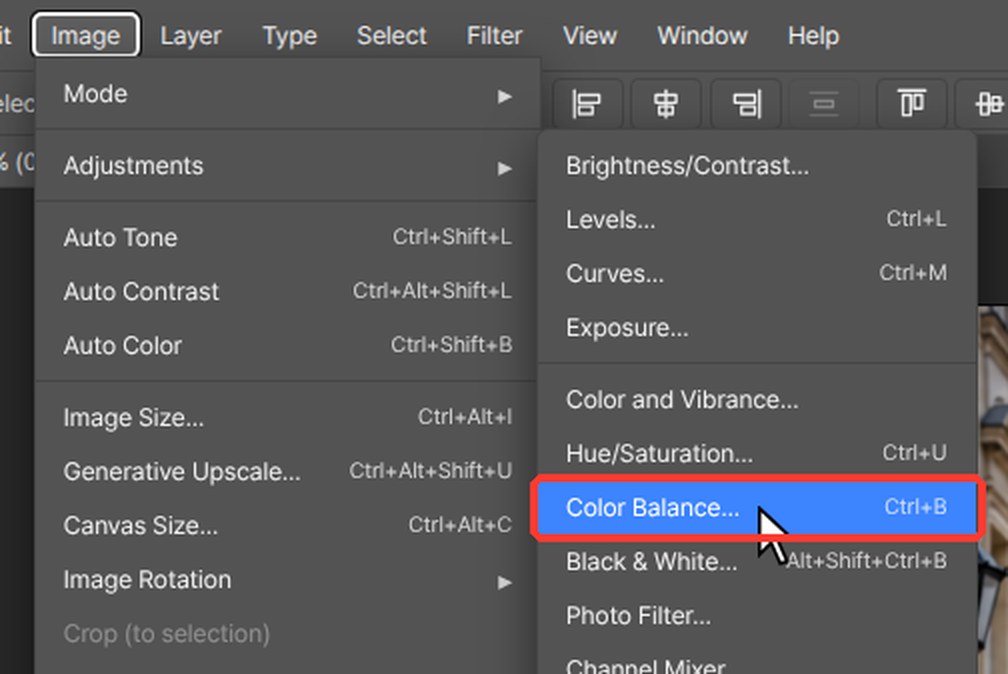
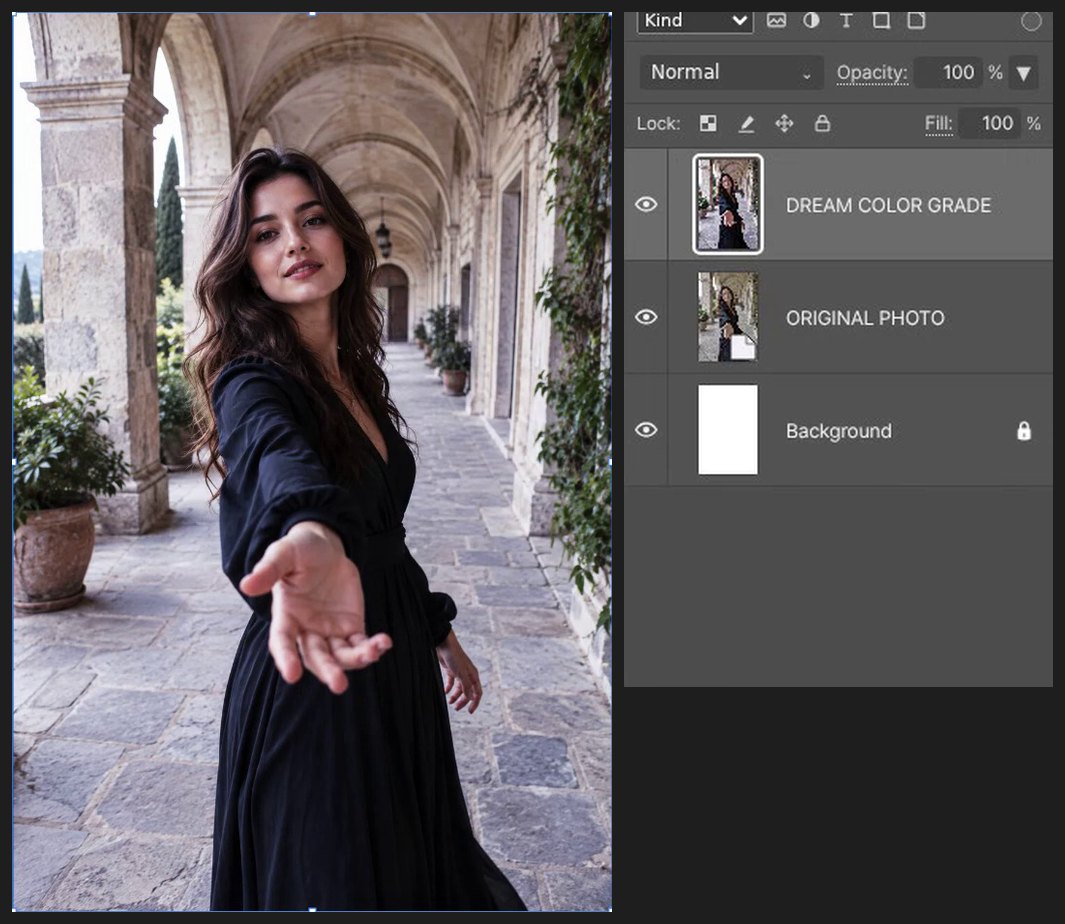
Press Ctrl+B for Color Balance. With Midtones selected type -12, -14 and +24, then click OK.
-
Blur the background around her
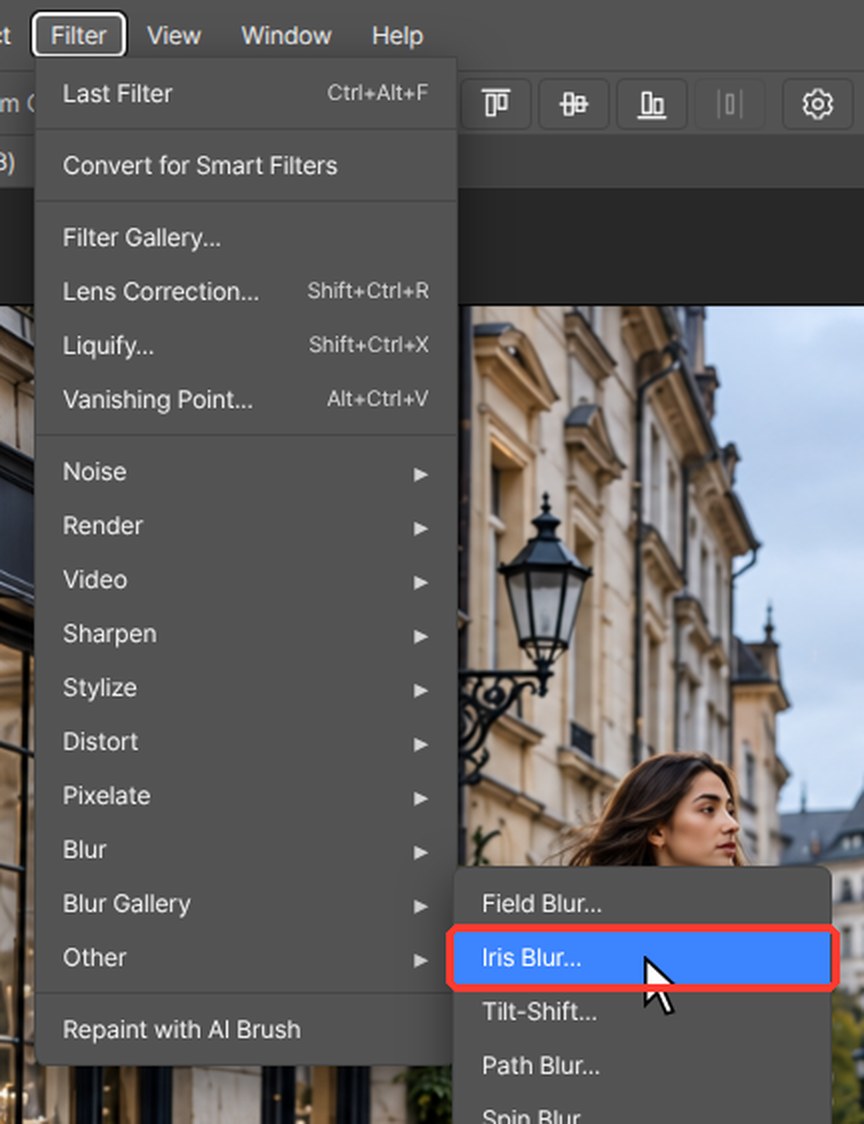
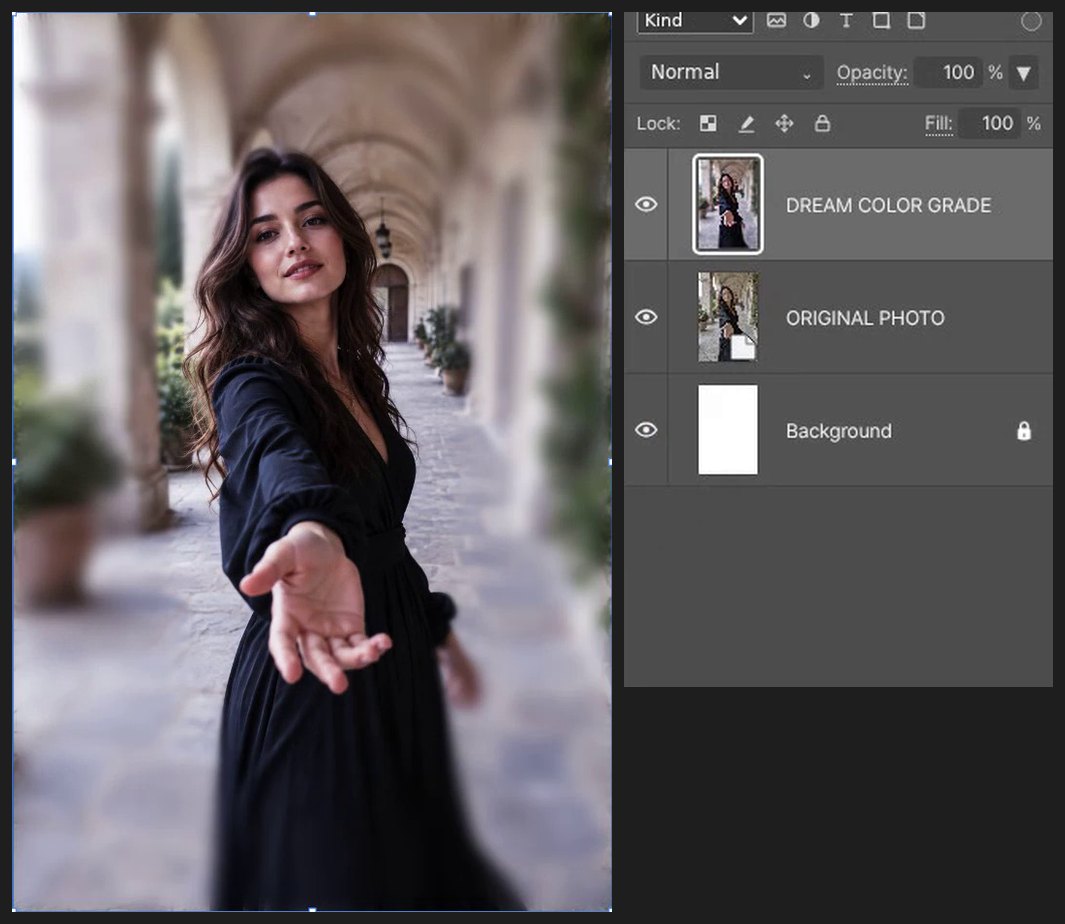
Choose Filter > Blur Gallery > Iris Blur. Set the blur to 14 px and drag the ellipse edge so her face and hand stay sharp. Press Enter.
-
Paint soft light
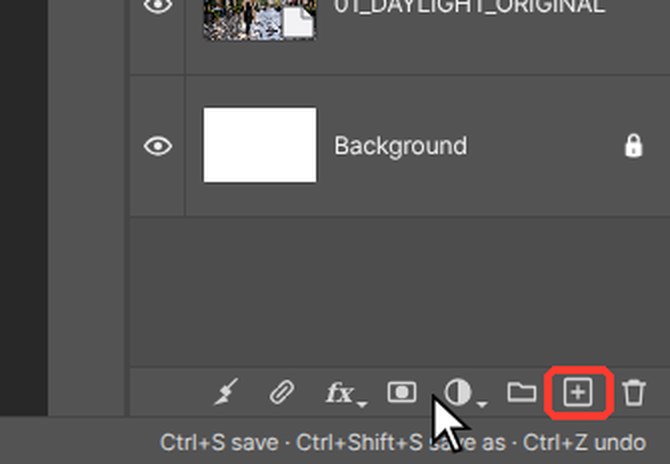
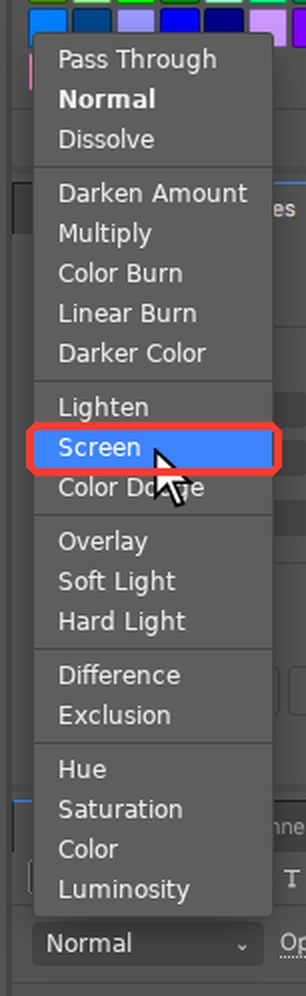
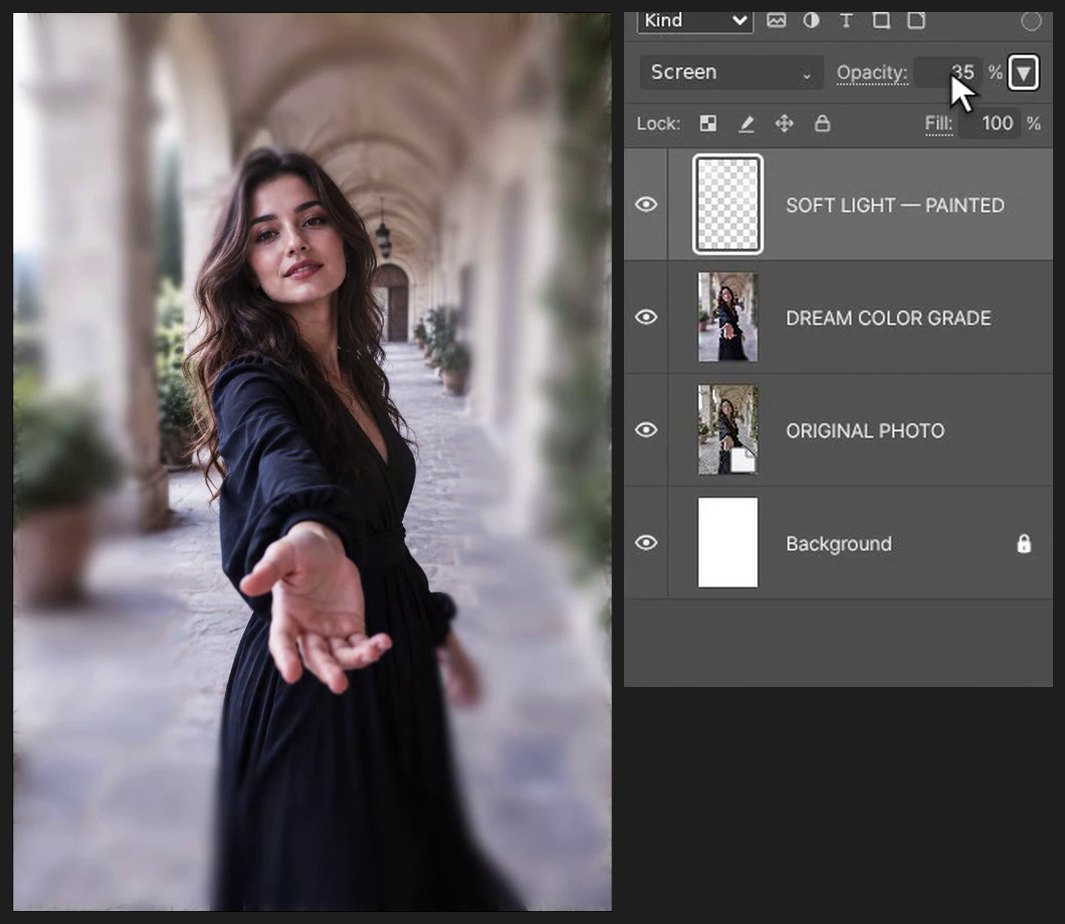
Click the Create a new layer button (the square with a plus sign) at the bottom of the Layers panel. Press B, set Hardness to 0% and paint soft white light in the background corners. Set the layer blend mode to Screen and Opacity to 35%.
-
Type the title with 3D styles
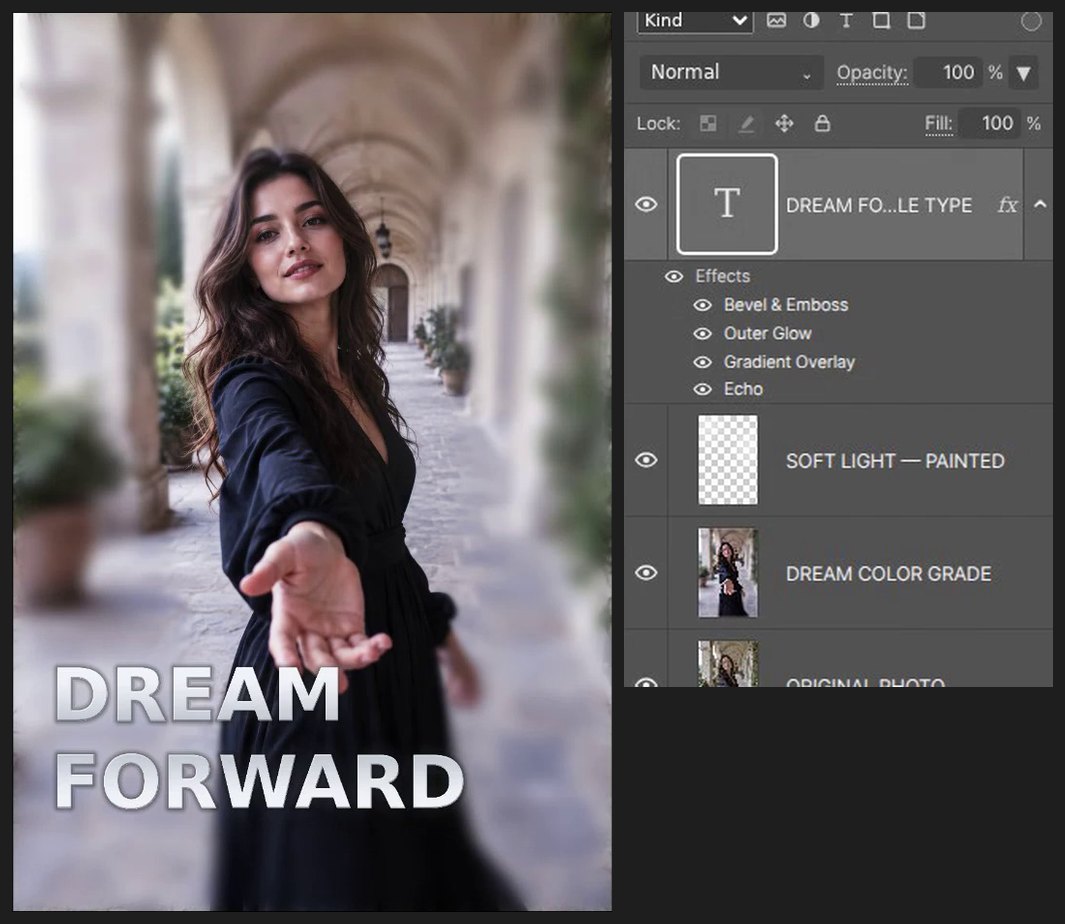
Press D, then X so white is the foreground color. Press T for the Type tool, click on the canvas and type DREAM FORWARD. Press Ctrl+Enter to finish. Click the fx button at the bottom of the Layers panel and add Bevel & Emboss (2 px, 110%), a Silver Gradient Overlay, a 12 px Outer Glow at 18% and 3 Echo layers.
-
Tilt the title
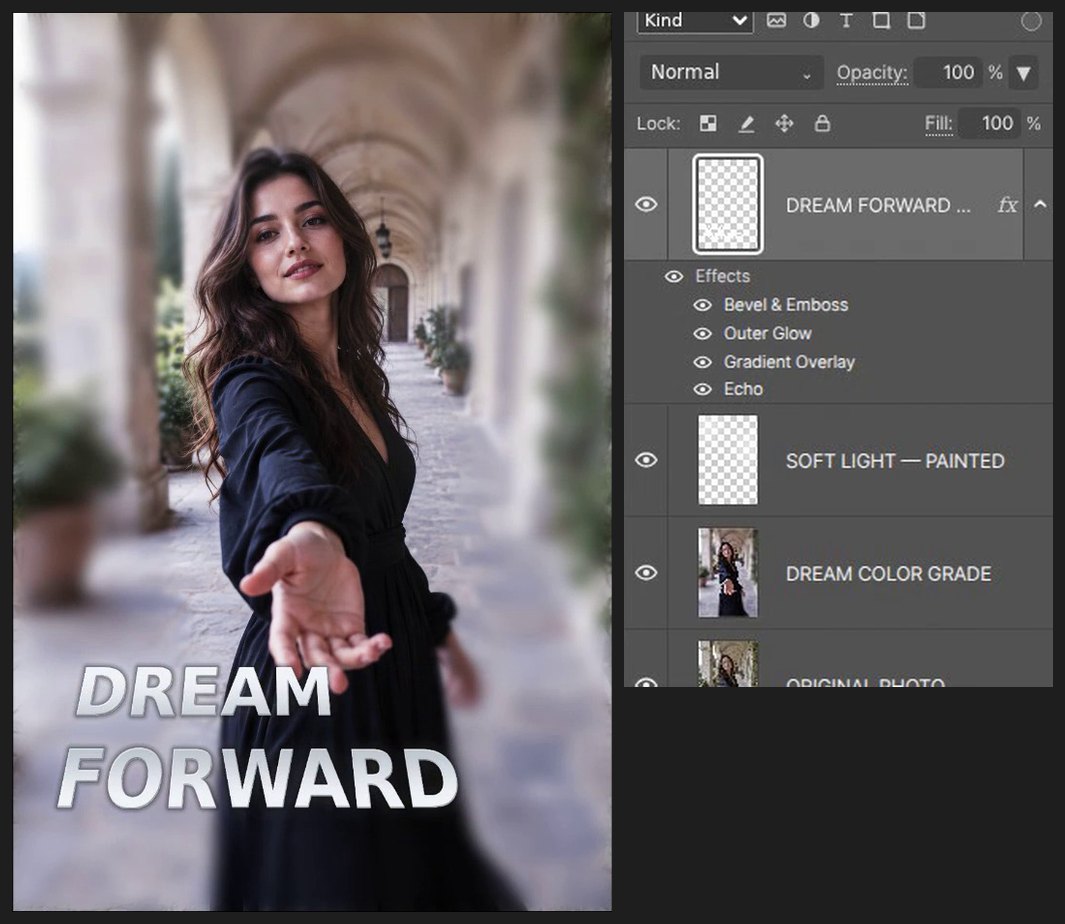
Press Ctrl+T, right-click inside the box and choose Perspective. Drag a top corner about 50 px inward and press Enter.
-
Save
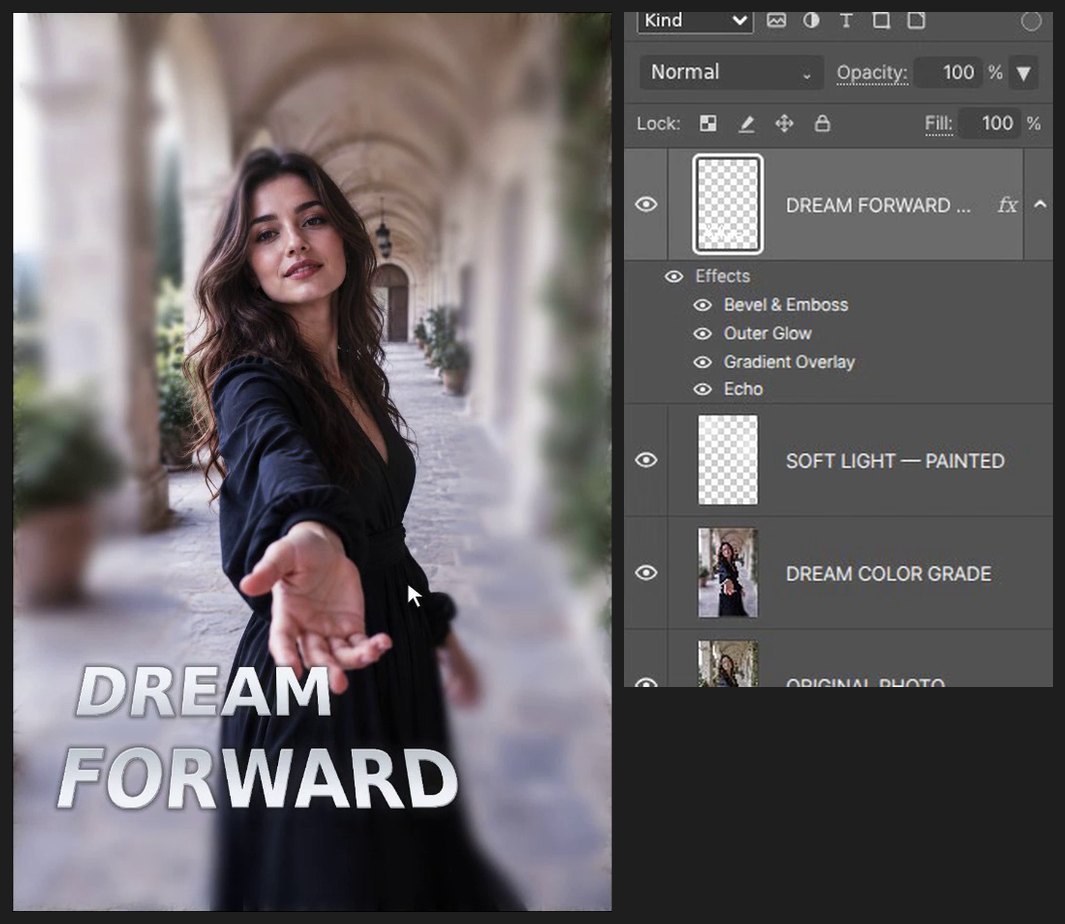
Press Ctrl+Alt+S (File > Save a Copy…) and choose PSD to keep an editable layered copy.
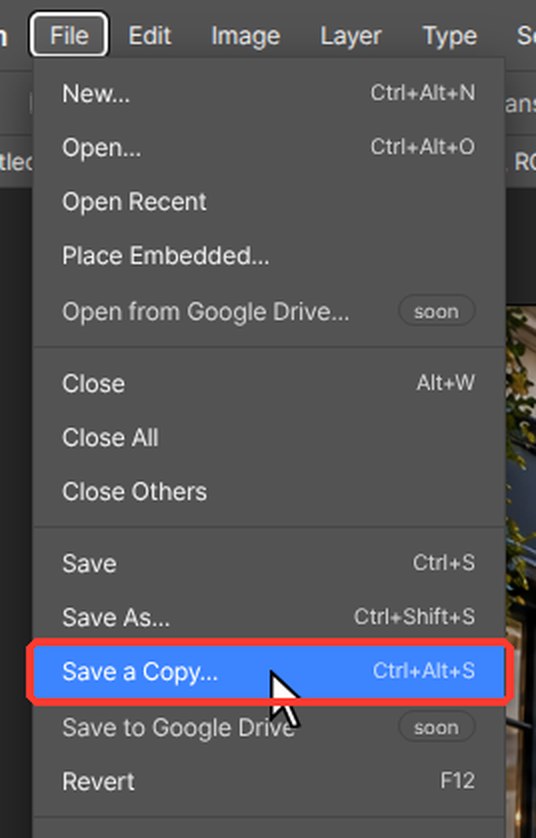
If a browser shortcut takes over, use the matching editor menu command. Keep the source files and practice on a copy.
Questions
Do I need Photoshop for this tutorial?
No. Every step is done in PhotoVim in your browser, with nothing to install. Menu names and shortcuts follow Photoshop, so the steps look familiar if you already use it.
Is the title a real 3D object?
No. The depth comes from layer styles — bevel, gradient, glow and echo layers — so the text stays editable.