Sneaker Powder Burst Ad with Shadows and Light Beams
Build a product ad from a transparent sneaker and red and blue powder layers. Add a soft floor shadow, light beams and front particles with masks, step by step.
Pause at each step and follow the shortcuts on screen. The practice files contain separate source layers; the video is a recorded UI demonstration.
Steps
-
Create a new document
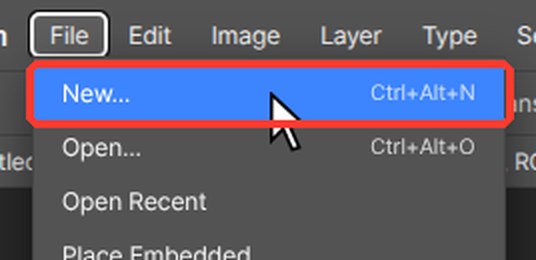
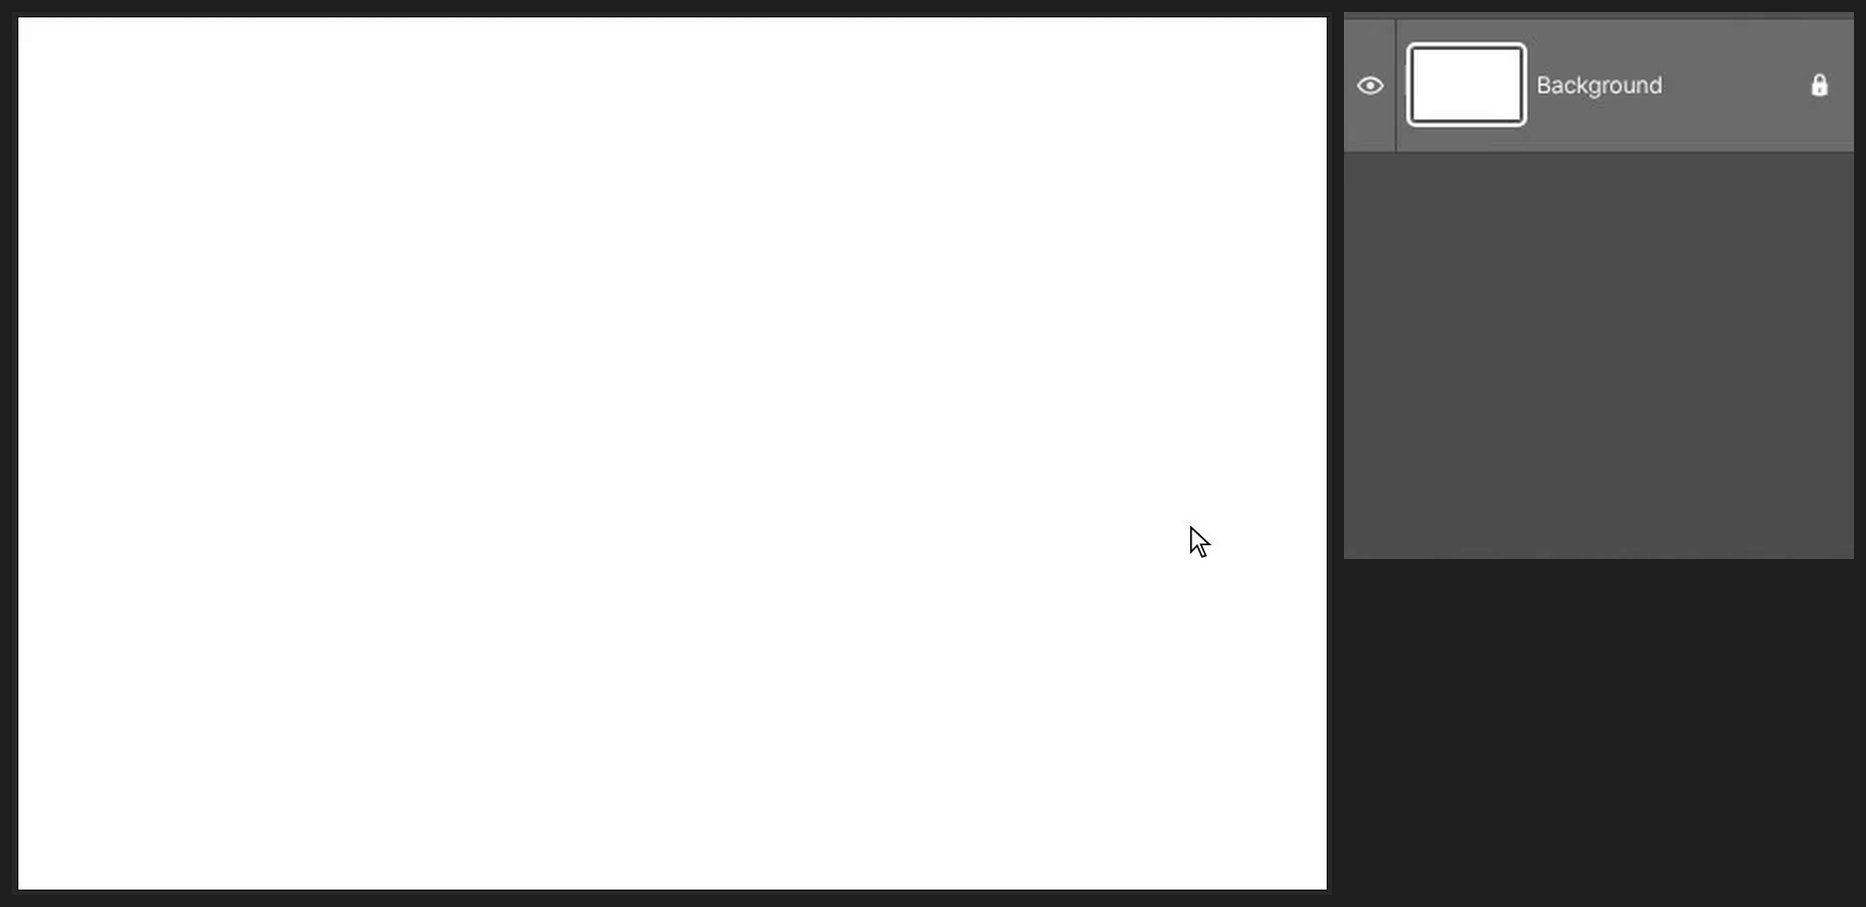
On the start screen click New document (or File > New…, Ctrl+Alt+N). Type 1536 in Width and 1024 in Height, then click Create.
-
Place the background
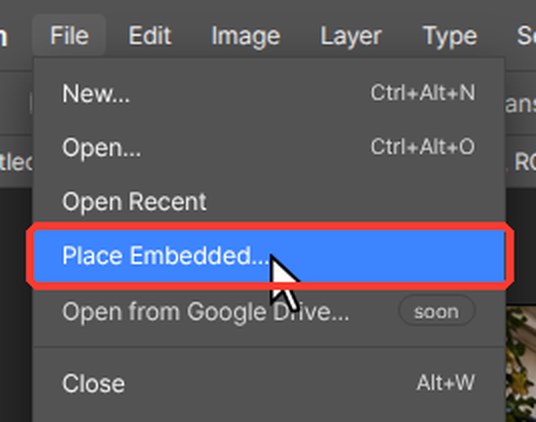
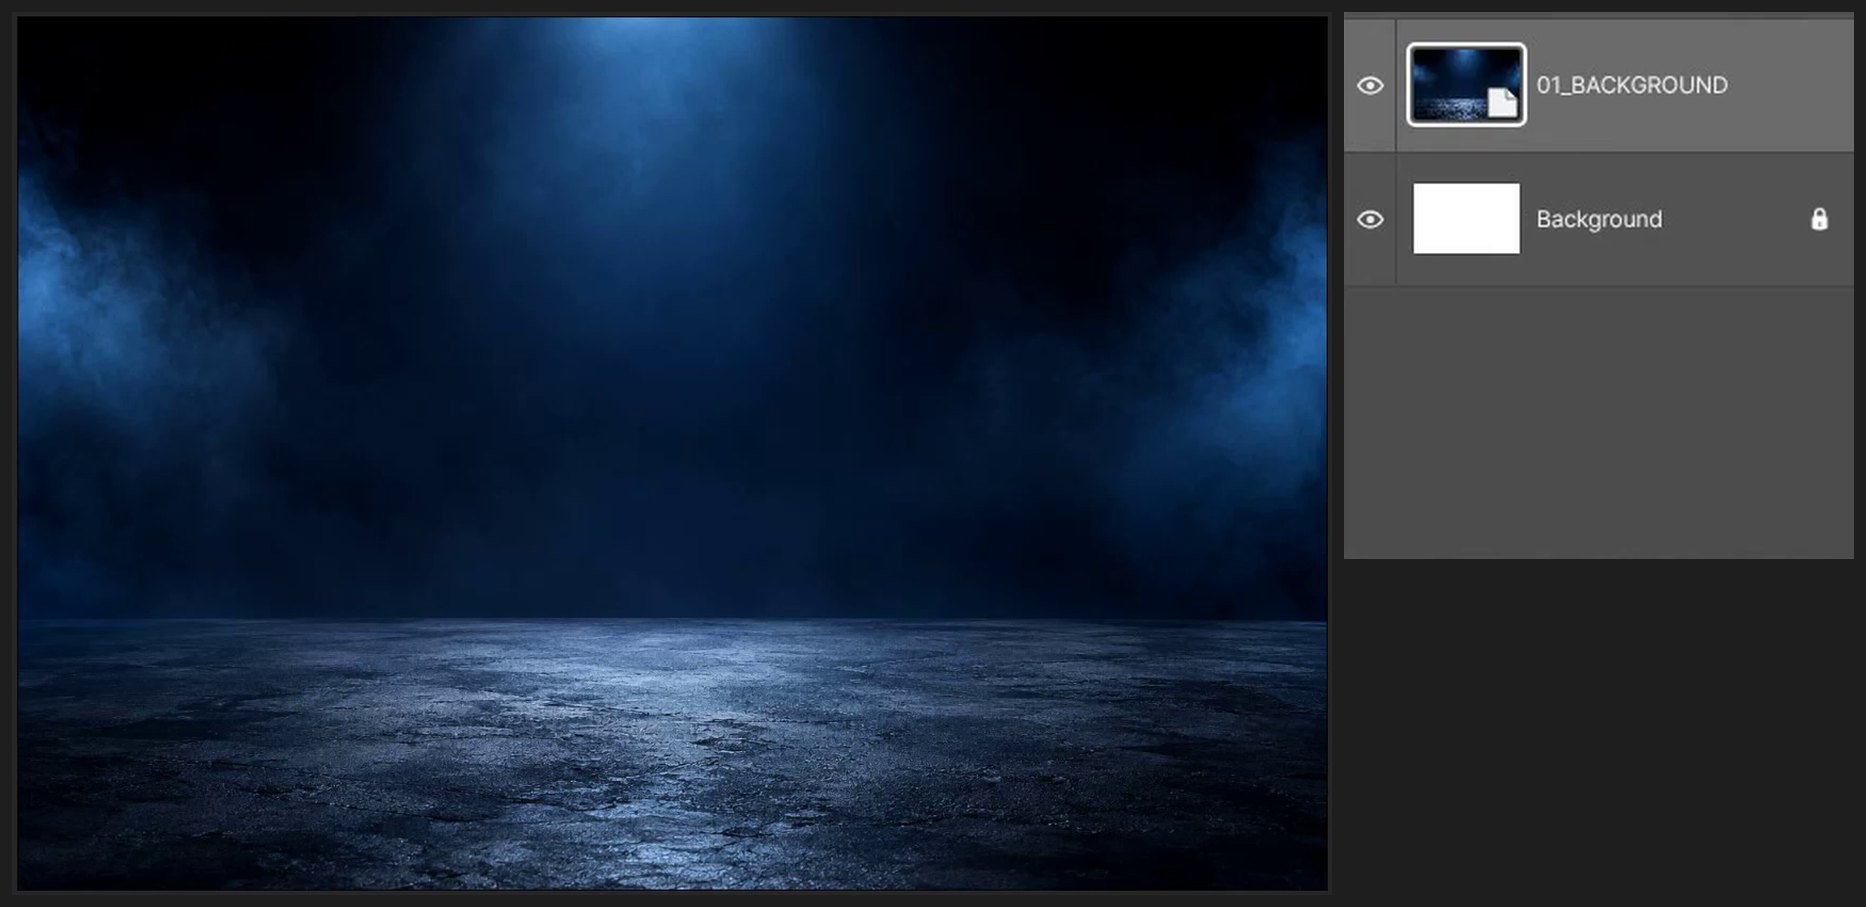
Choose File > Place Embedded… and pick 01_BACKGROUND.png. A box with square handles appears: drag inside it to move, drag a corner handle to resize (the proportions stay the same). Press Enter to finish.
-
Add the blue and red powder
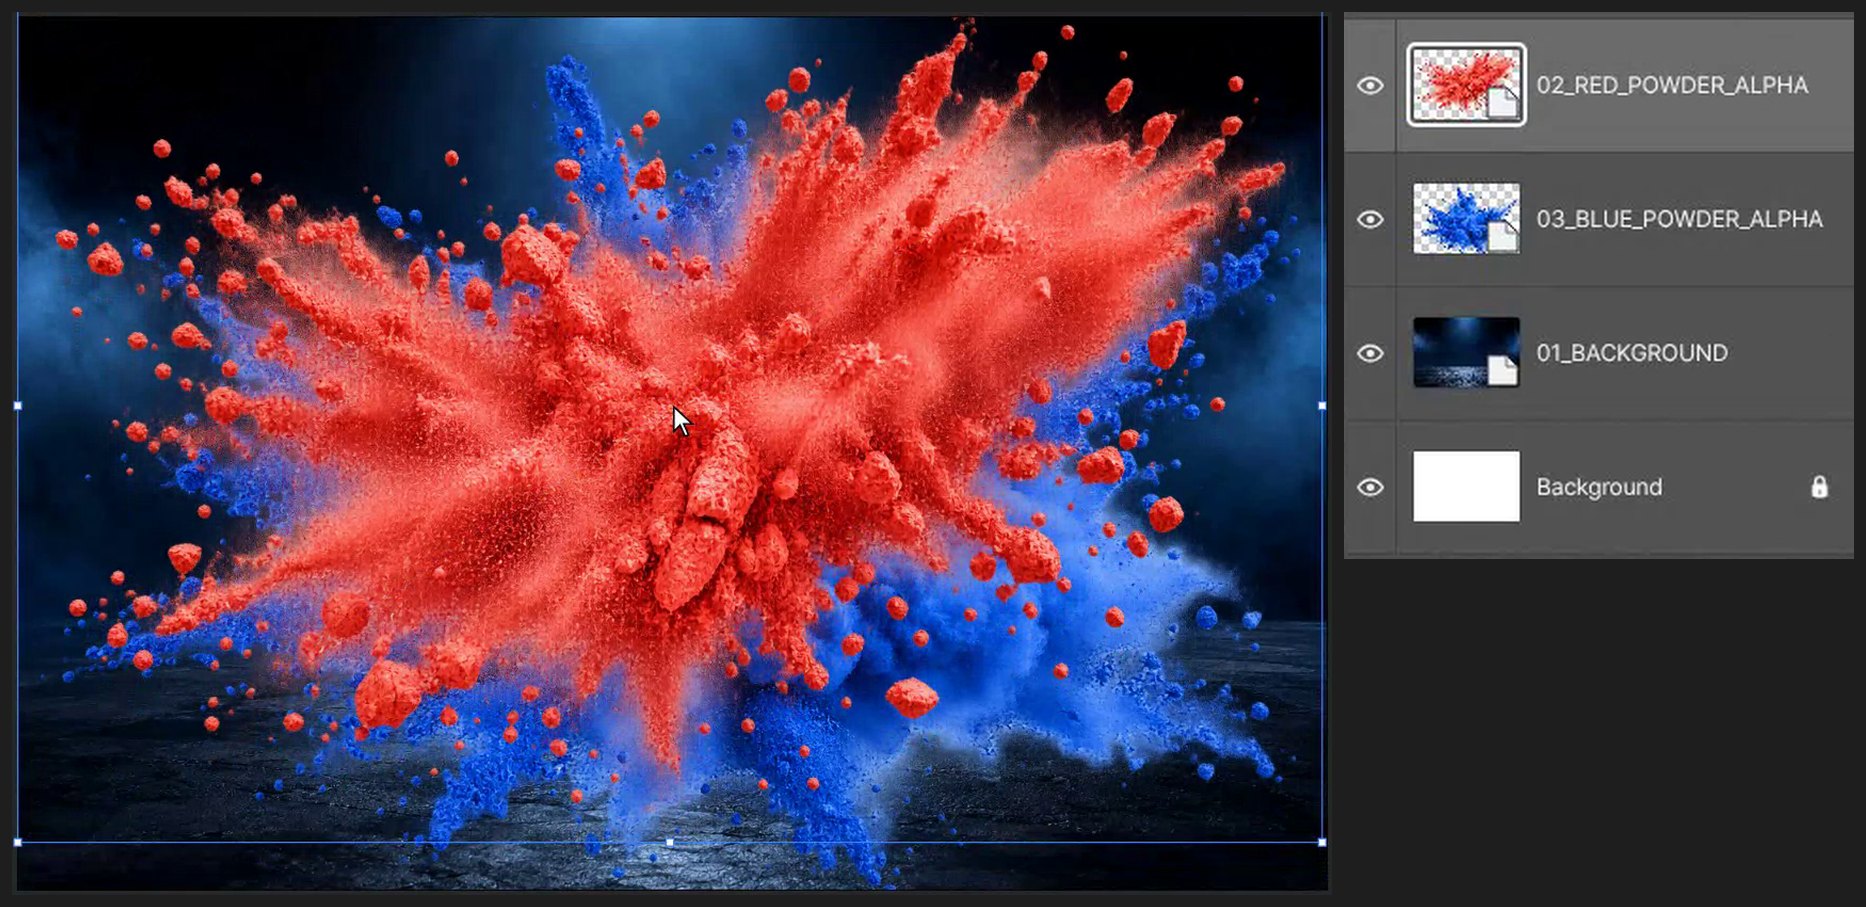
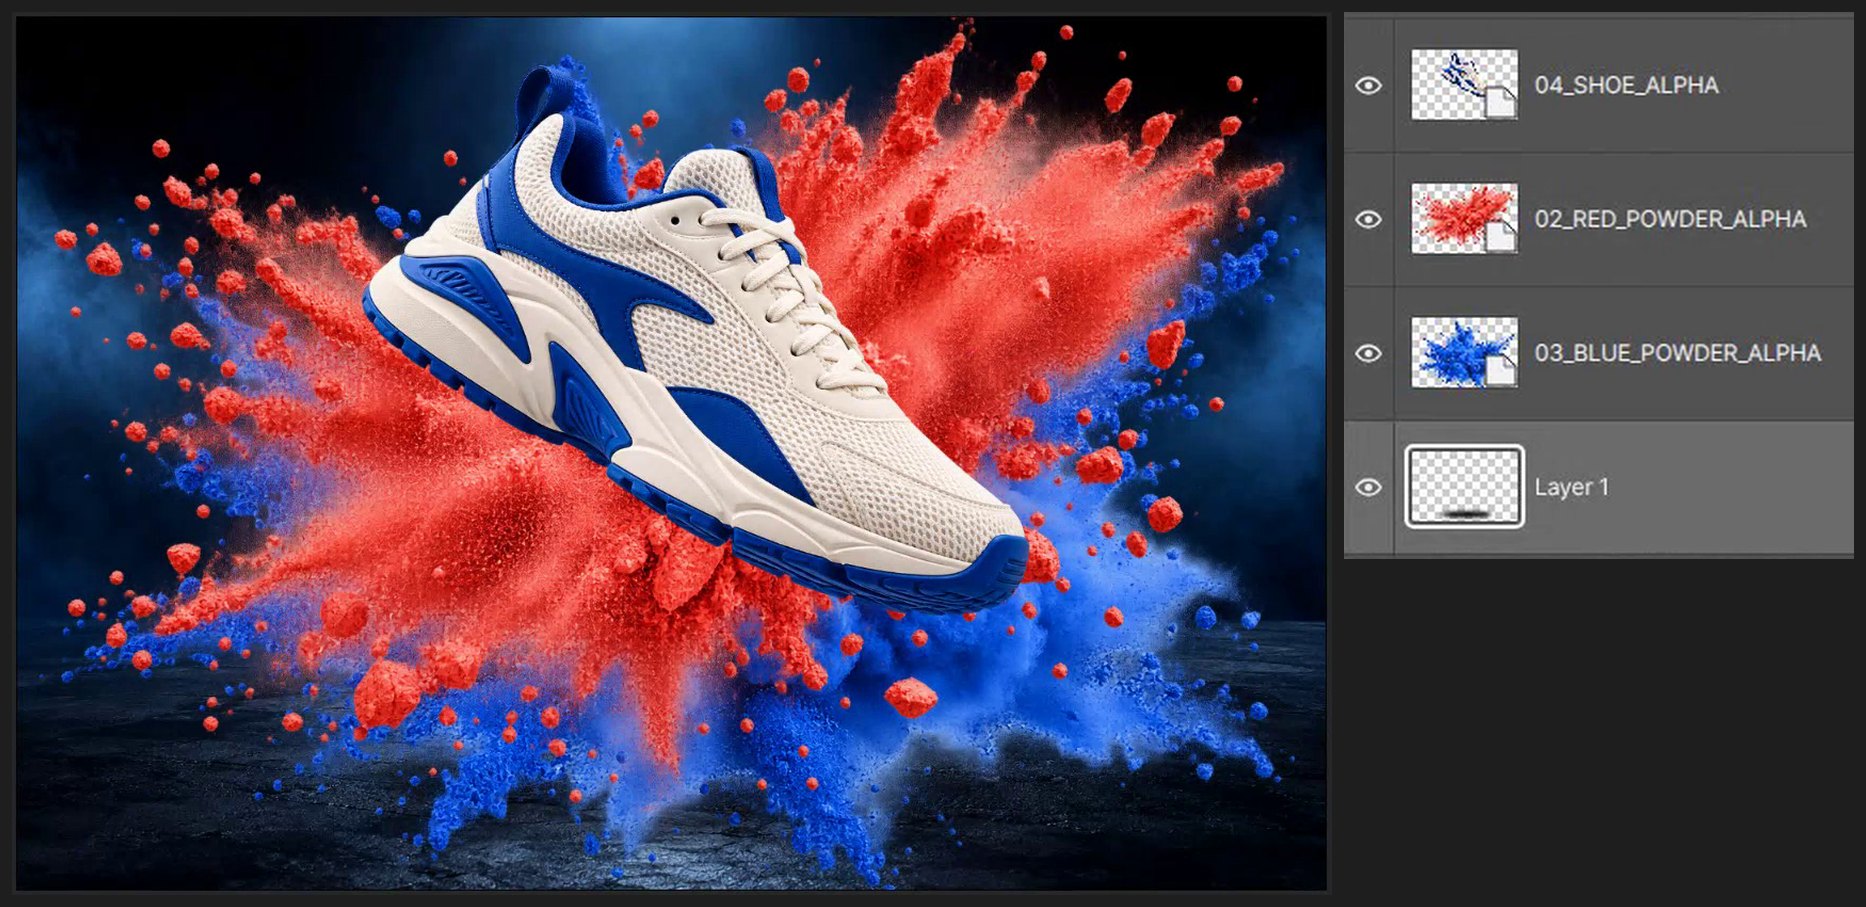
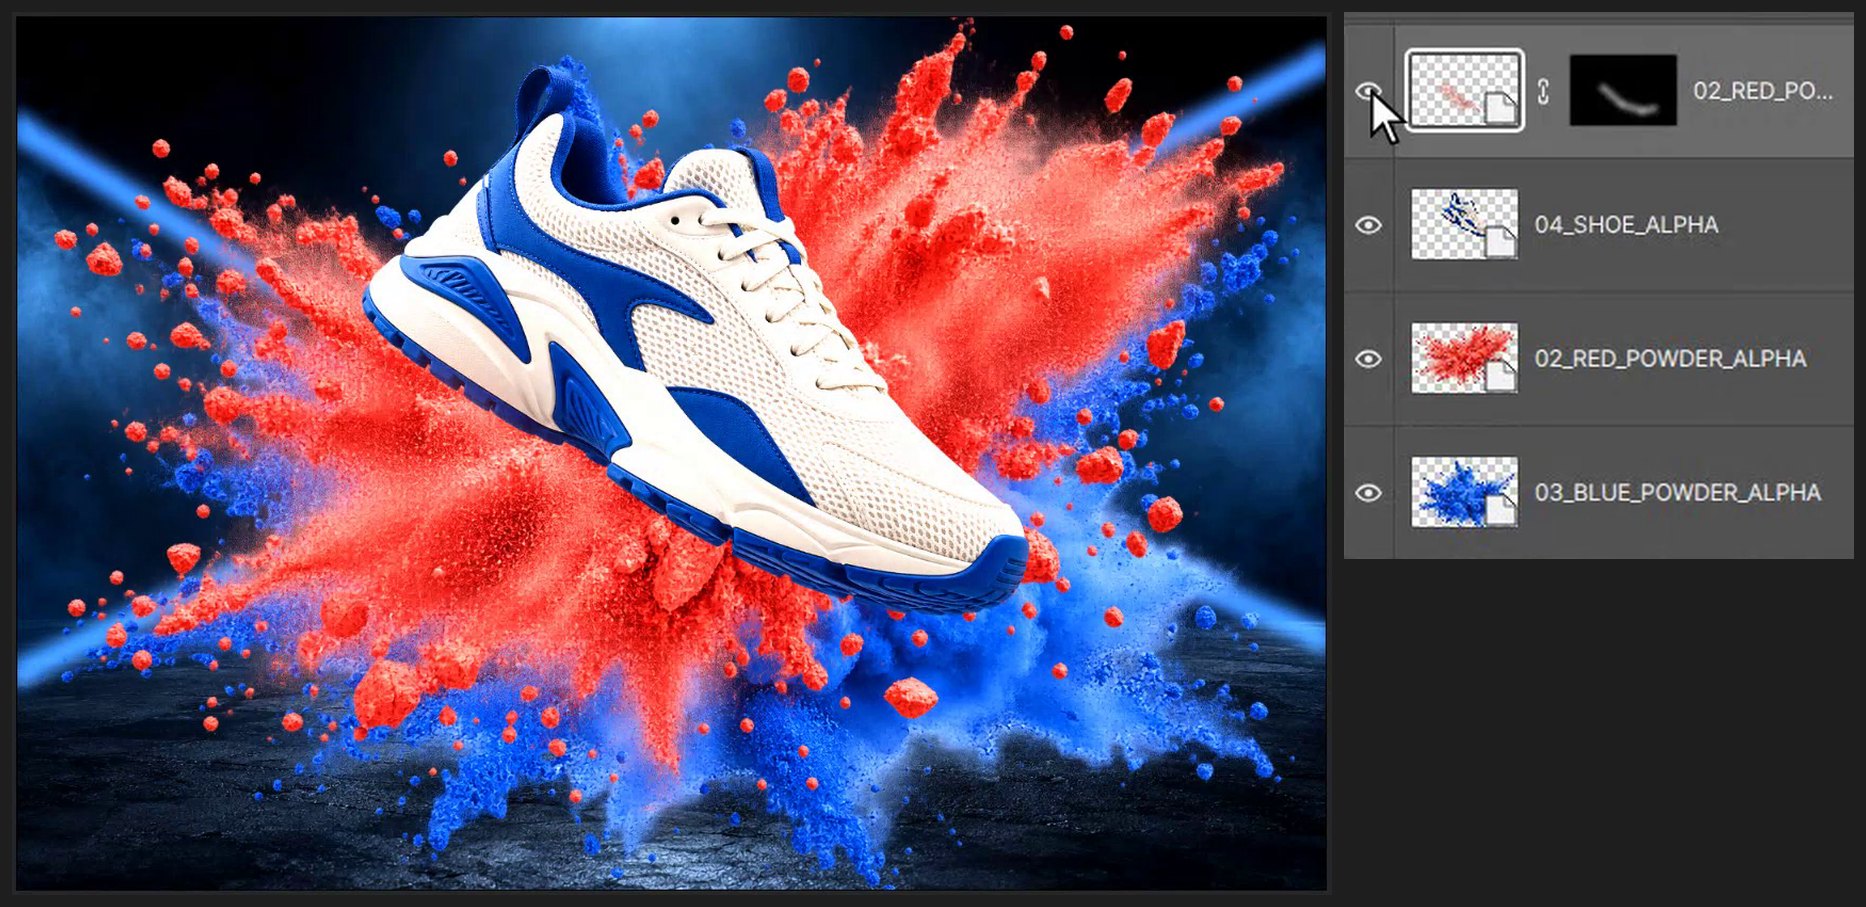
Place 03_BLUE_POWDER_ALPHA.png, drag it into place and press Enter. Then place 02_RED_POWDER_ALPHA.png the same way. The newest layer always goes on top.
-
Place the sneaker
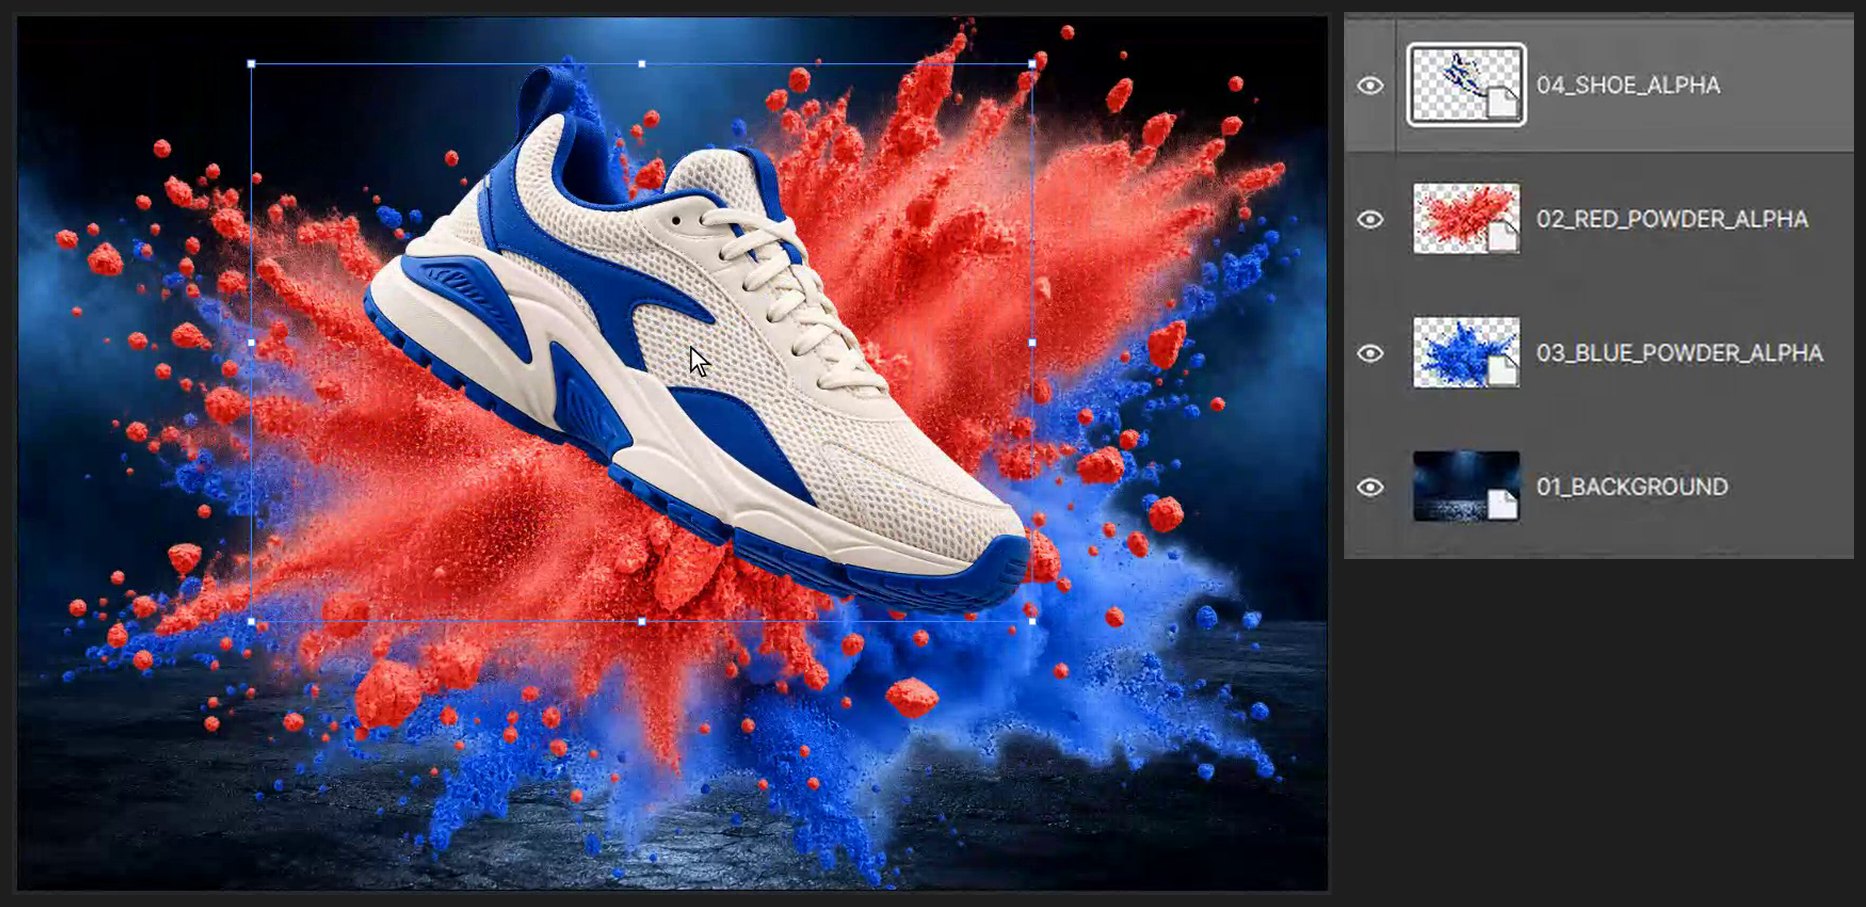
Choose File > Place Embedded… and pick 04_SHOE_ALPHA.png. A box with square handles appears: drag inside it to move, drag a corner handle to resize (the proportions stay the same). Press Enter to finish. Make it about two thirds of the width and move it to the center.
-
Draw a floor shadow
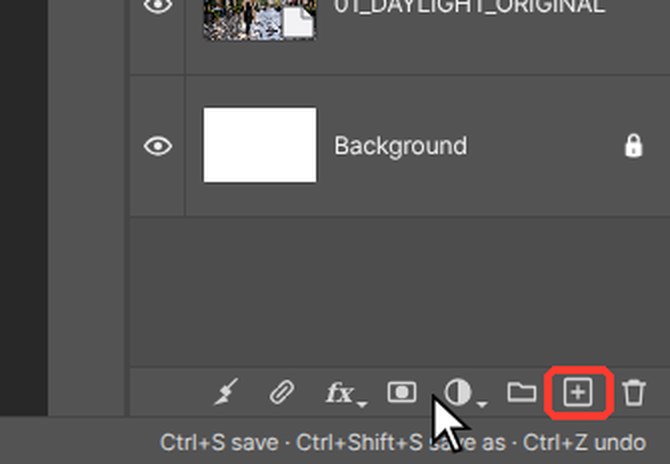
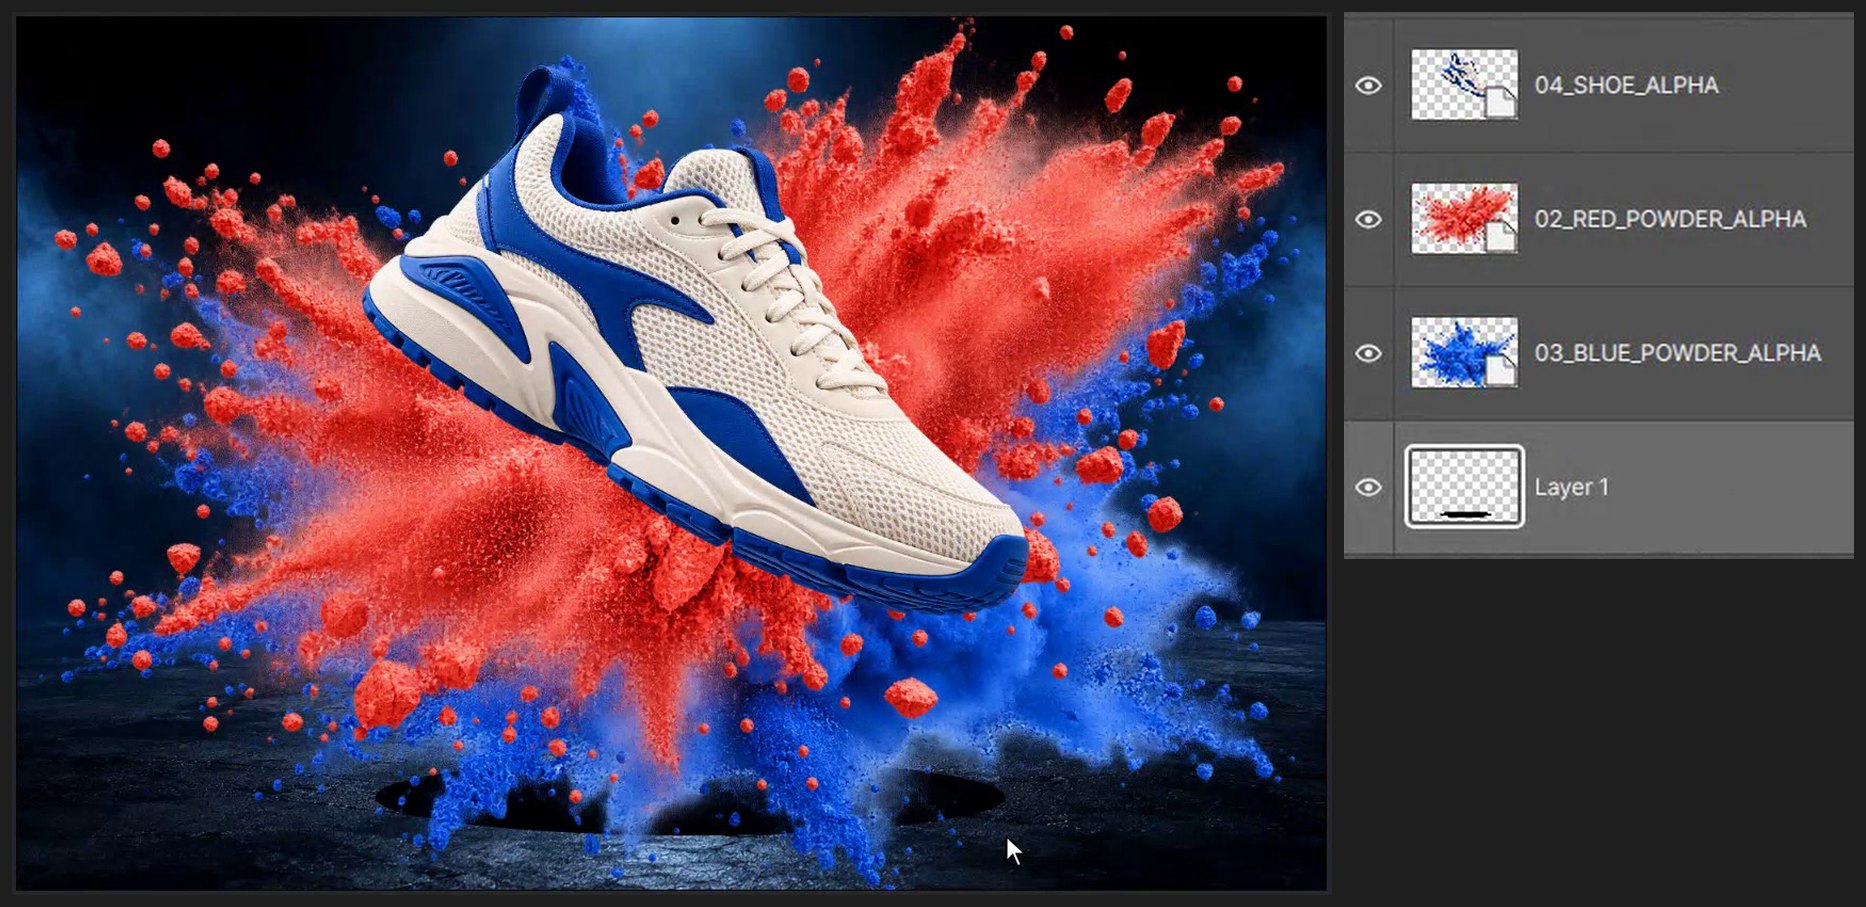
In the Layers panel click 01_BACKGROUND, then click the Create a new layer button (the square with a plus sign) at the bottom of the Layers panel. Press M for the Marquee tool and Shift+M until the Elliptical Marquee is selected. Drag a flat ellipse under the shoe. Press D for black, Alt+Backspace to fill, then Ctrl+D to deselect.
-
Soften the shadow
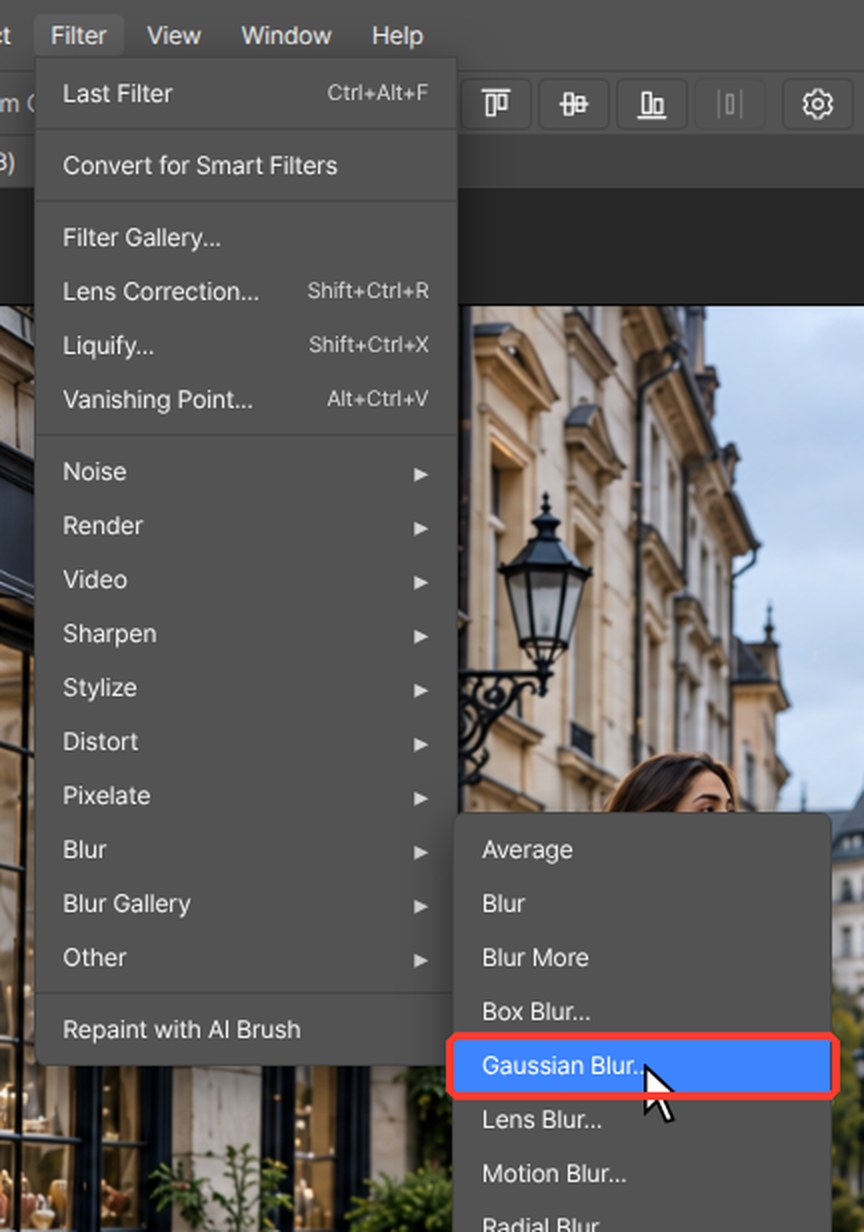
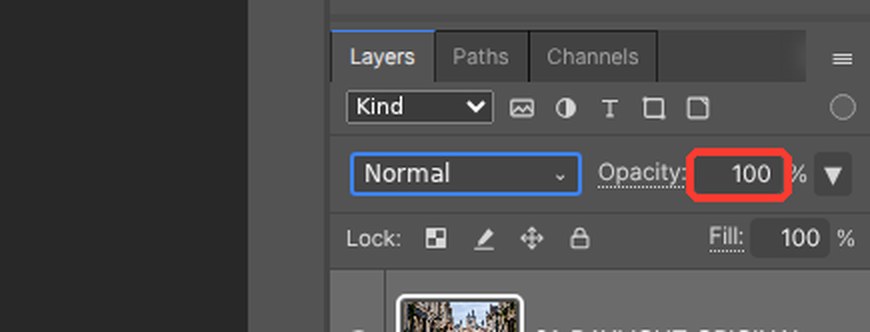
Choose Filter > Blur > Gaussian Blur…, type 30 in Radius and click OK. Type 70 in the Opacity box at the top right of the Layers panel and press Enter.
-
Paint light beams
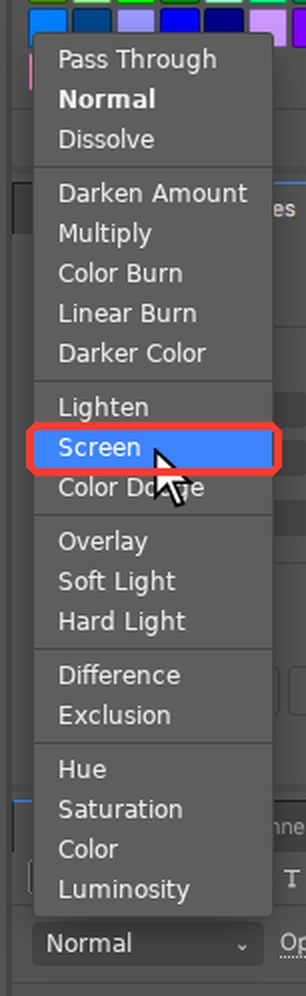
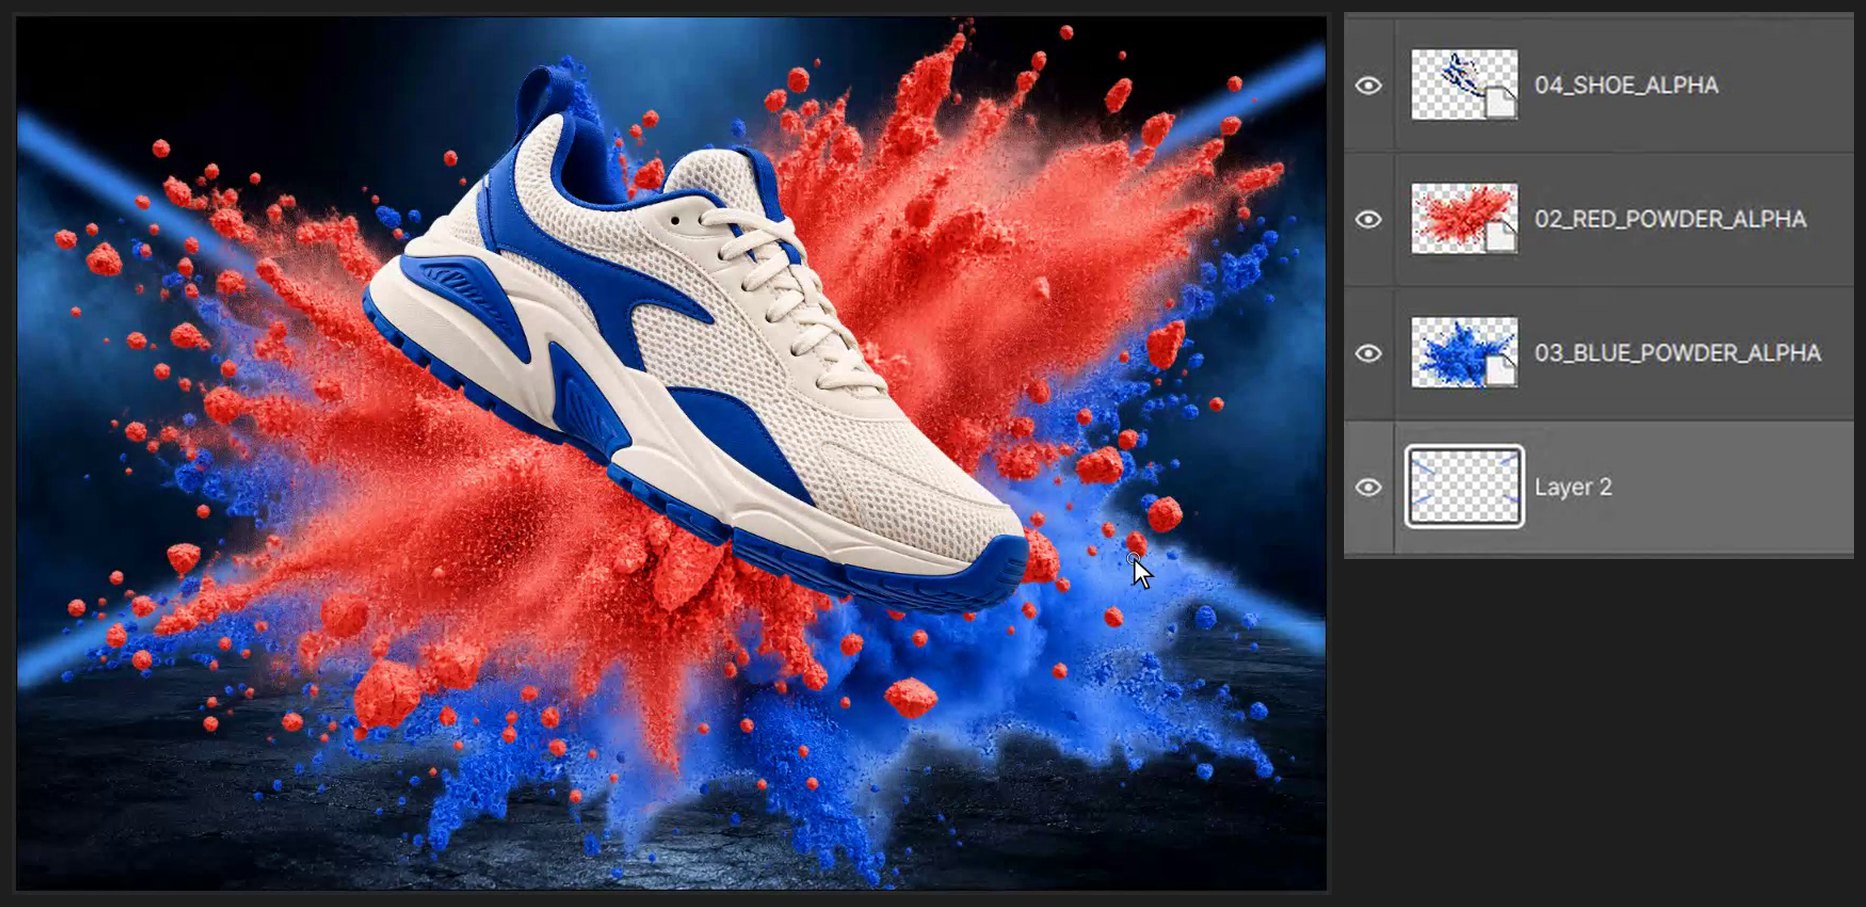
Click the Create a new layer button (the square with a plus sign) at the bottom of the Layers panel. Open the blend mode list at the top left of the Layers panel (it says Normal) and choose Screen. Click the top color square at the bottom of the toolbar on the left (Foreground color). Type 3D8BFF in the # box and click OK. Press B, set Size to 28 and press Shift+[ four times. Click where a beam starts, hold Shift and click where it ends to draw a straight line.
-
Put a few particles in front
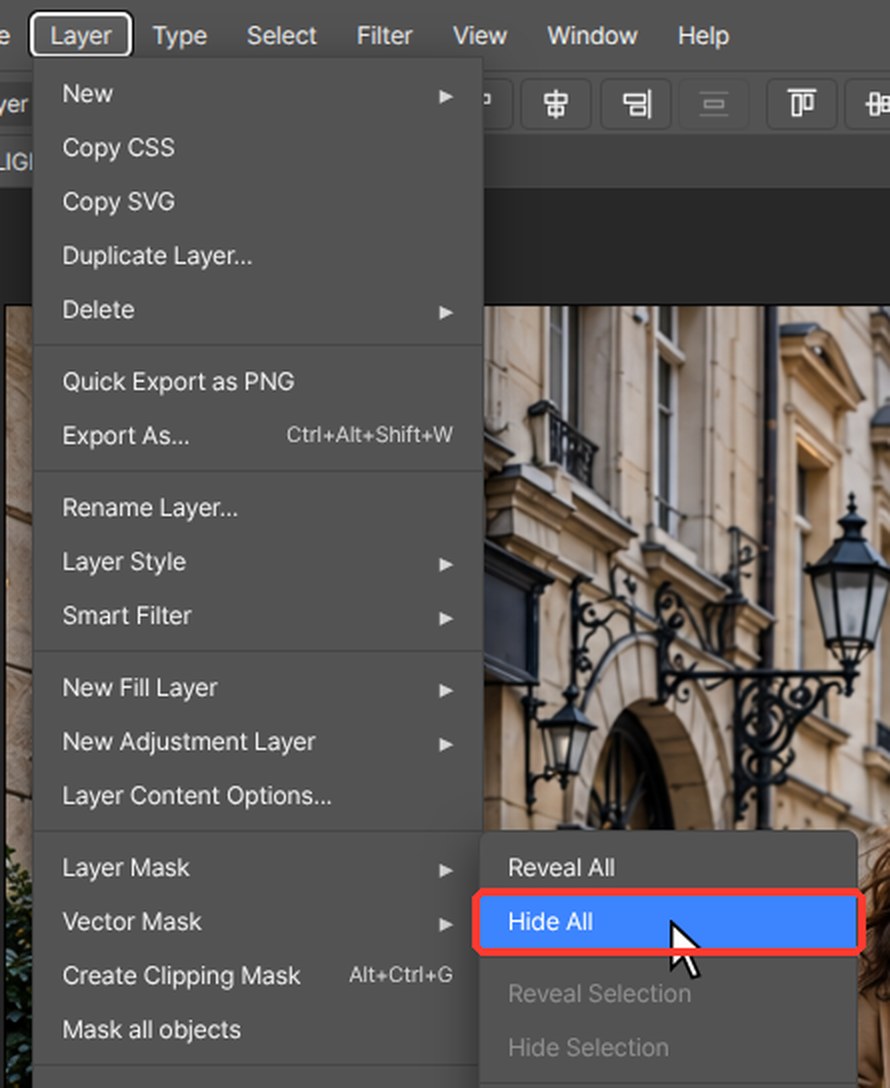
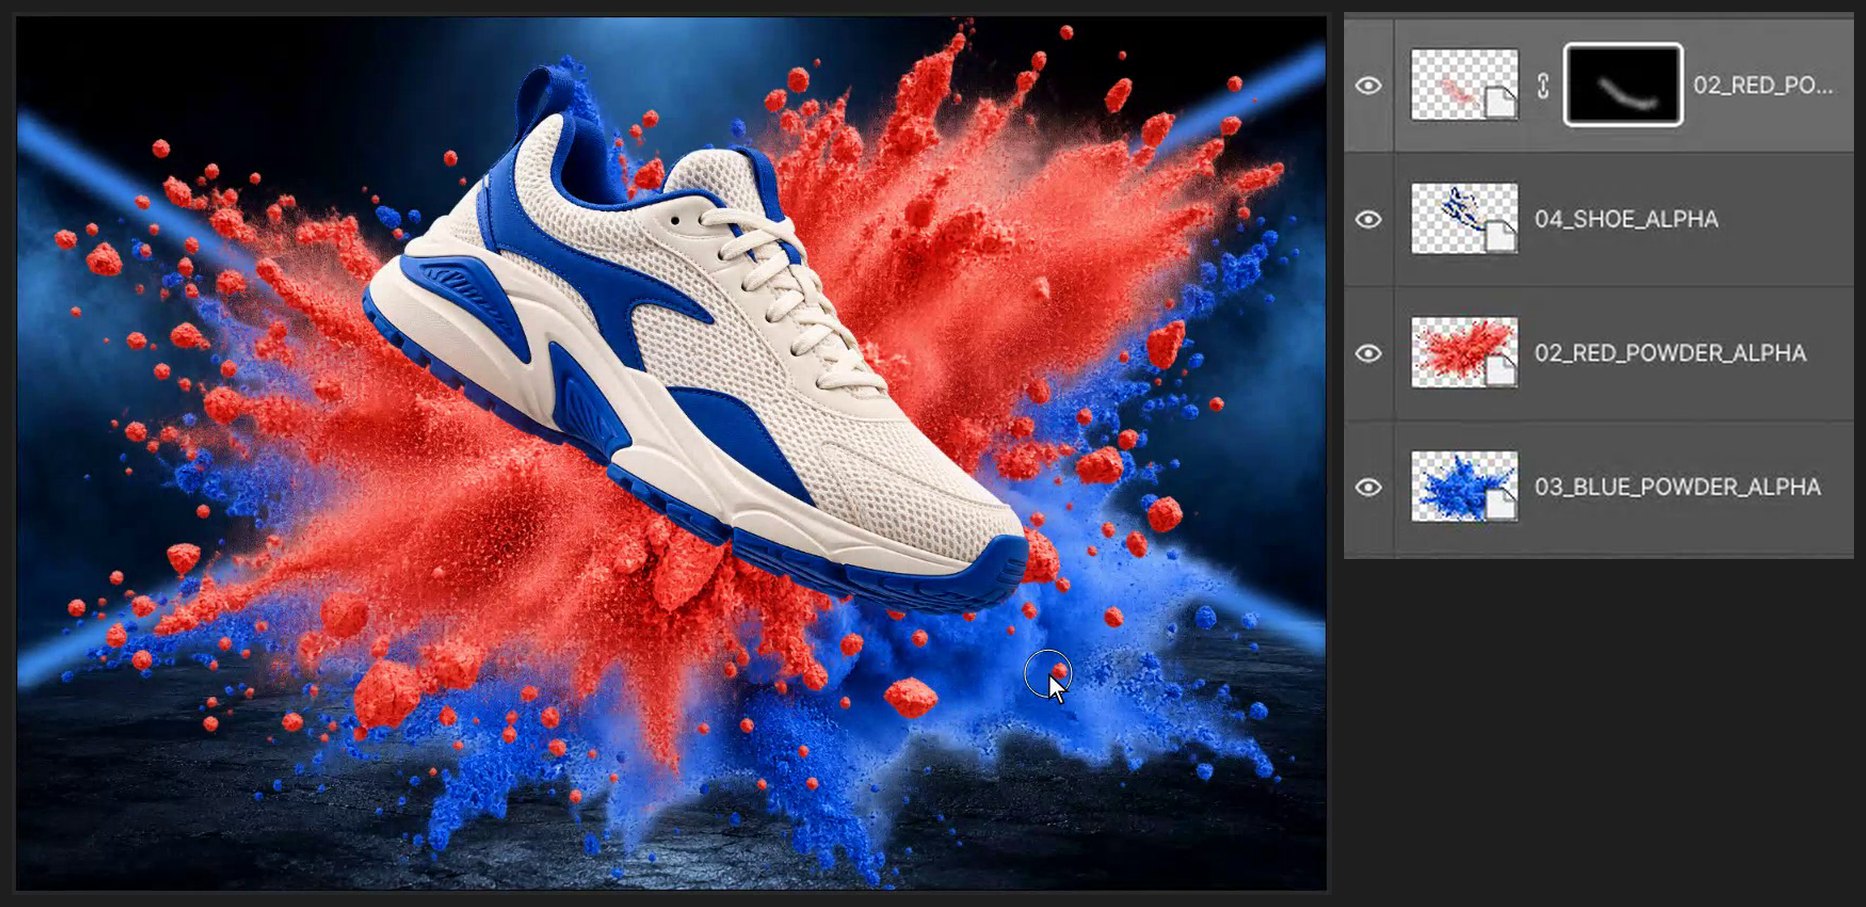
Click 02_RED_POWDER_ALPHA, press Ctrl+J, then Ctrl+Shift+] (Layer > Arrange > Bring to Front). Hold Alt and click the Add mask button at the bottom of the Layers panel. You get a black mask that hides the whole layer (same as Layer > Layer Mask > Hide All). Press X for white, set Size to 110, press 5 for 50% and paint around the sole.
-
Brighten and compare
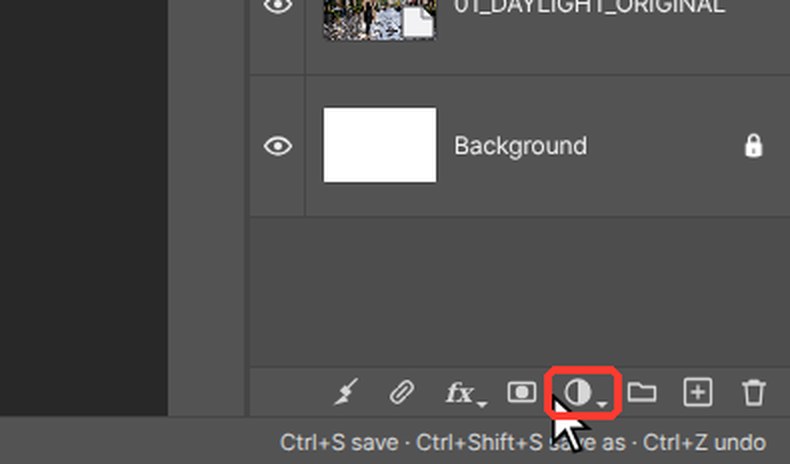
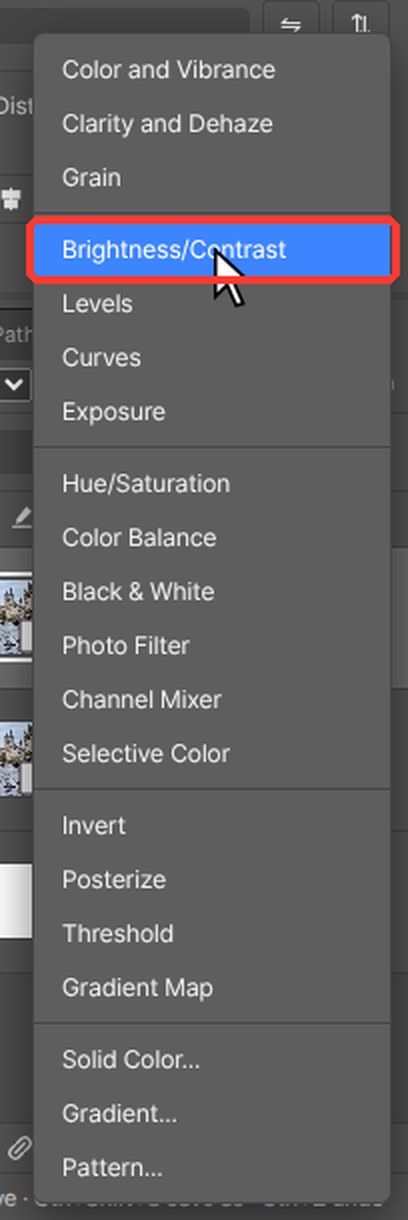
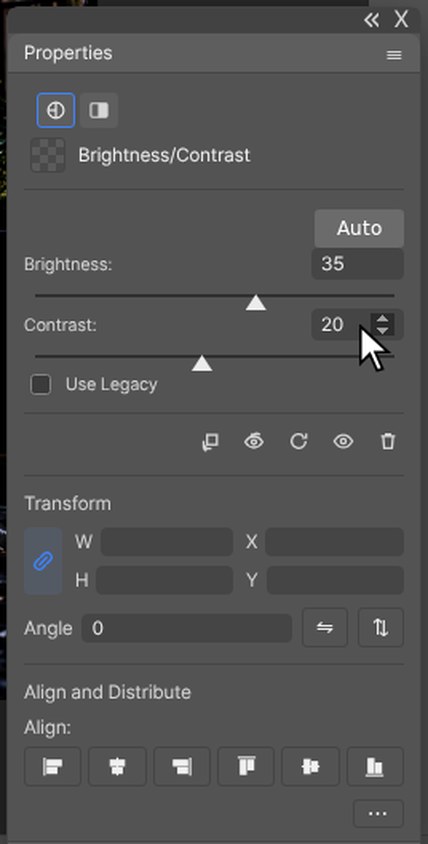
At the bottom of the Layers panel click the half-black, half-white circle (Create new fill or adjustment layer) and choose Brightness/Contrast (or Layer > New Adjustment Layer > Brightness/Contrast). Its settings open in the Properties panel. Type 35 in Brightness and 20 in Contrast. Click the eye icons at the left of the layers to turn them off and on and compare before and after.
If a browser shortcut takes over, use the matching editor menu command. Keep the source files and practice on a copy.
Questions
Do I need Photoshop for this tutorial?
No. Every step is done in PhotoVim in your browser, with nothing to install. Menu names and shortcuts follow Photoshop, so the steps look familiar if you already use it.
How do I draw a straight light beam?
Click where the beam starts, hold Shift and click where it ends. The brush draws a straight line between the two clicks.