Change a Jacket Color with Color Range and Hue/Saturation
Show one outfit in three colors. Select the jacket with Select > Color Range, recolor it with a clipped Hue/Saturation layer and keep skin natural with a mask.
Pause at each step and follow the shortcuts on screen. The practice files contain separate source layers; the video is a recorded UI demonstration.
Steps
-
Create a document with a gray background
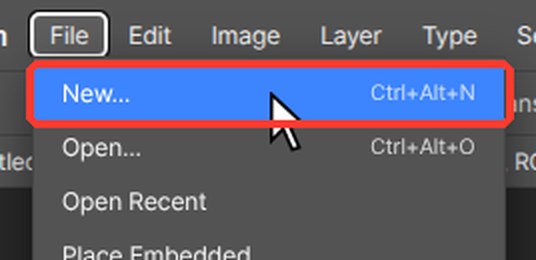
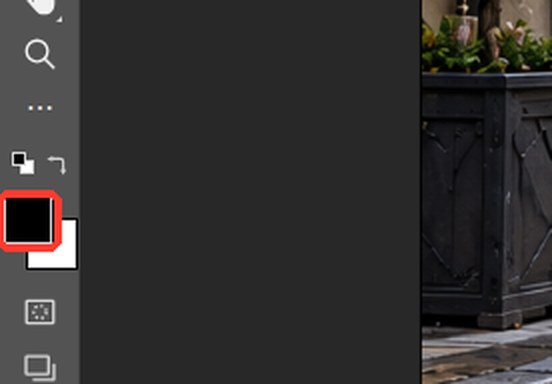
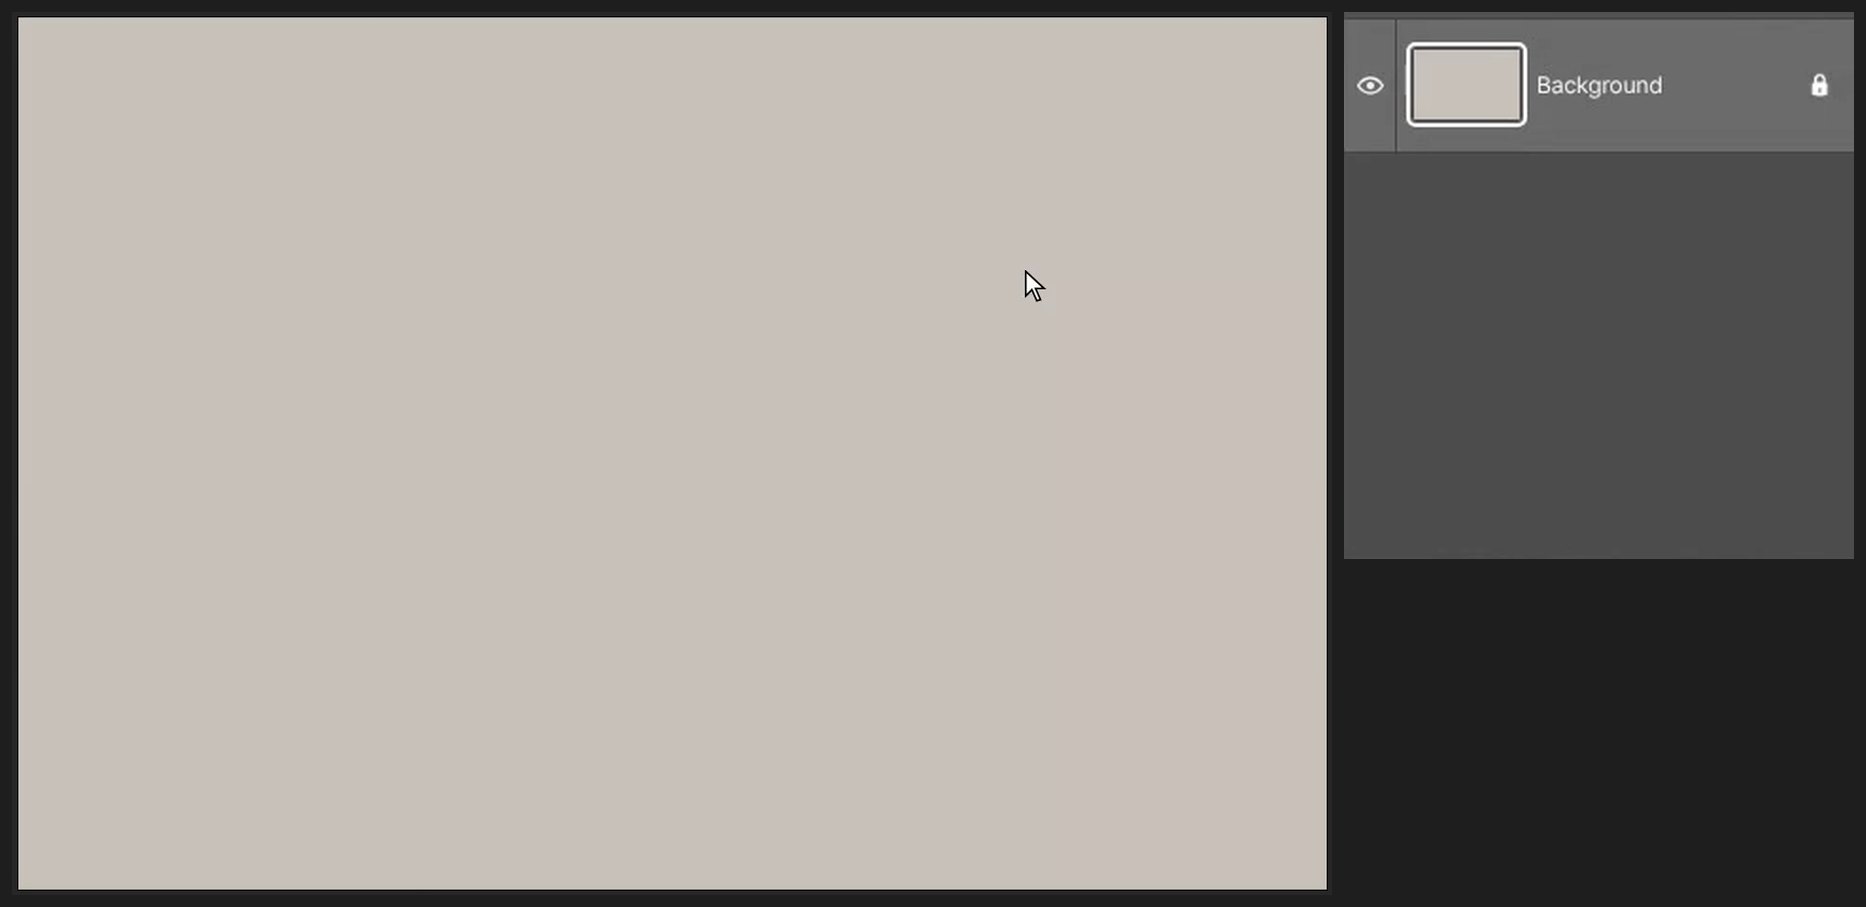
On the start screen click New document (or File > New…, Ctrl+Alt+N). Type 1536 in Width and 1024 in Height, then click Create. Click the top color square at the bottom of the toolbar on the left (Foreground color). Type C9C3BB in the # box and click OK. Press Alt+Backspace to fill.
-
Place the model
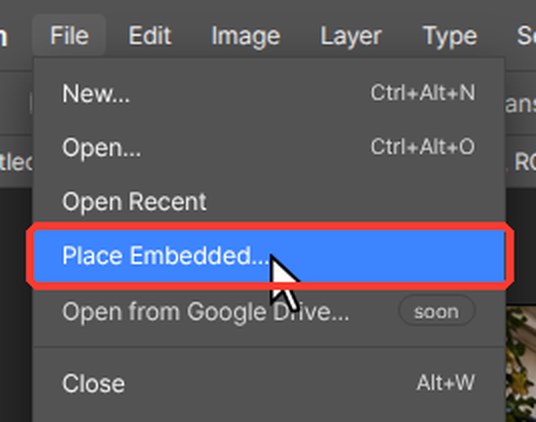
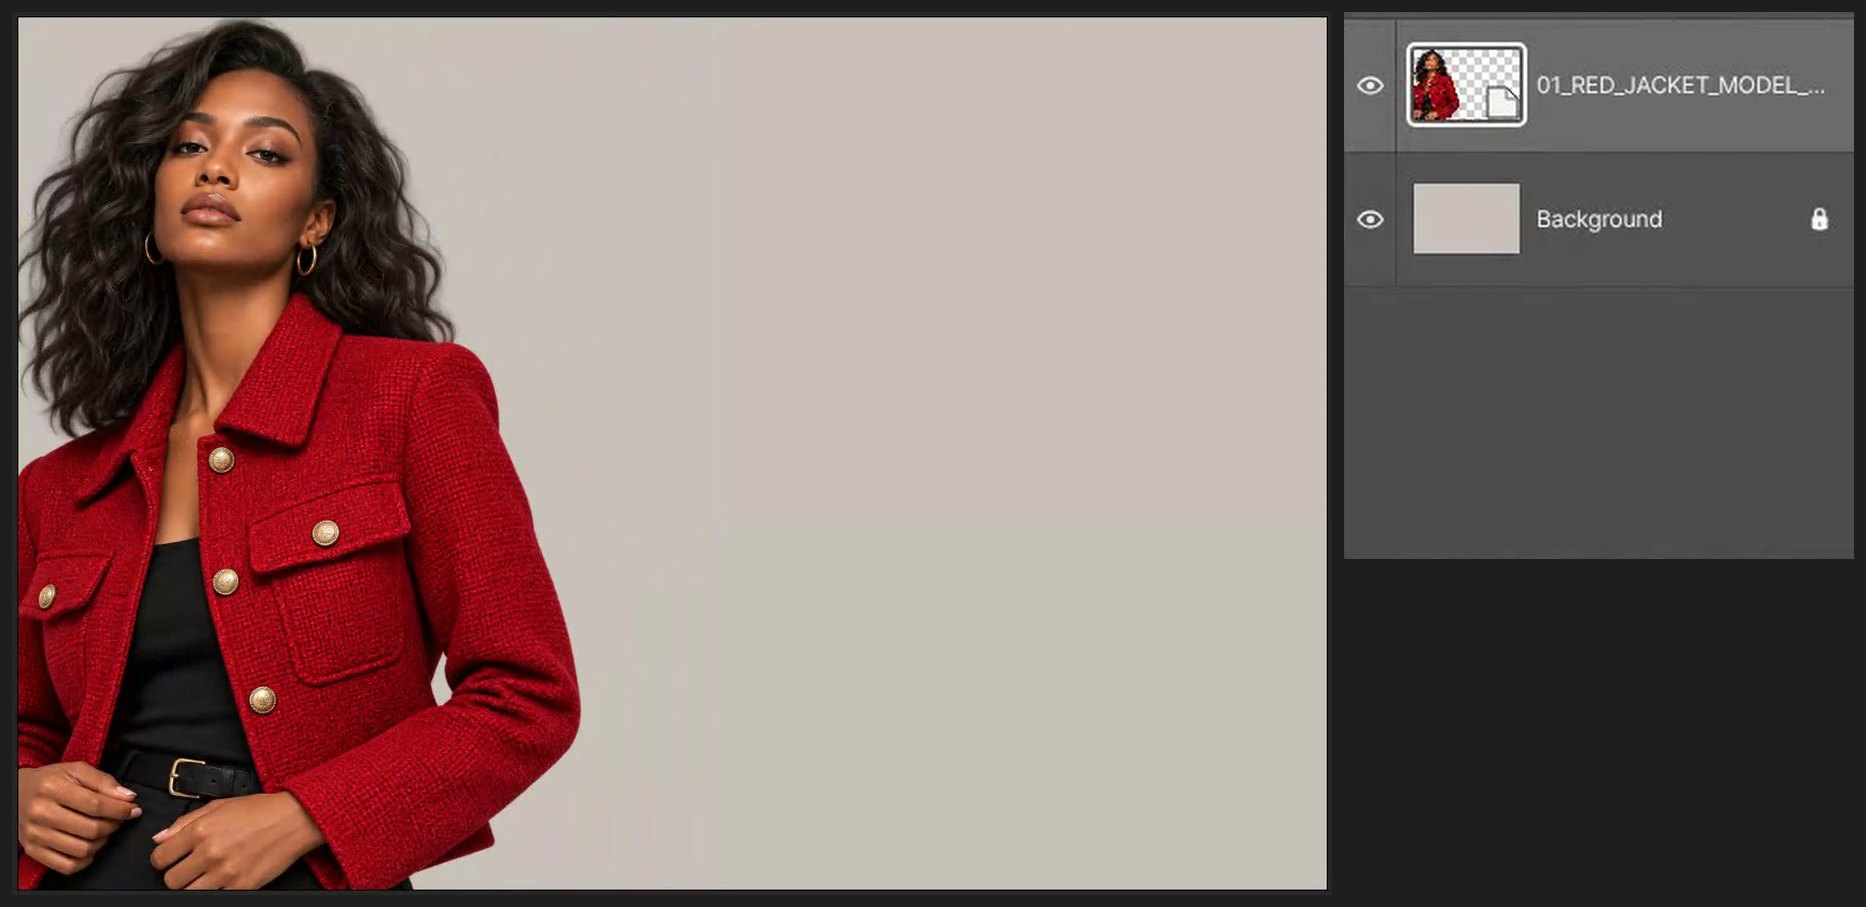
Choose File > Place Embedded… and pick 01_RED_JACKET_MODEL_ALPHA.png. A box with square handles appears: drag inside it to move, drag a corner handle to resize (the proportions stay the same). Press Enter to finish. Scale her so she fills the left third of the canvas.
-
Make three copies side by side
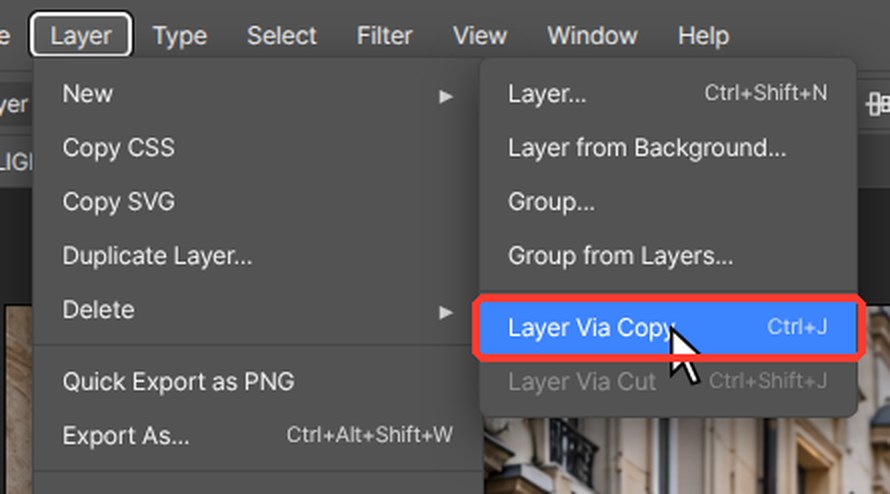
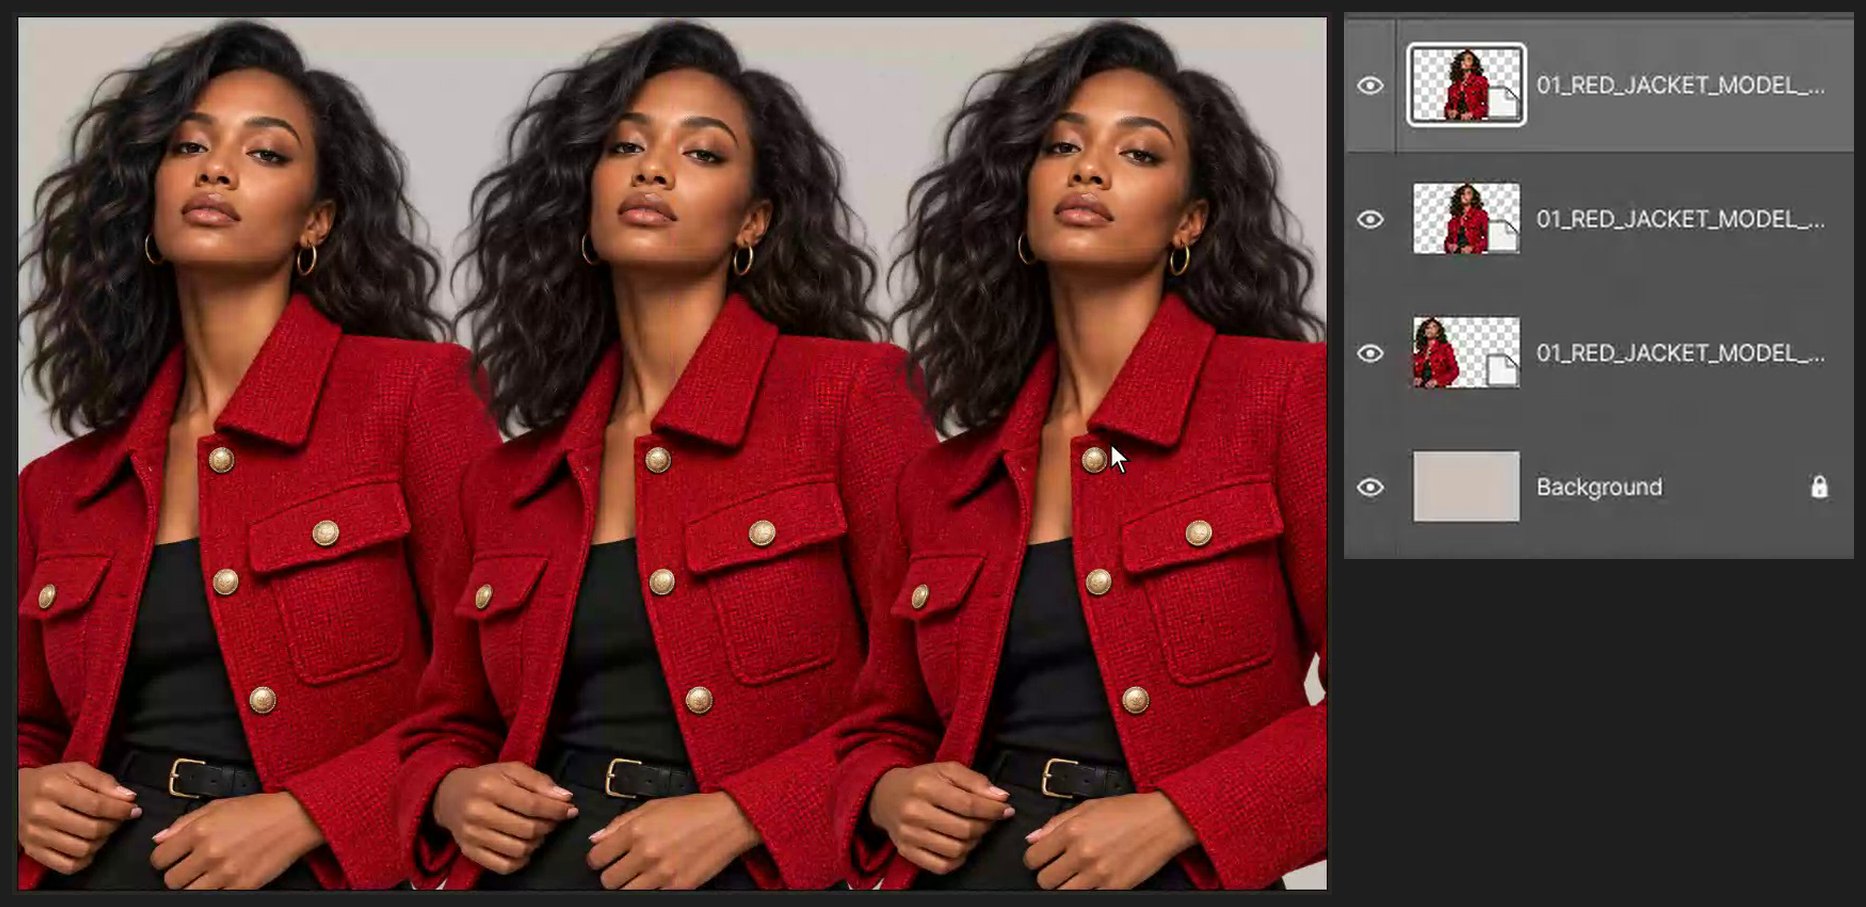
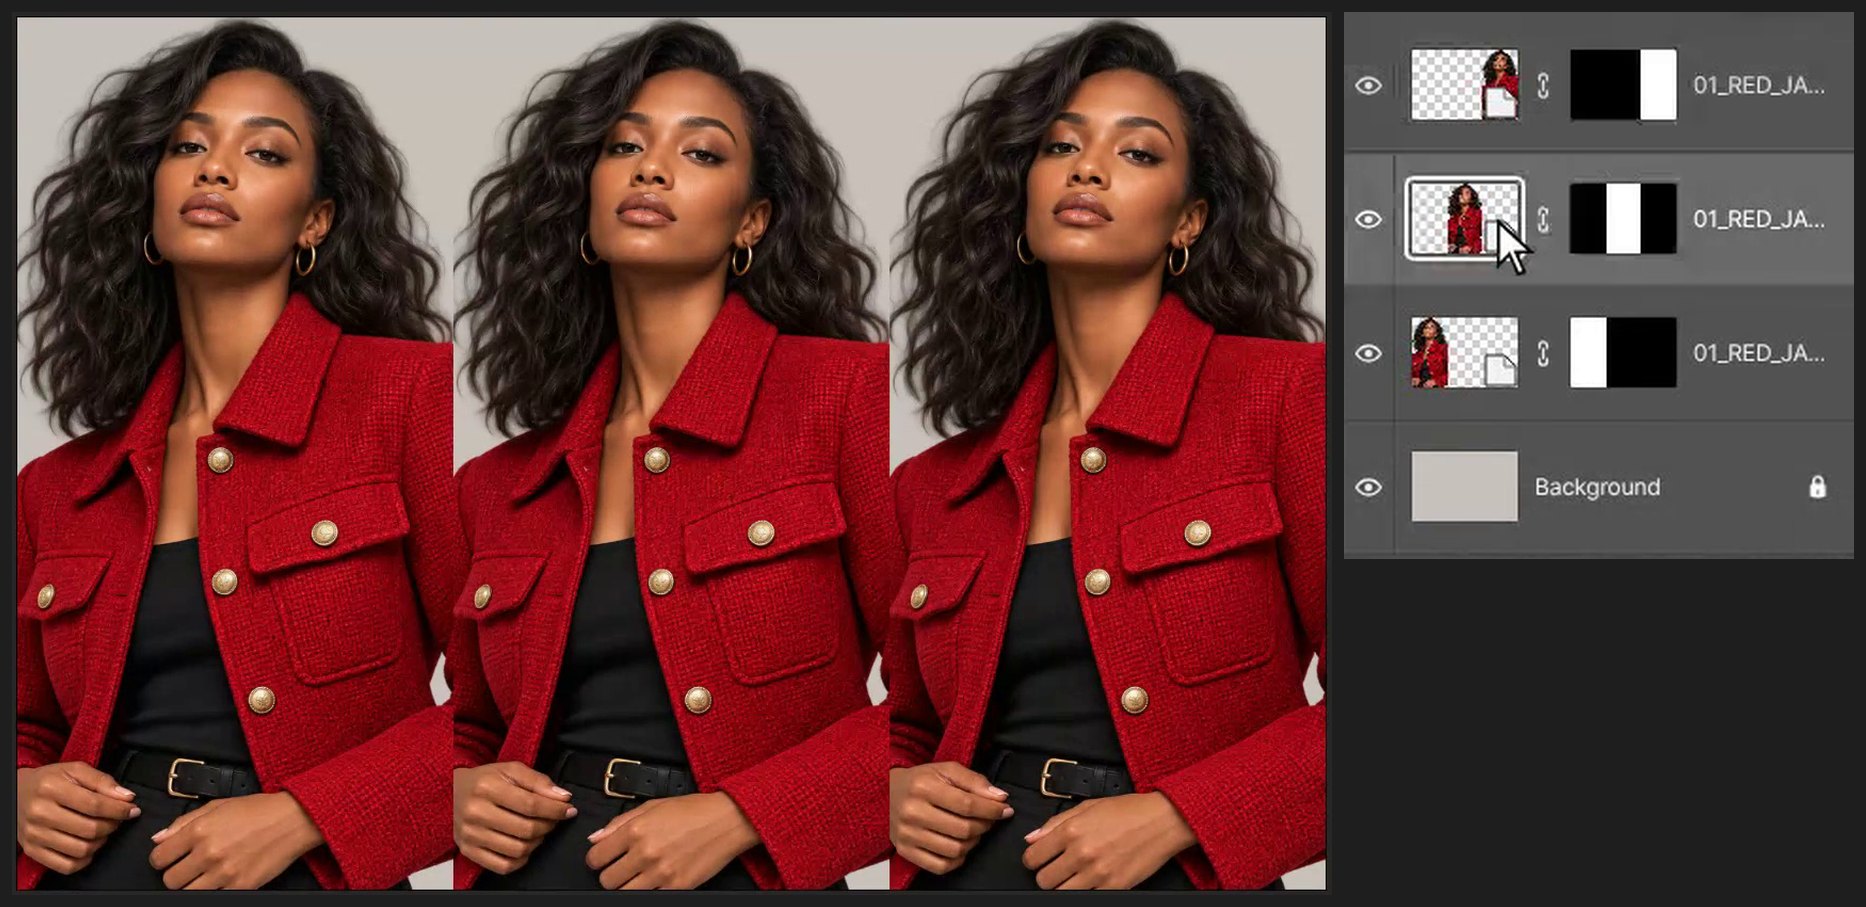
Press Ctrl+J twice to make two copies. Press V for the Move tool and drag each copy one third of the width to the right.
-
Keep each copy in its own third
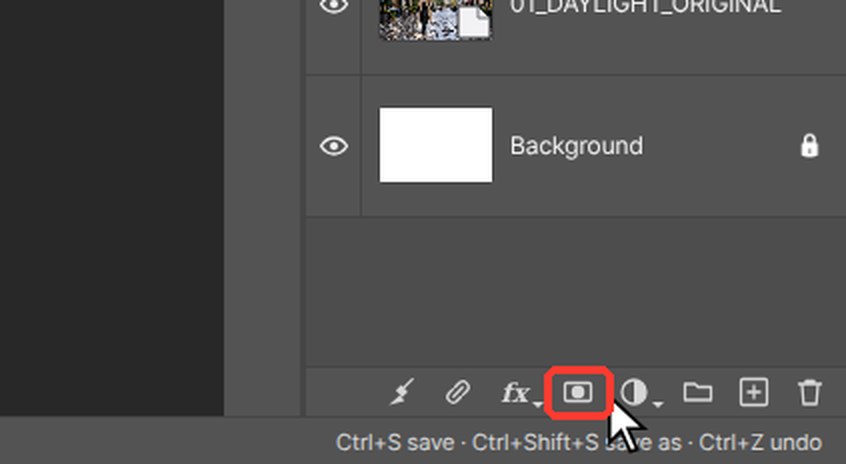
Press M for the Rectangular Marquee. For each copy: click its layer, drag a rectangle over its third of the canvas, click the Add mask button at the bottom of the Layers panel, then press Ctrl+D.
-
Select the red jacket
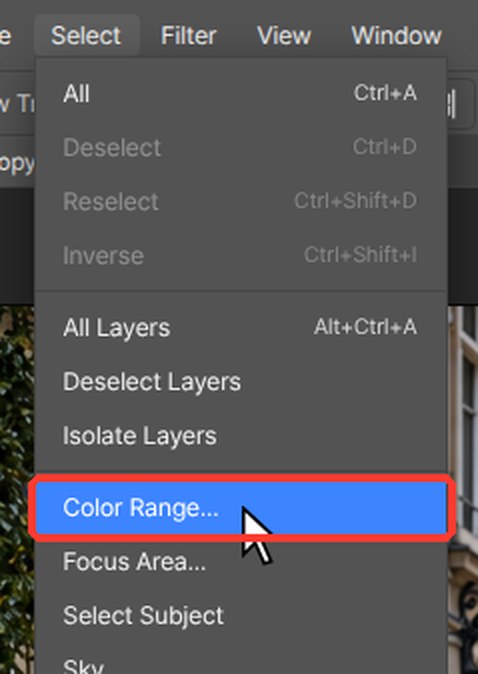
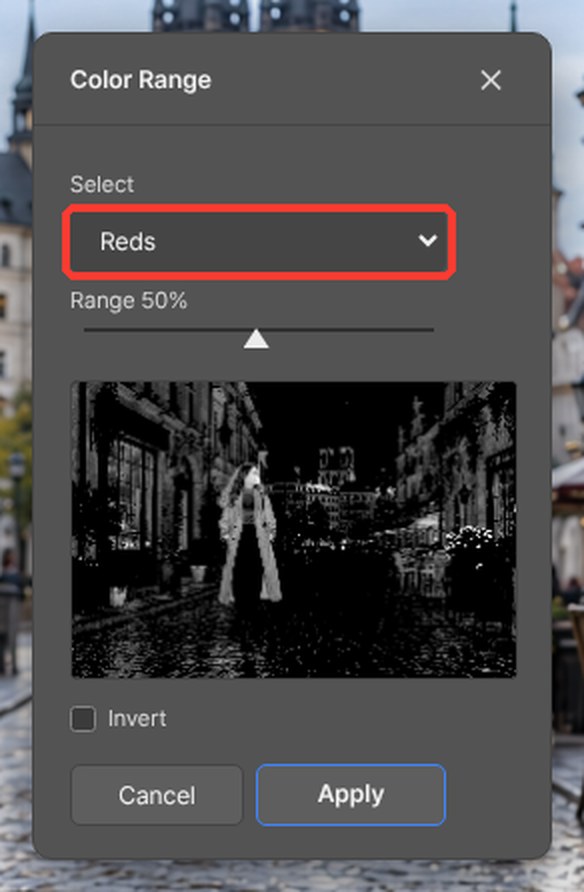
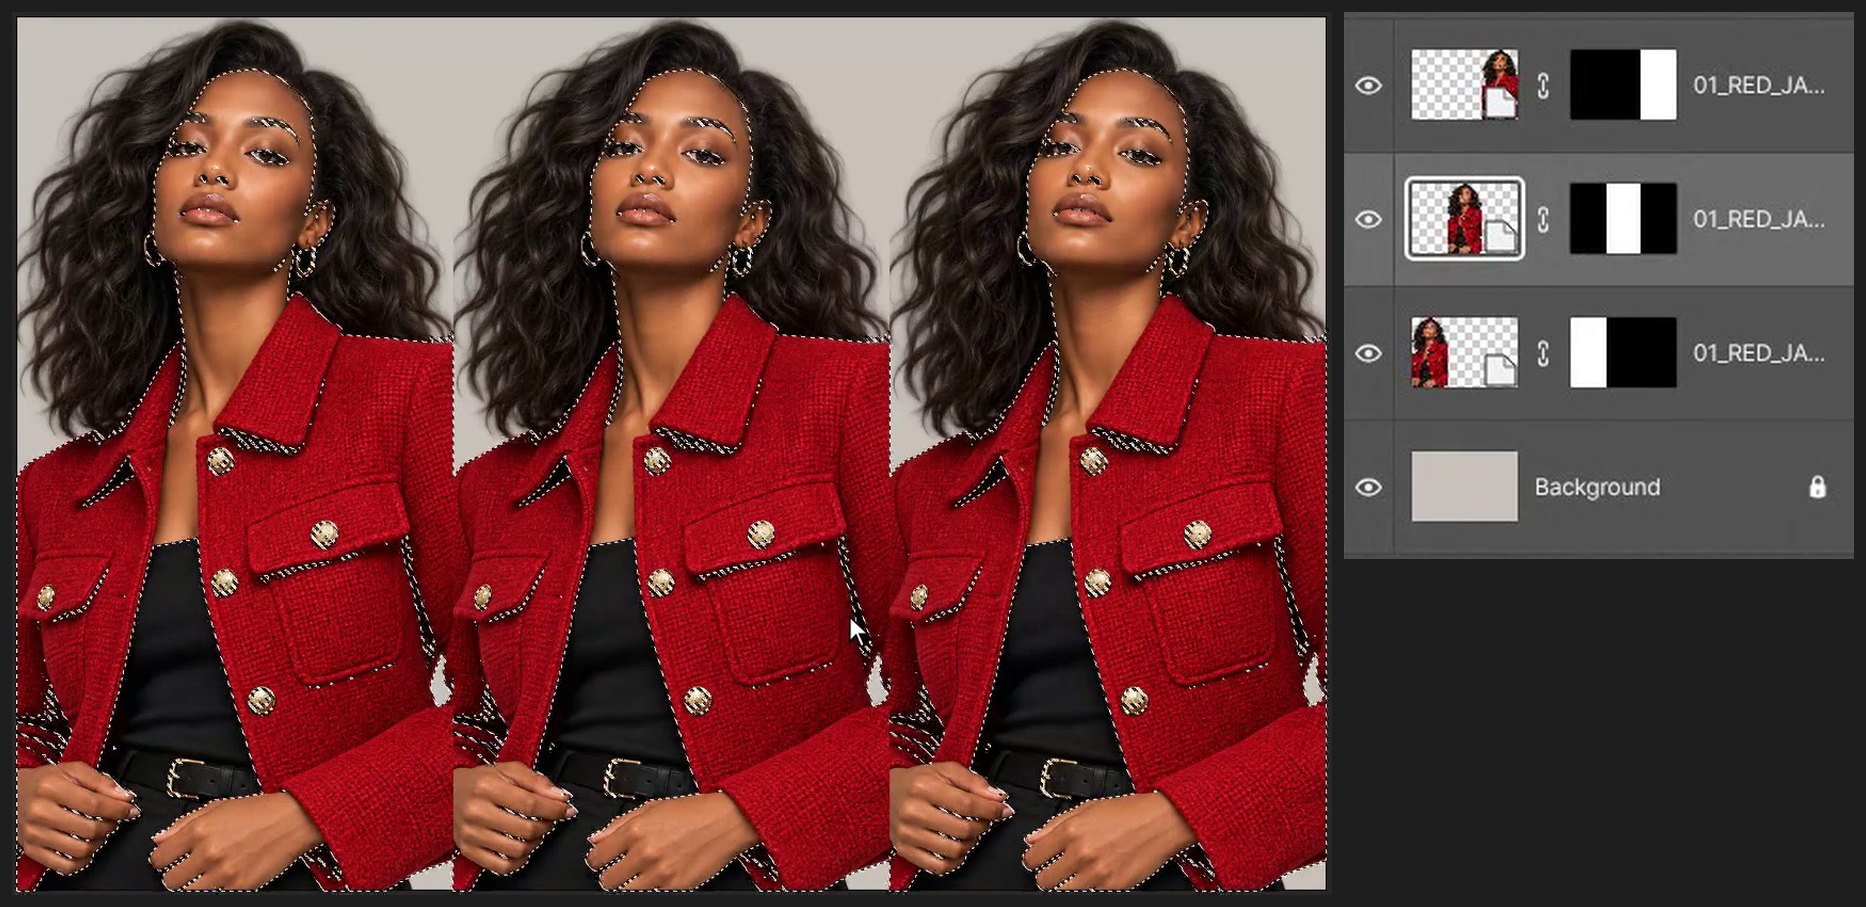
Click the middle copy. Choose Select > Color Range…, open the Select list and choose Reds, then click Apply. The whole jacket is selected.
-
Recolor it blue
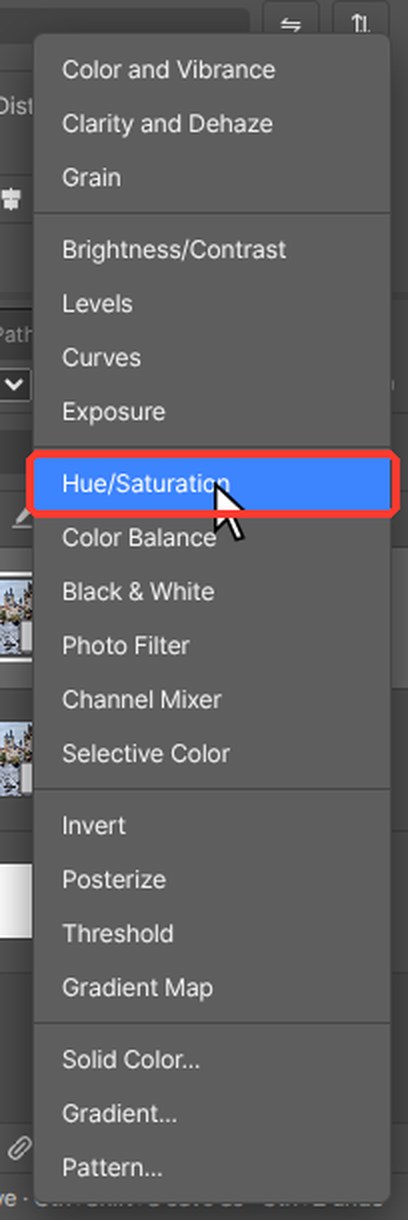
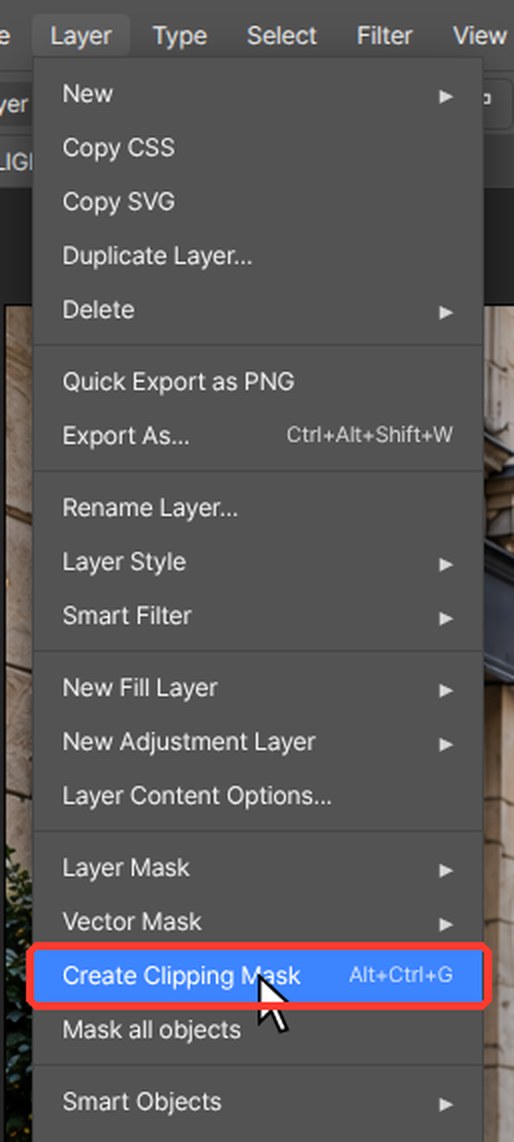
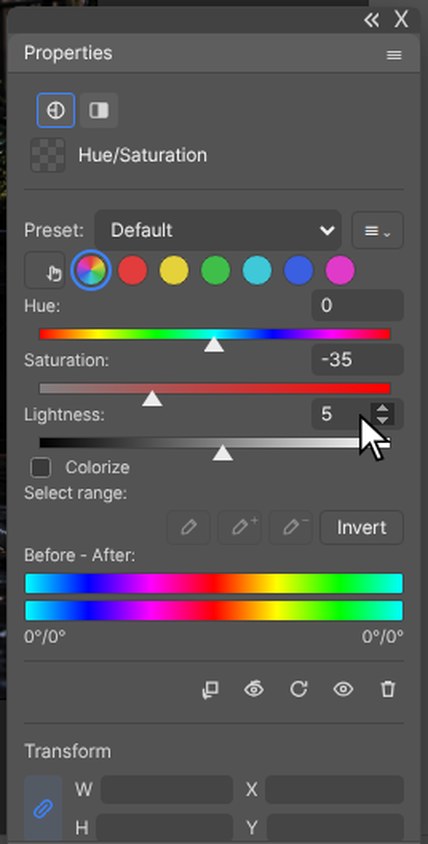
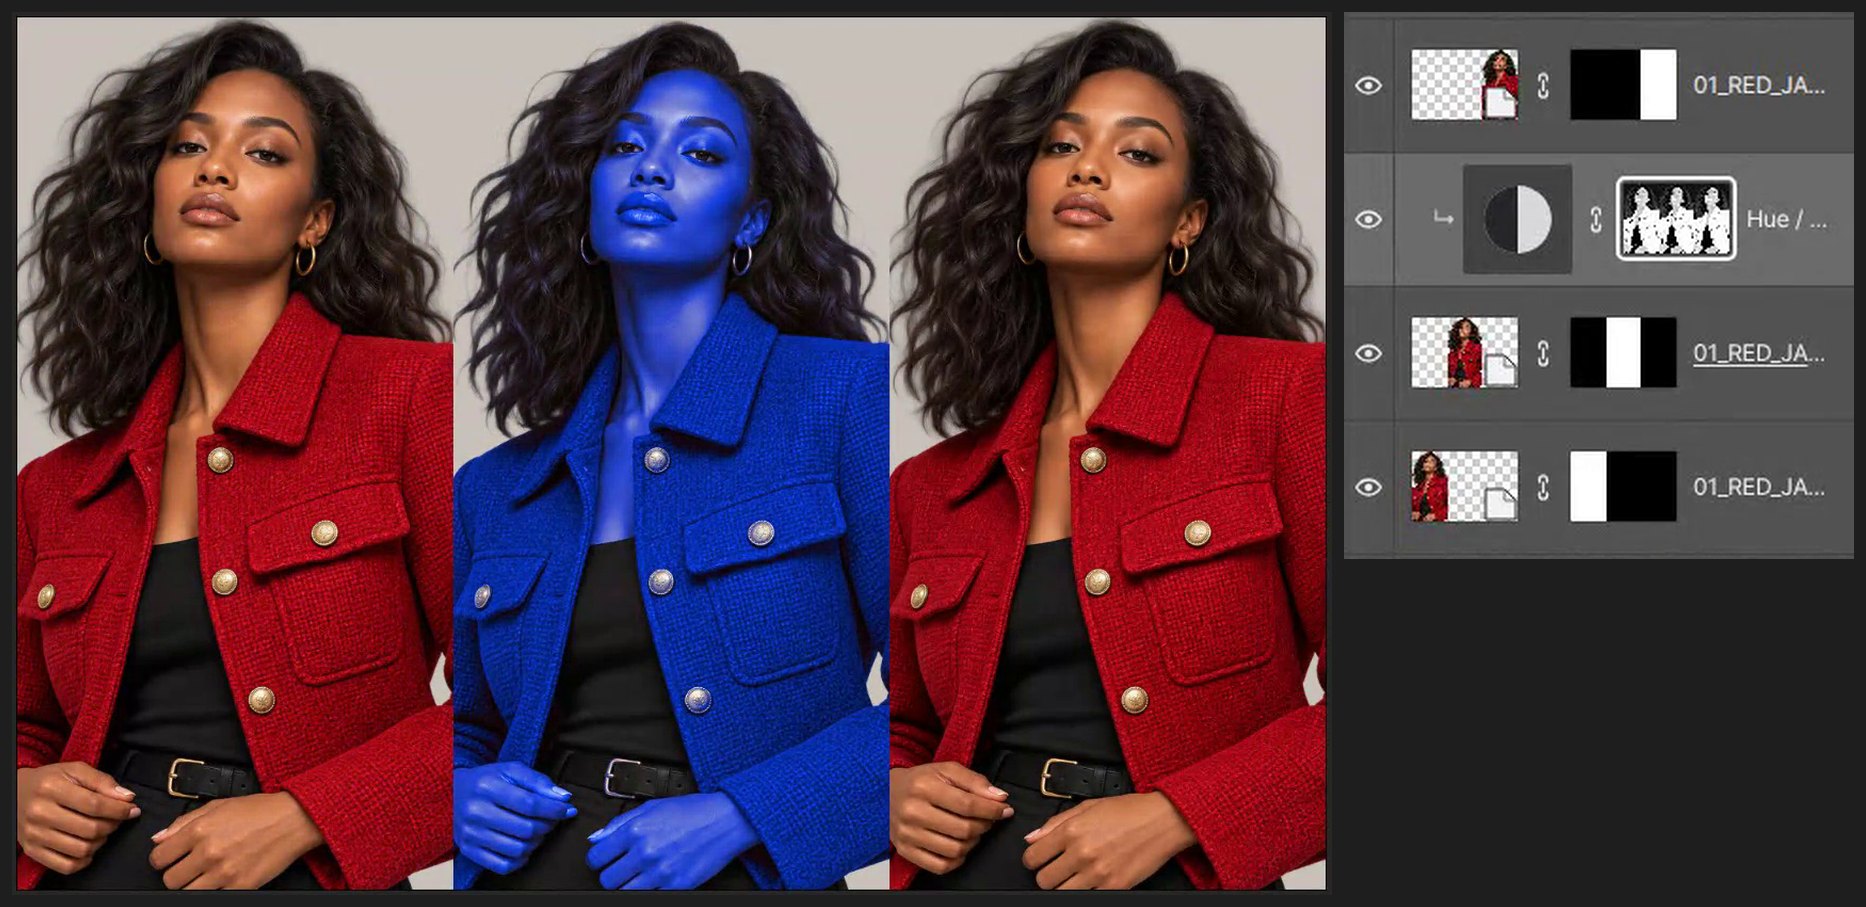
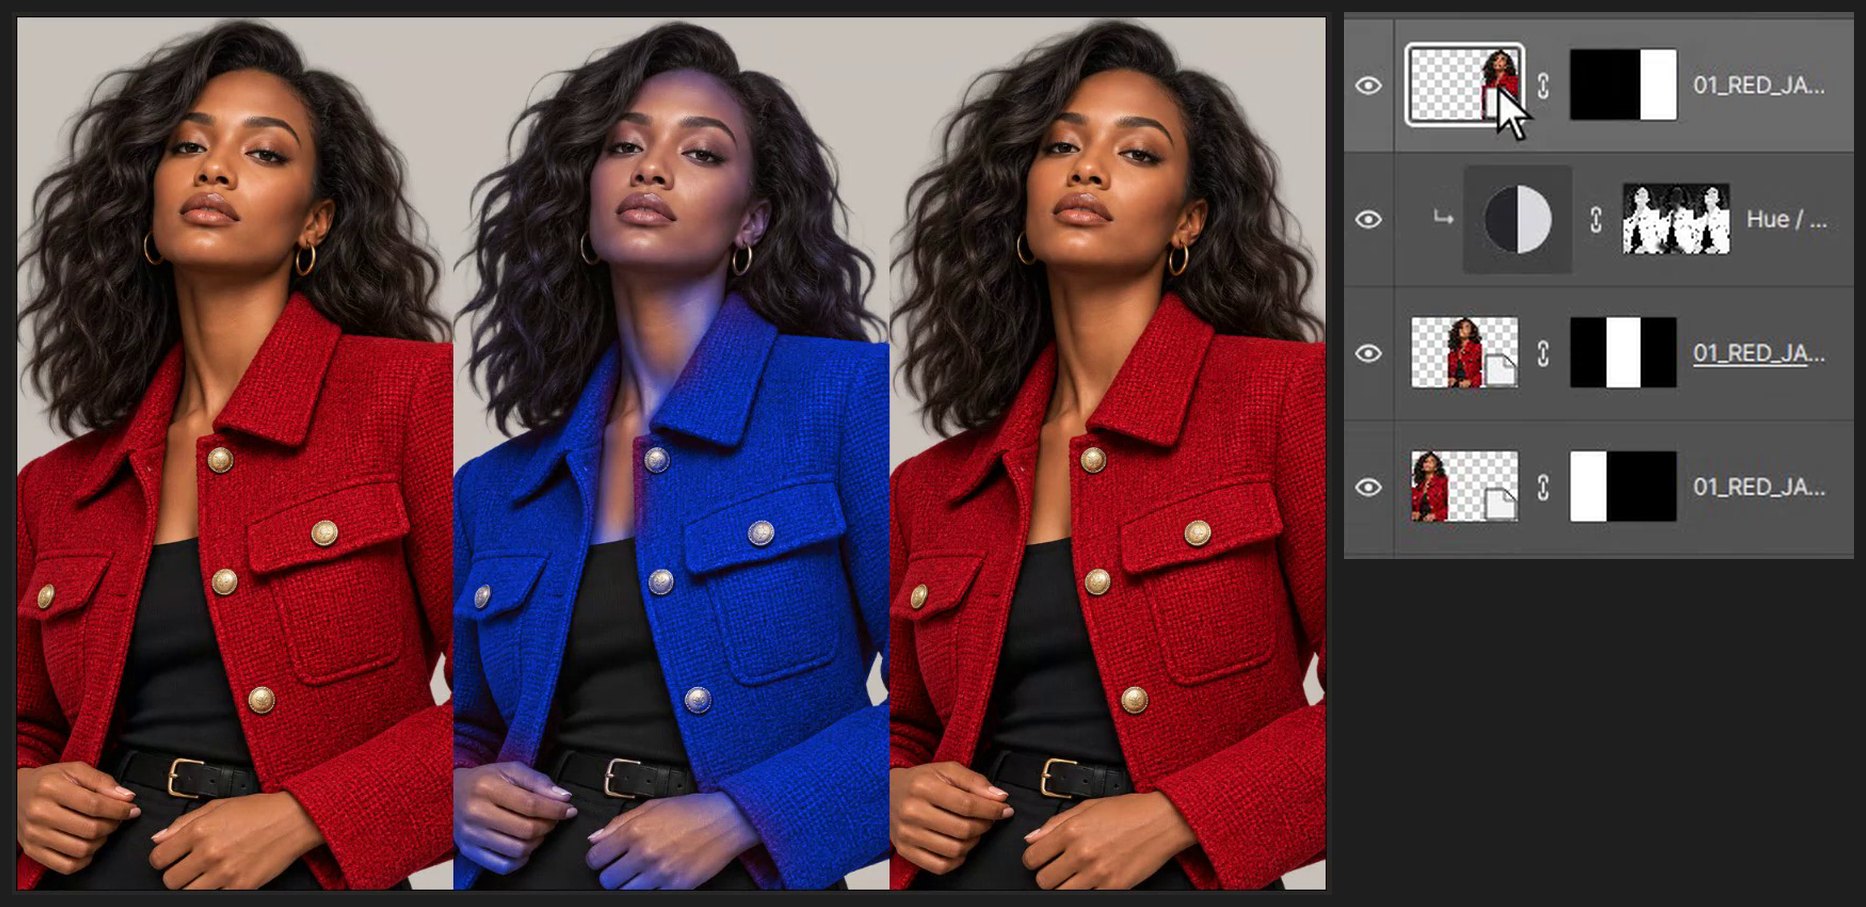
At the bottom of the Layers panel click the half-black, half-white circle (Create new fill or adjustment layer) and choose Hue/Saturation (or Layer > New Adjustment Layer > Hue/Saturation). Its settings open in the Properties panel. The selection becomes its mask. Turn on Colorize, type 226 in Hue and 90 in Saturation. Press Ctrl+Alt+G (Layer > Create Clipping Mask) so it changes only this copy.
-
Keep the skin natural
The new mask is already selected. Press B for the Brush tool and D for black. Type 150 in the Size box on the options bar at the top. Press Shift+[ four times for a soft edge, then press 0 to set the brush opacity to 100%. Paint over the face, hair and hands so they keep their real color.

-
Repeat for violet
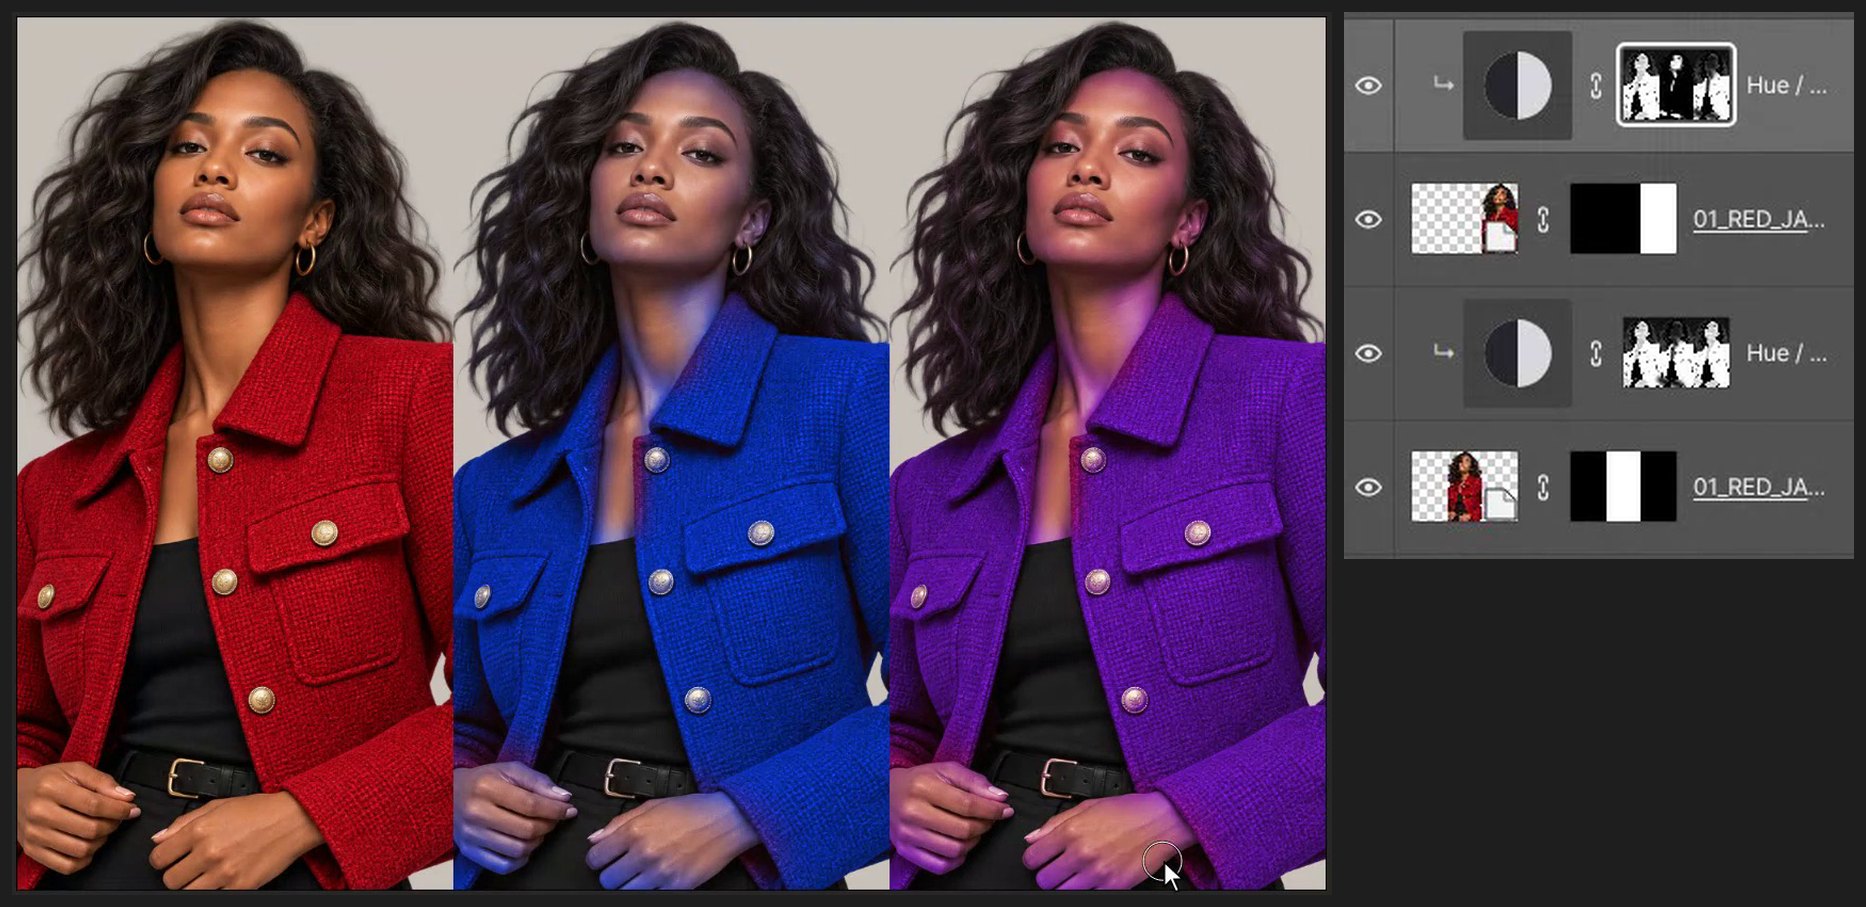
Click the right copy and repeat steps 5 to 7 with Hue 272 and Saturation 65.
-
Compare before and after
Click the eye icons at the left of the layers to turn them off and on and compare before and after.
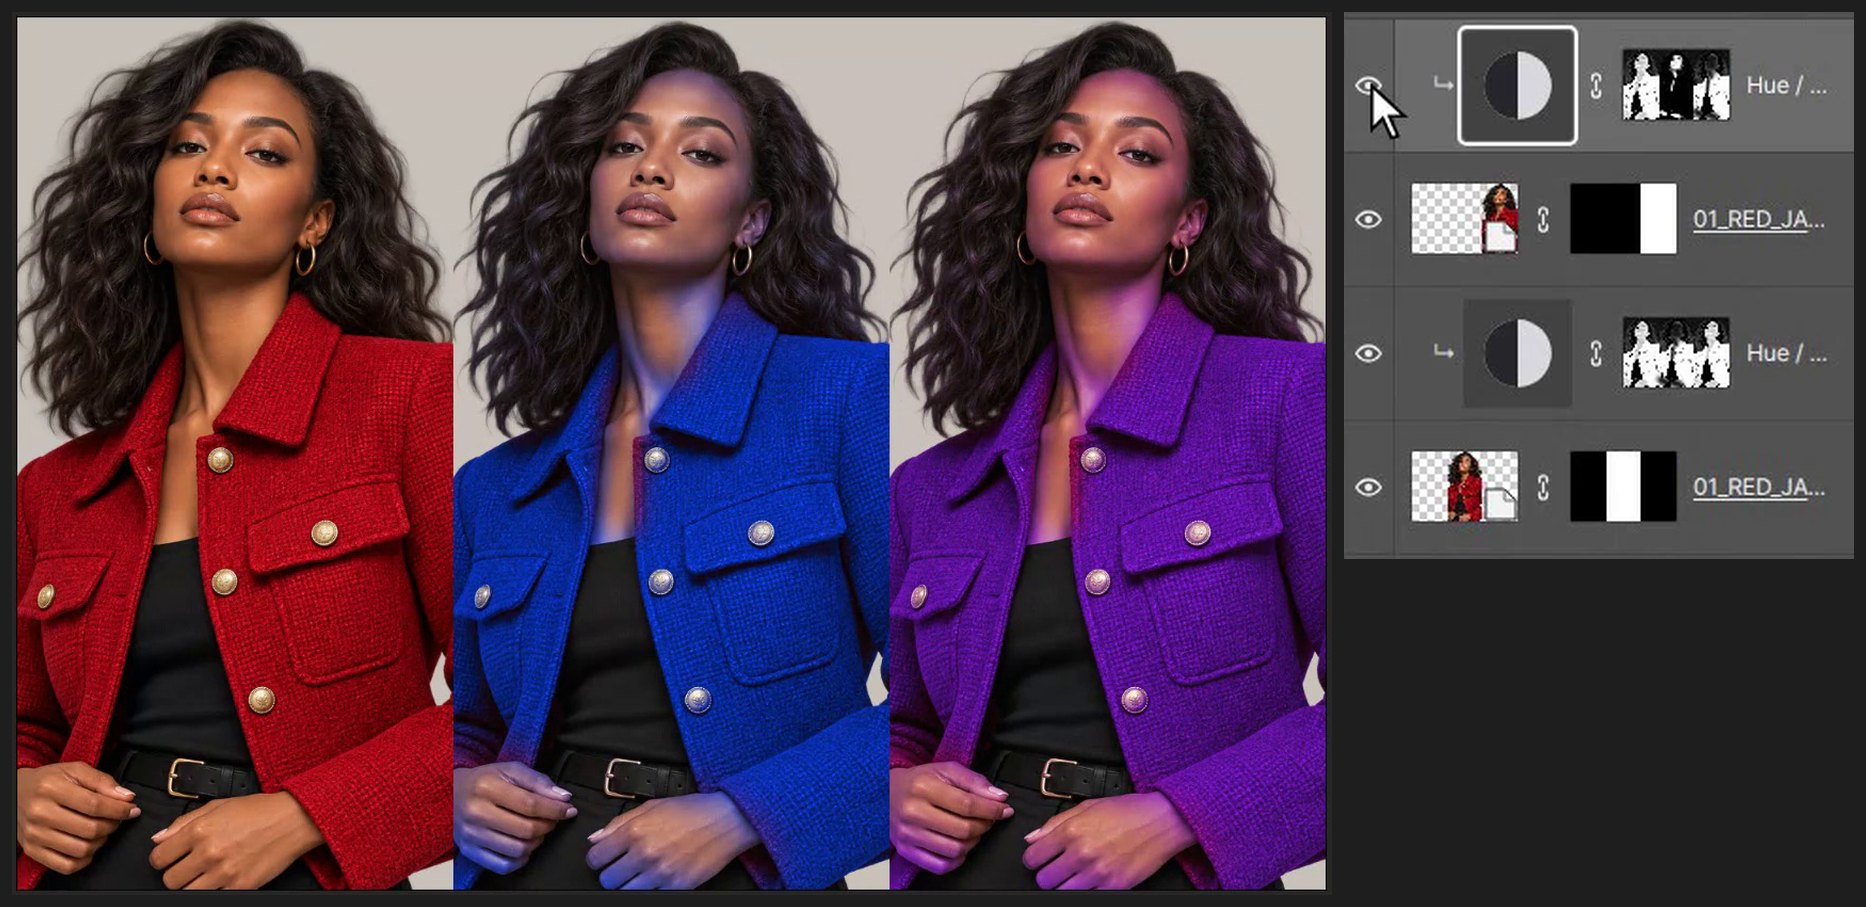
If a browser shortcut takes over, use the matching editor menu command. Keep the source files and practice on a copy.
Questions
Do I need Photoshop for this tutorial?
No. Every step is done in PhotoVim in your browser, with nothing to install. Menu names and shortcuts follow Photoshop, so the steps look familiar if you already use it.
Why does the skin change color too?
Color Range can pick skin tones that are close to red. Paint black on the adjustment layer's mask over the face, hair and hands.