Turn a Day Street Photo into Night with Curves and Painted Light
Turn one daylight street photo into a warm night scene. Darken with Curves, cool with Color Balance, darken the sky with Select > Sky and paint lamps, windows and wet reflections.
Pause at each step and follow the shortcuts on screen. The practice files contain separate source layers; the video is a recorded UI demonstration.
Steps
-
Create a document and place the photo
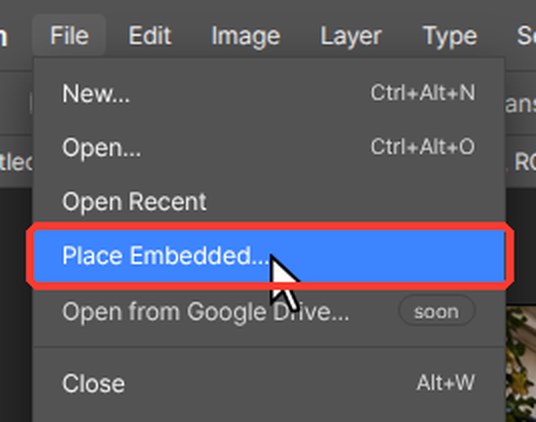
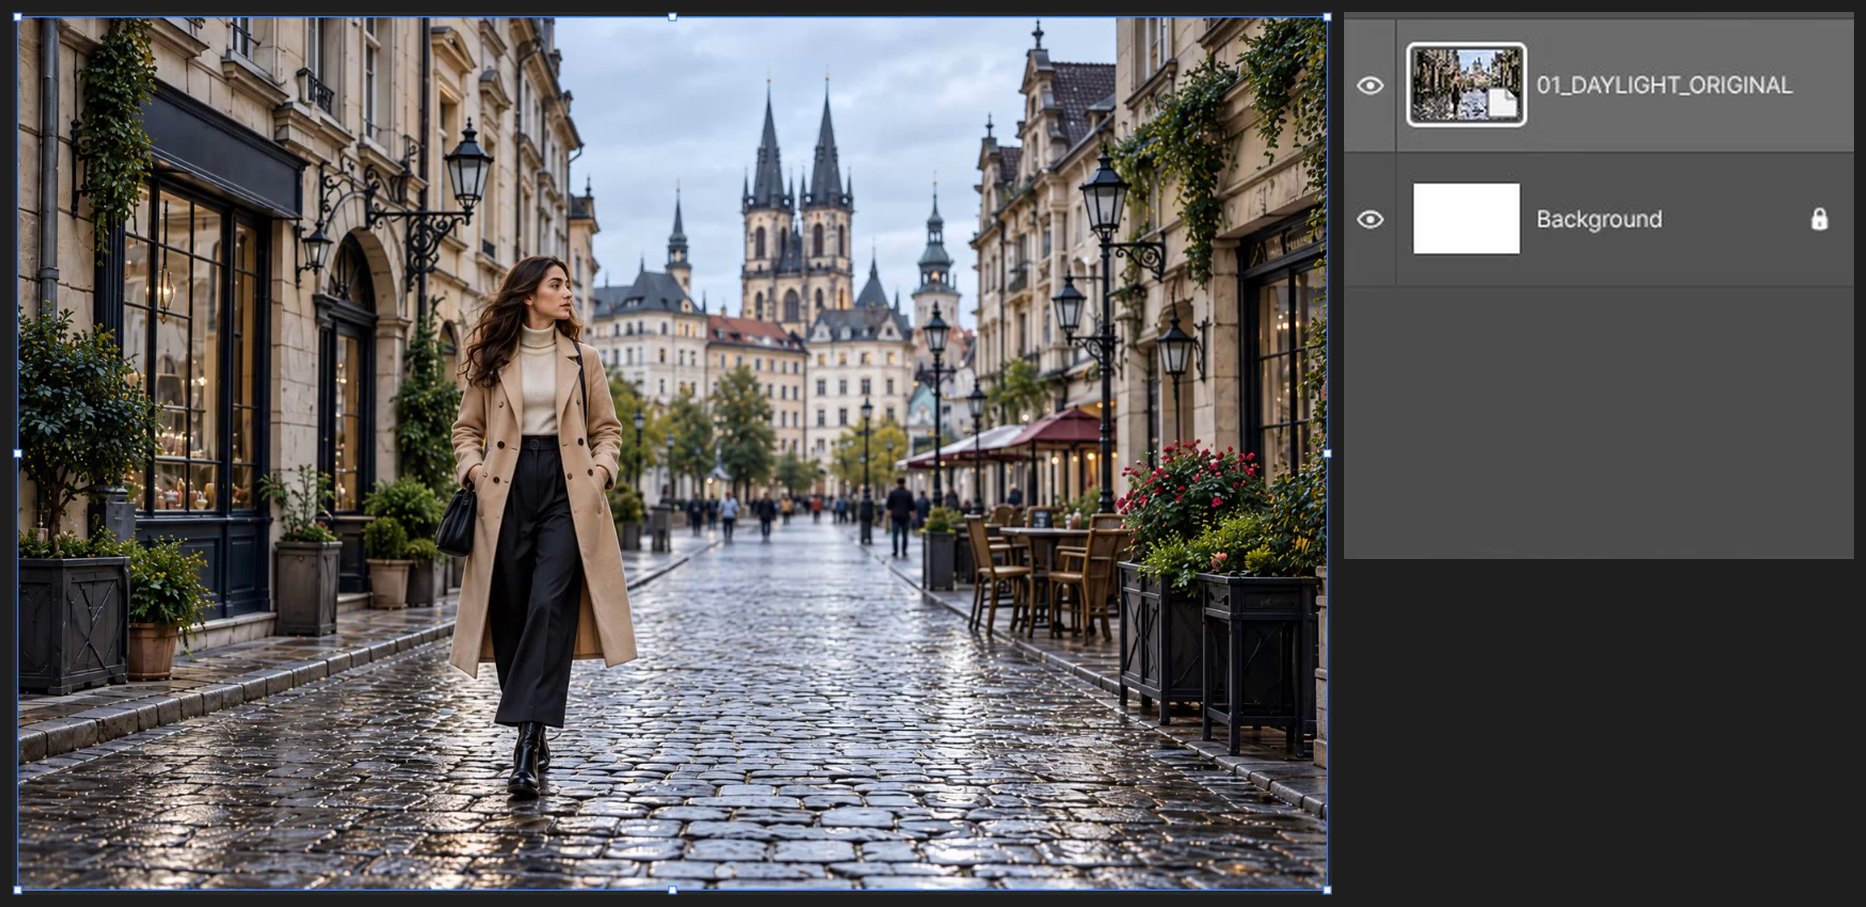
On the start screen click New document (or File > New…, Ctrl+Alt+N). Type 1536 in Width and 1024 in Height, then click Create. Then choose File > Place Embedded…, pick 01_DAYLIGHT_ORIGINAL.png and press Enter.
-
Darken everything with Curves
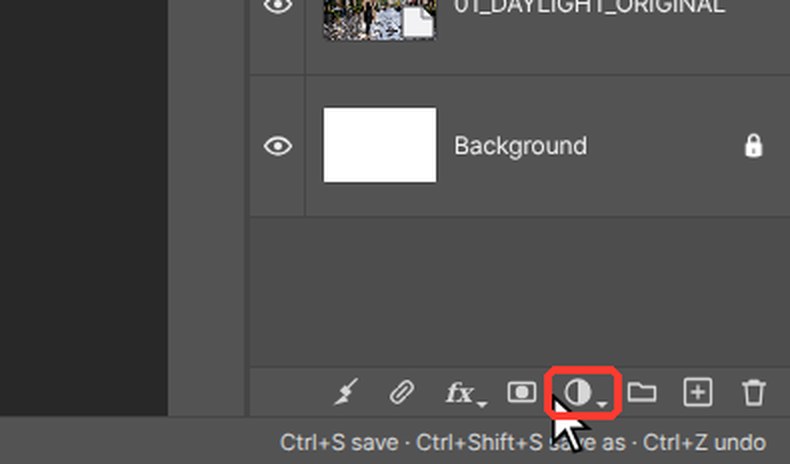
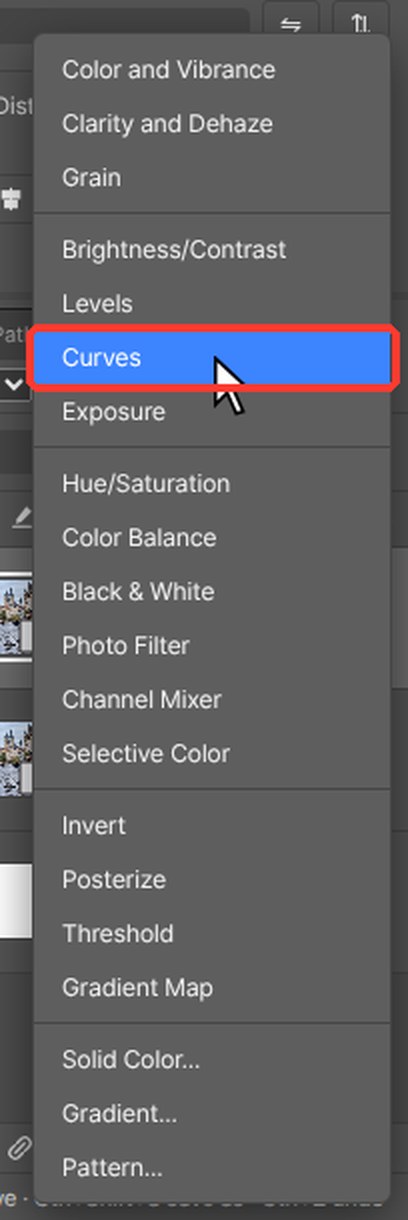
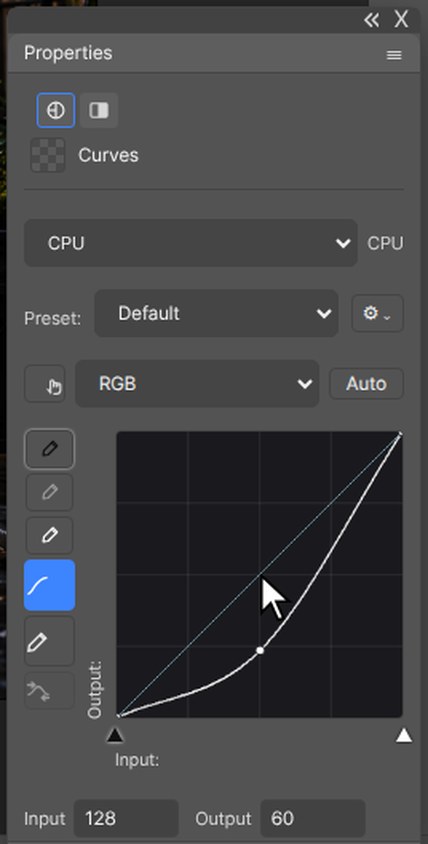
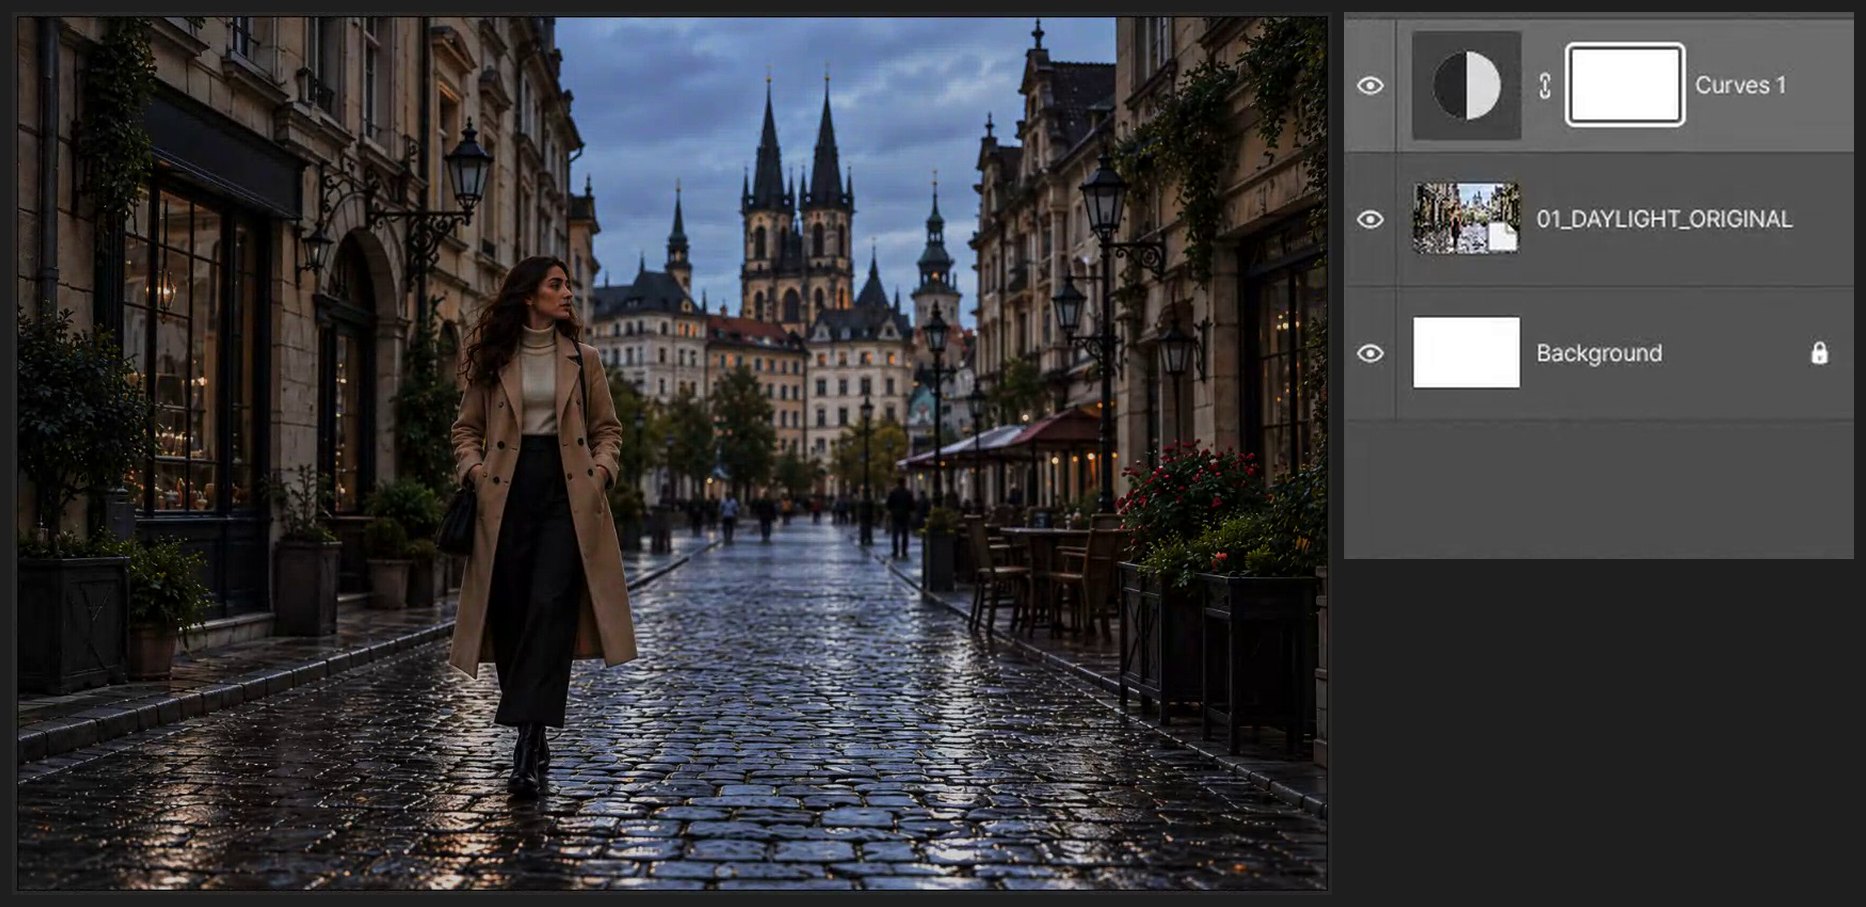
At the bottom of the Layers panel click the half-black, half-white circle (Create new fill or adjustment layer) and choose Curves (or Layer > New Adjustment Layer > Curves). Its settings open in the Properties panel. In the curve graph drag the middle of the line down (input 128 to about 52), add a point at 200 and drag it to about 115, and drag the top right end down to about 205.
-
Add night colors
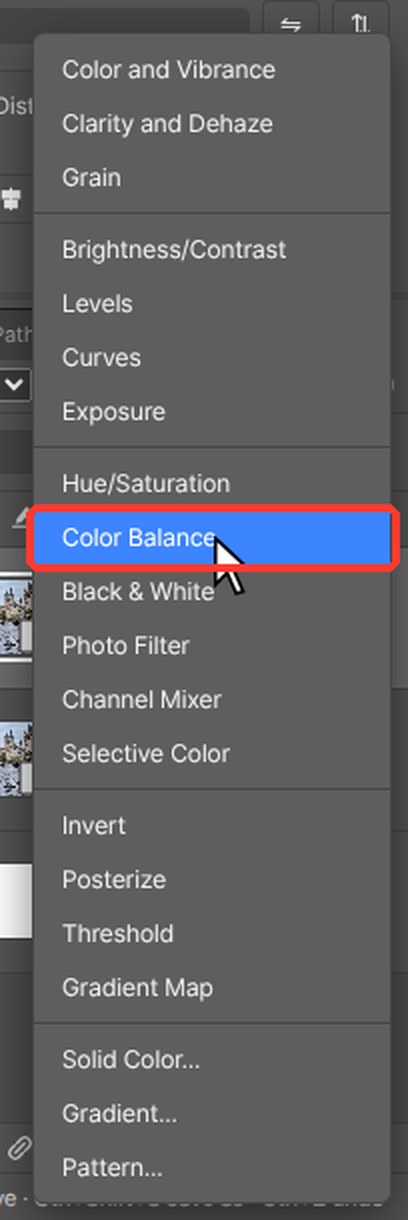
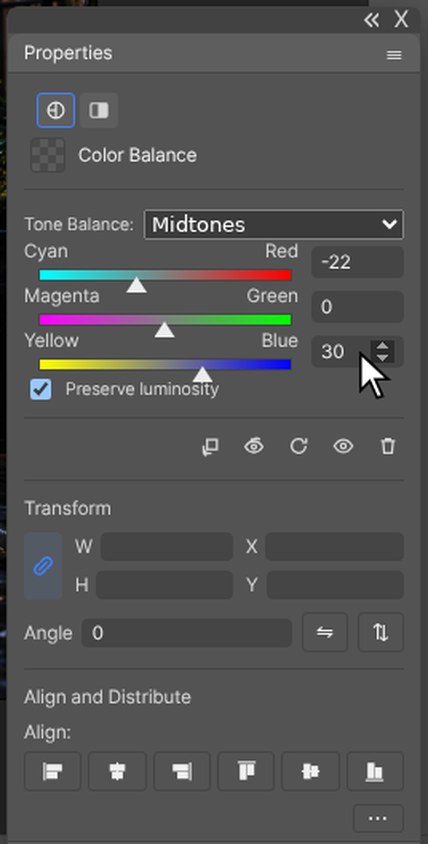
At the bottom of the Layers panel click the half-black, half-white circle (Create new fill or adjustment layer) and choose Color Balance (or Layer > New Adjustment Layer > Color Balance). Its settings open in the Properties panel. With Tone set to Midtones type -22 for Cyan–Red and +30 for Yellow–Blue. Switch Tone to Shadows and type -15 and +25.
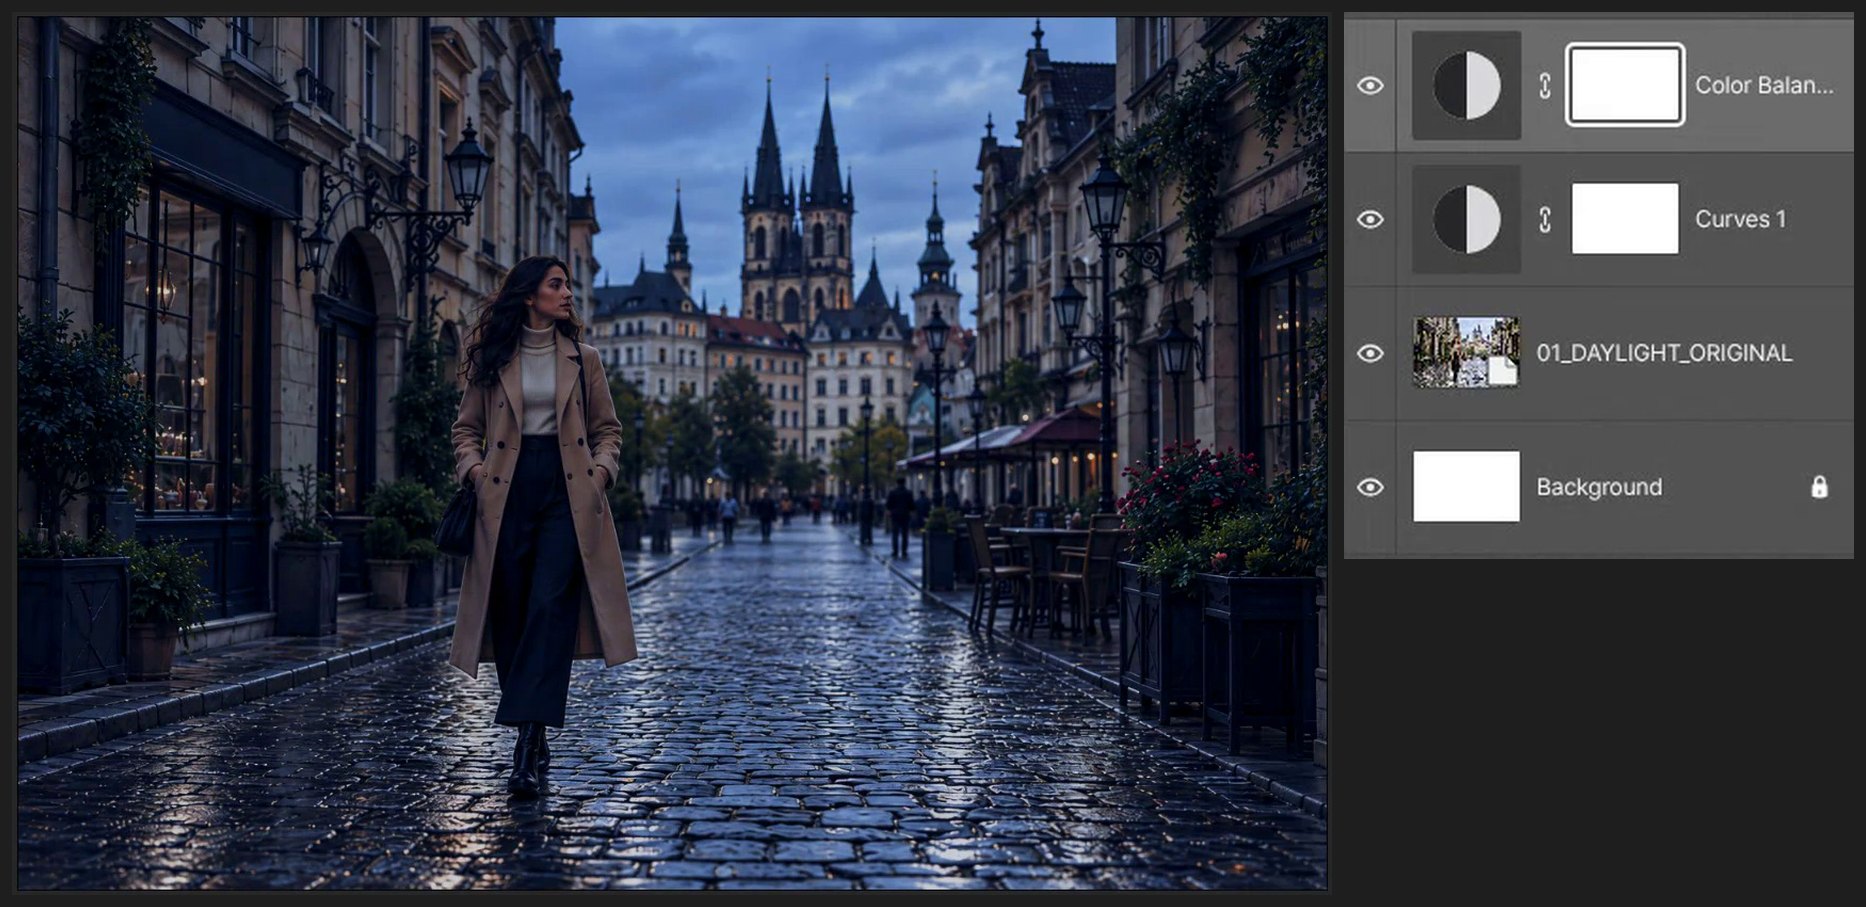
-
Darken only the sky
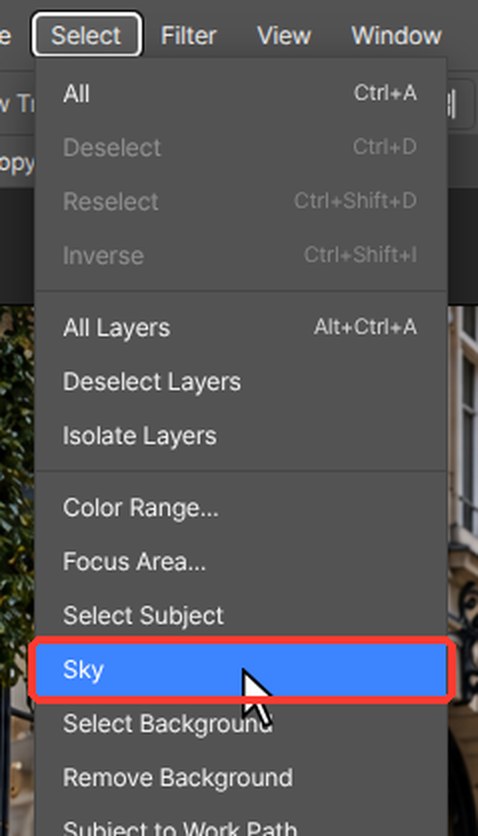
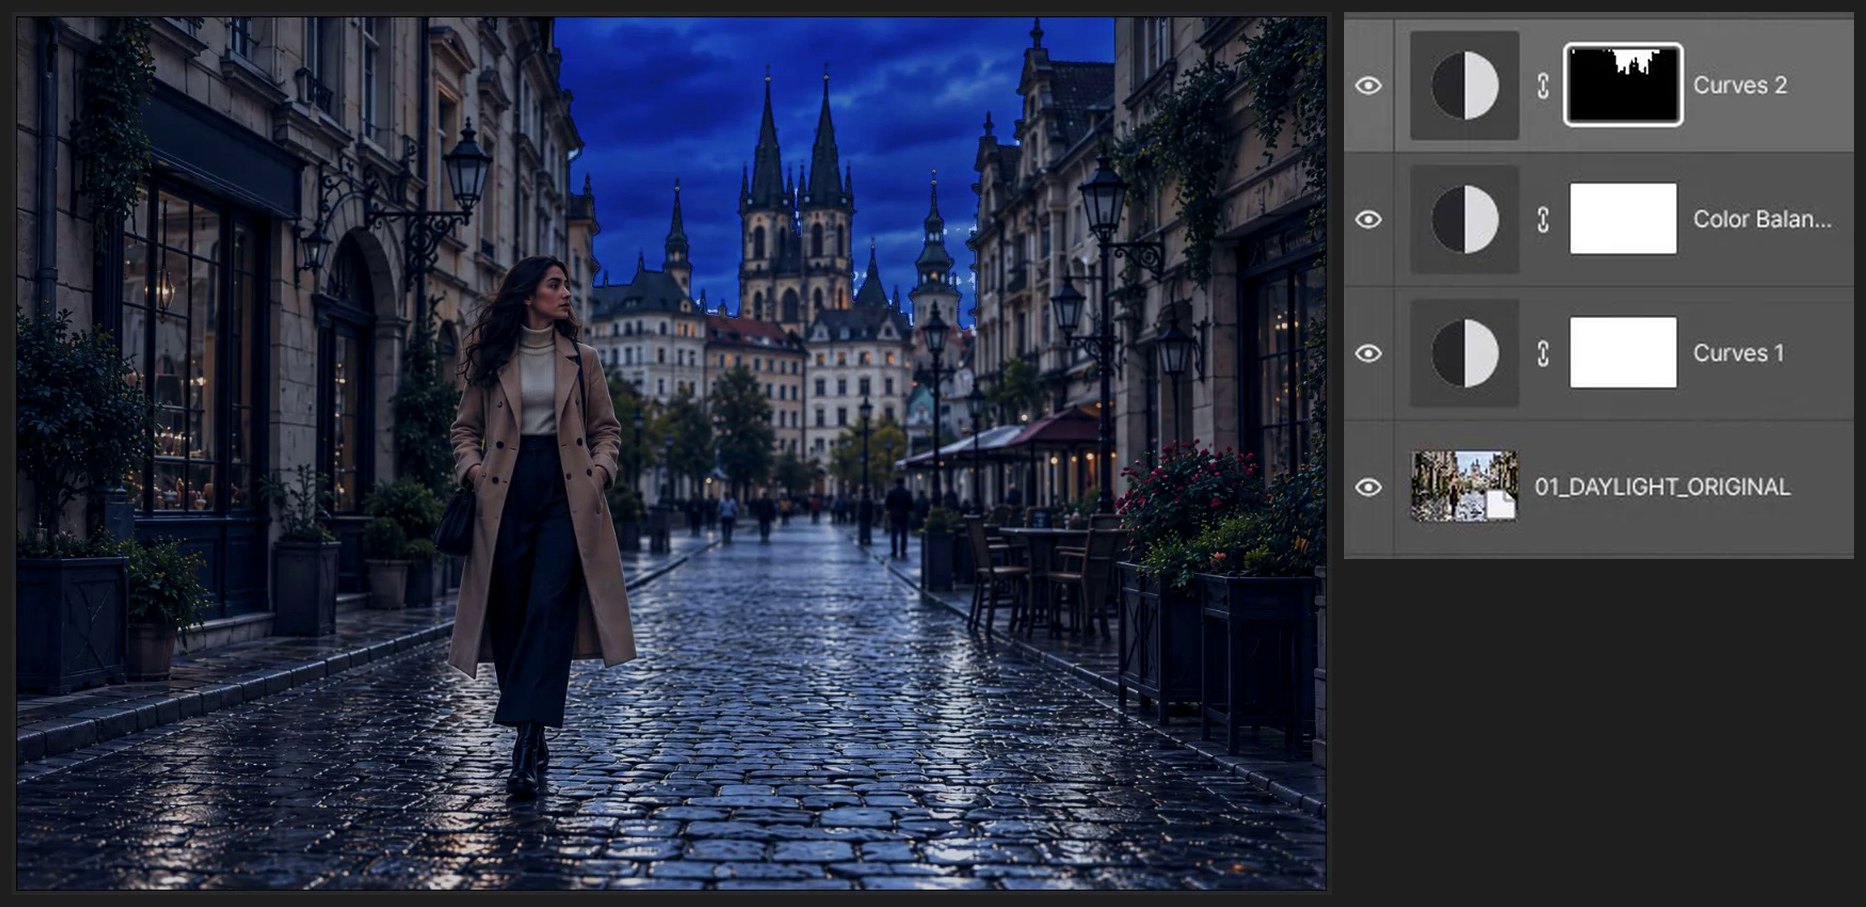
Click the photo layer and choose Select > Sky. Wait for the moving dotted outline around the sky. Click the Color Balance layer, then add a Curves adjustment the same way: the selection becomes its mask. Drag the middle of the line down to about 35, choose Blue in the Channel list and drag its middle up to about 138.
-
Keep her face readable
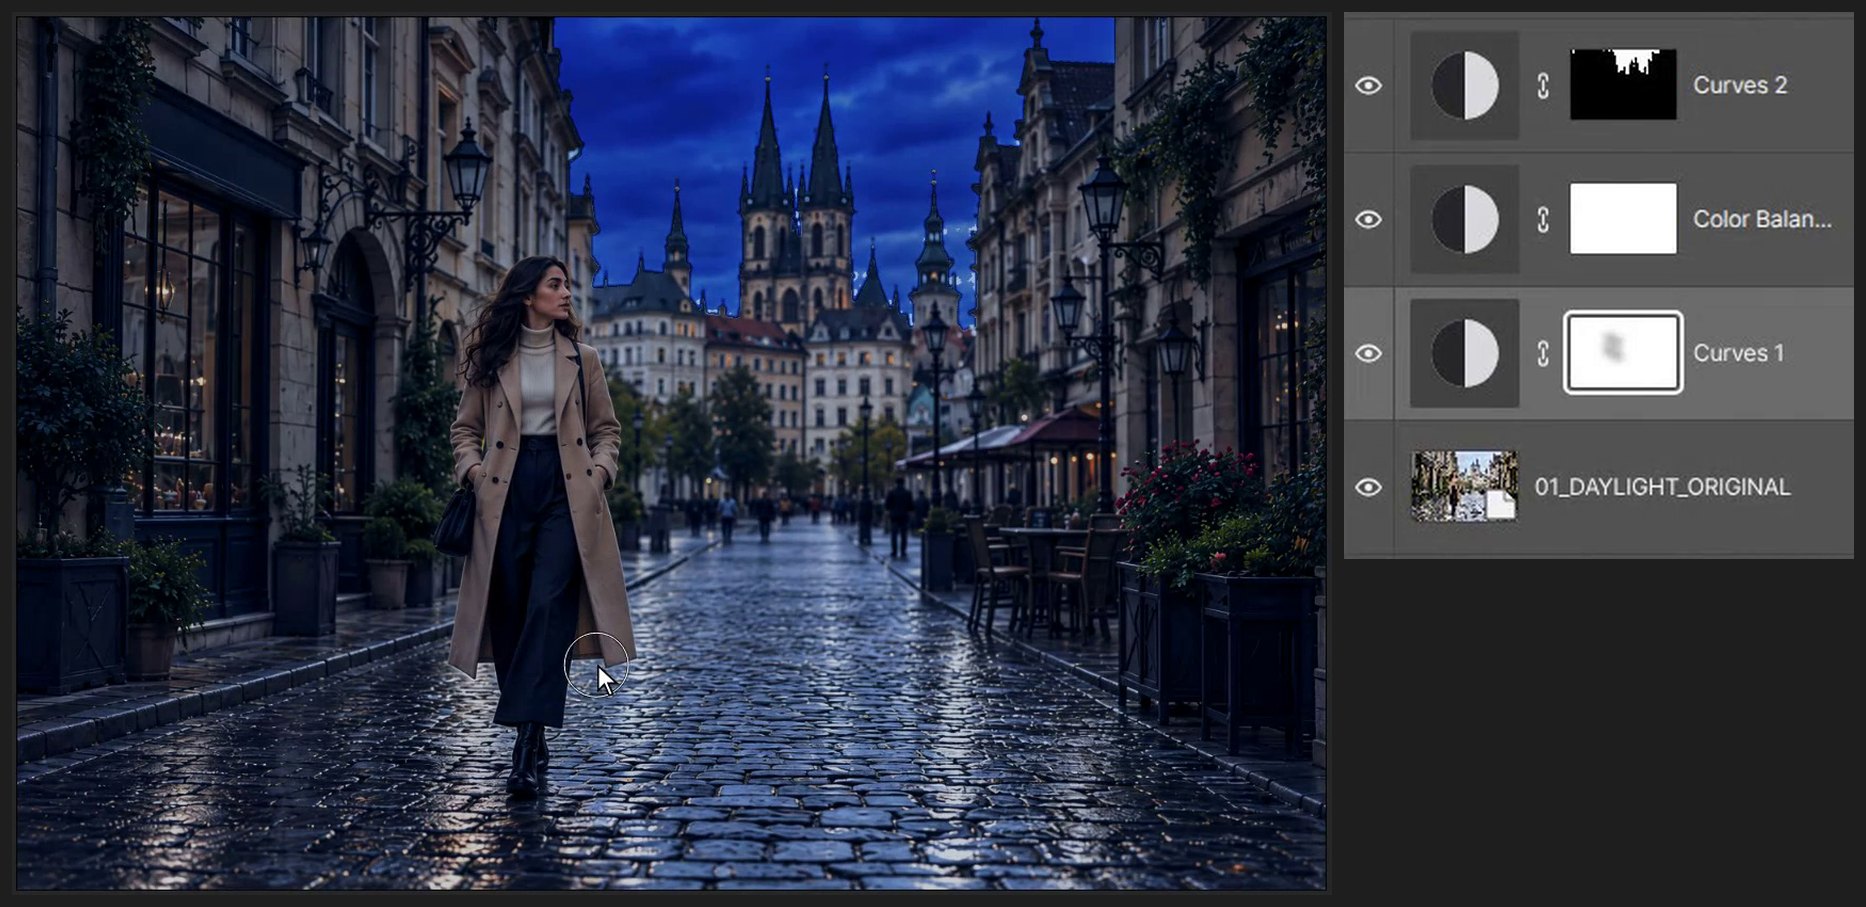
Click the white mask thumbnail (the box to the right) on the Curves 1 layer. Press B for the Brush tool and D for black. Type 150 in the Size box on the options bar at the top. Press Shift+[ four times for a soft edge, then press 3 to set the brush opacity to 30%. Paint over her face.

-
Turn on the street lamps
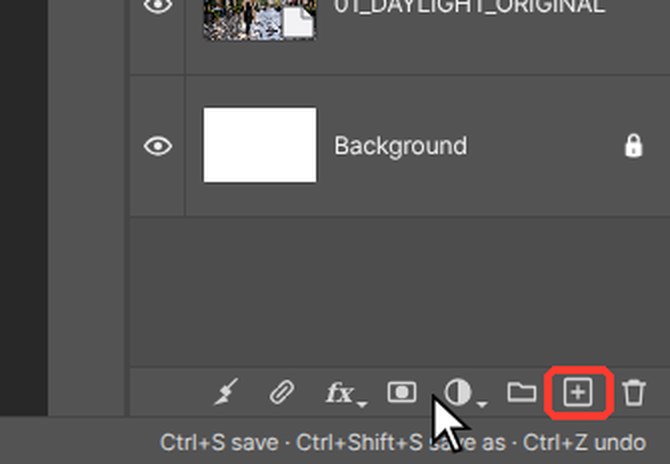
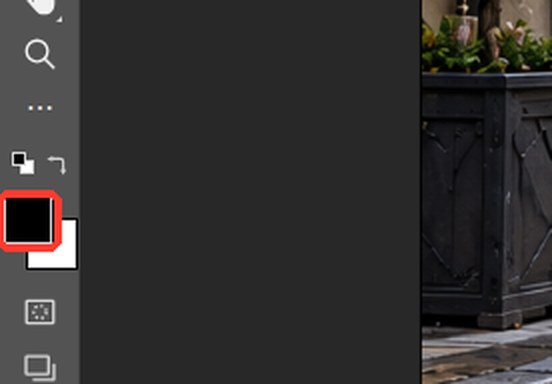
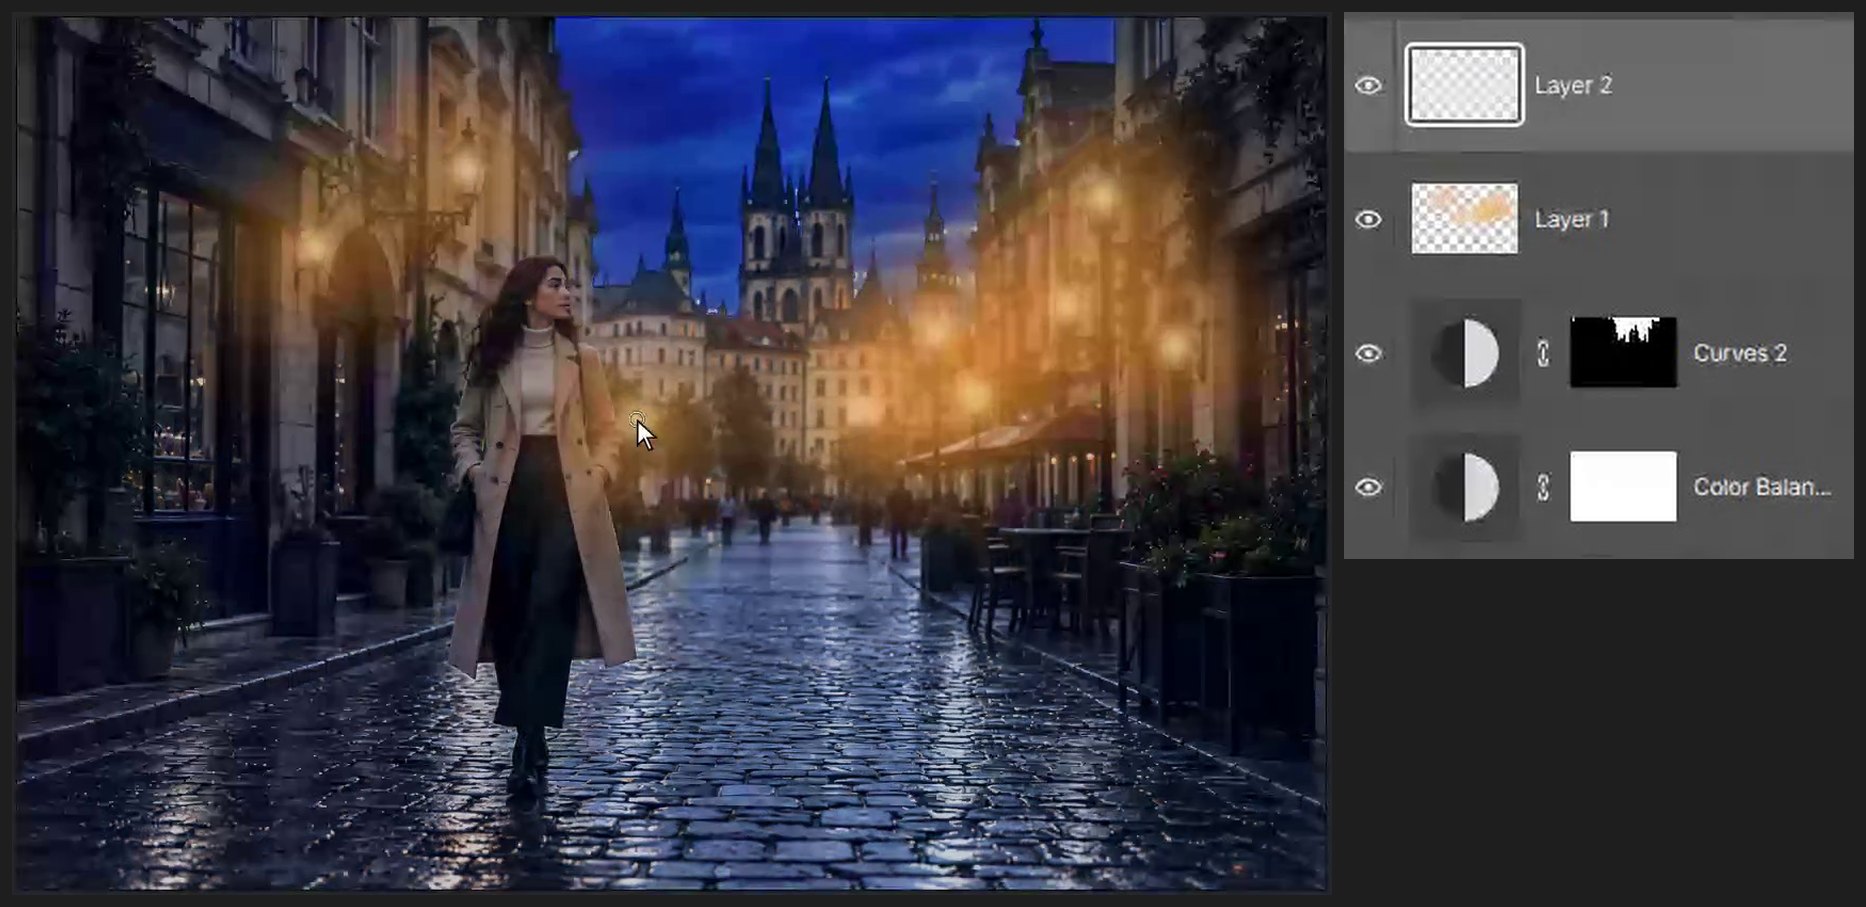
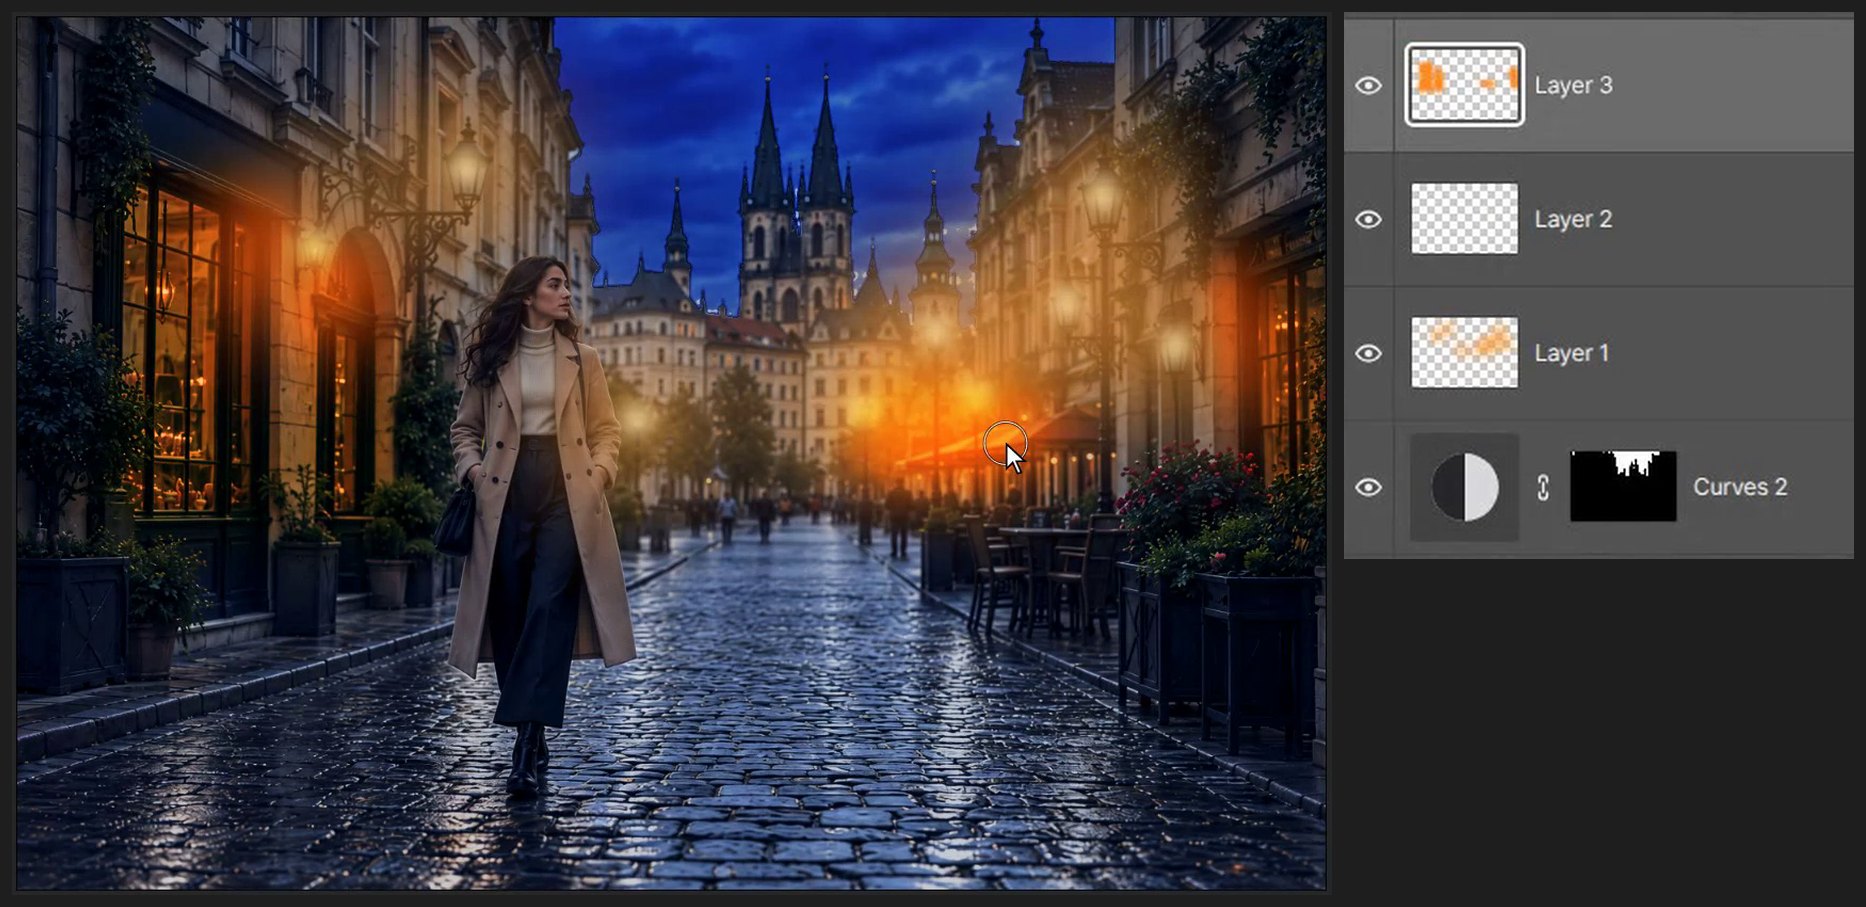
Click the Curves 2 layer and click the Create a new layer button (the square with a plus sign) at the bottom of the Layers panel. Click the top color square at the bottom of the toolbar on the left (Foreground color). Type FF9B32 in the # box and click OK. Press B, set Size to 190, press 7 for 70% and click once on each lamp. Add another new layer, set the color to FFE2A1, Size 34, press 0 for 100% and click the center of each lamp.
-
Light the windows
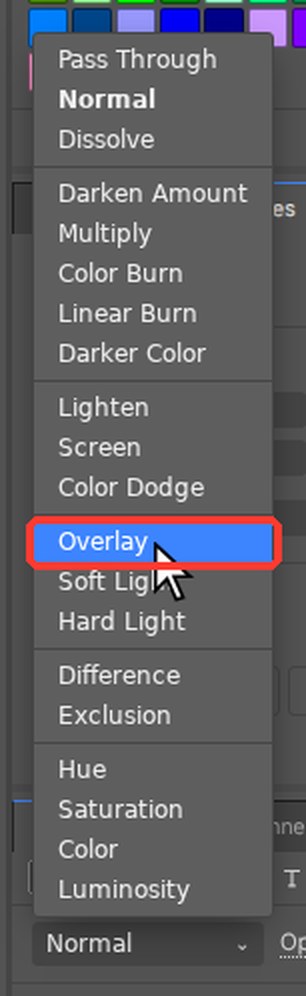
Click the Create a new layer button (the square with a plus sign) at the bottom of the Layers panel. Open the blend mode list at the top left of the Layers panel (it says Normal) and choose Overlay. Set the color to FF8A1E, Size 100, and paint inside the shop windows.
-
Paint wet reflections
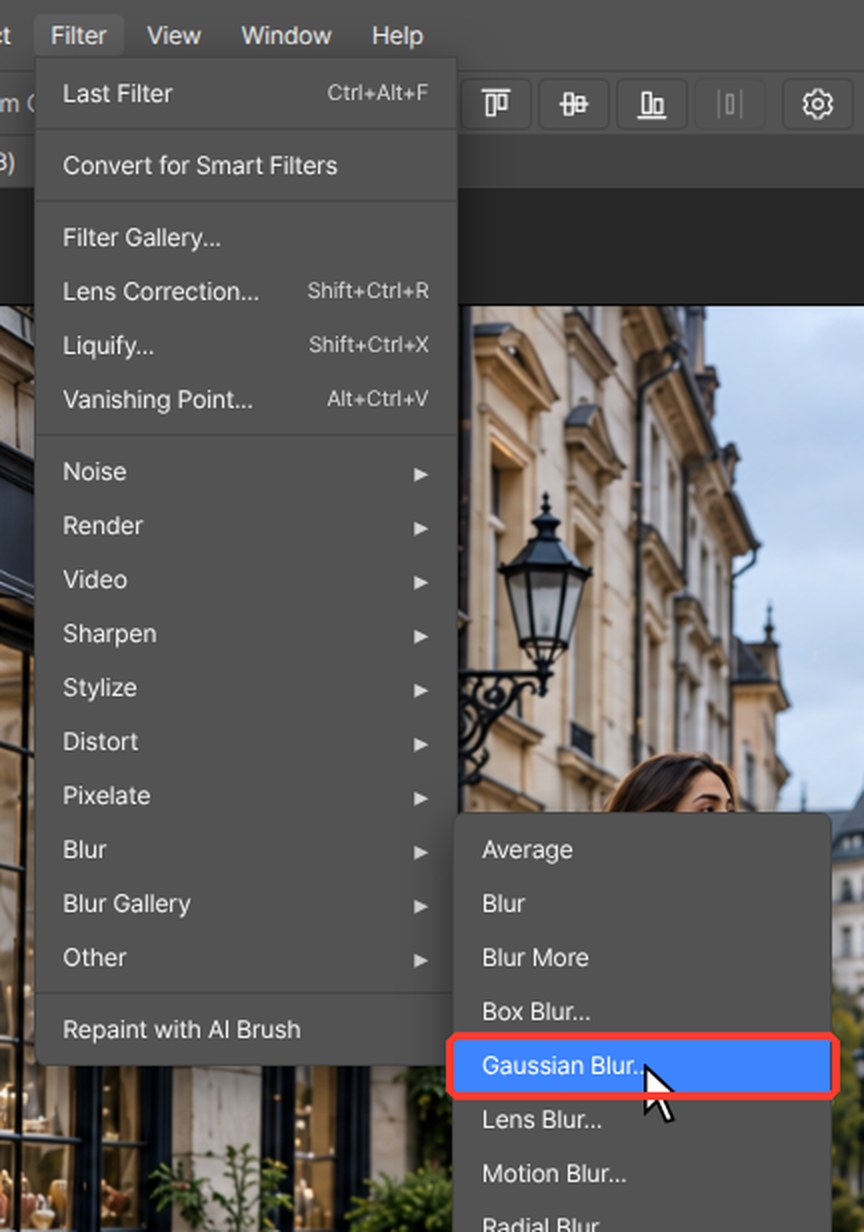
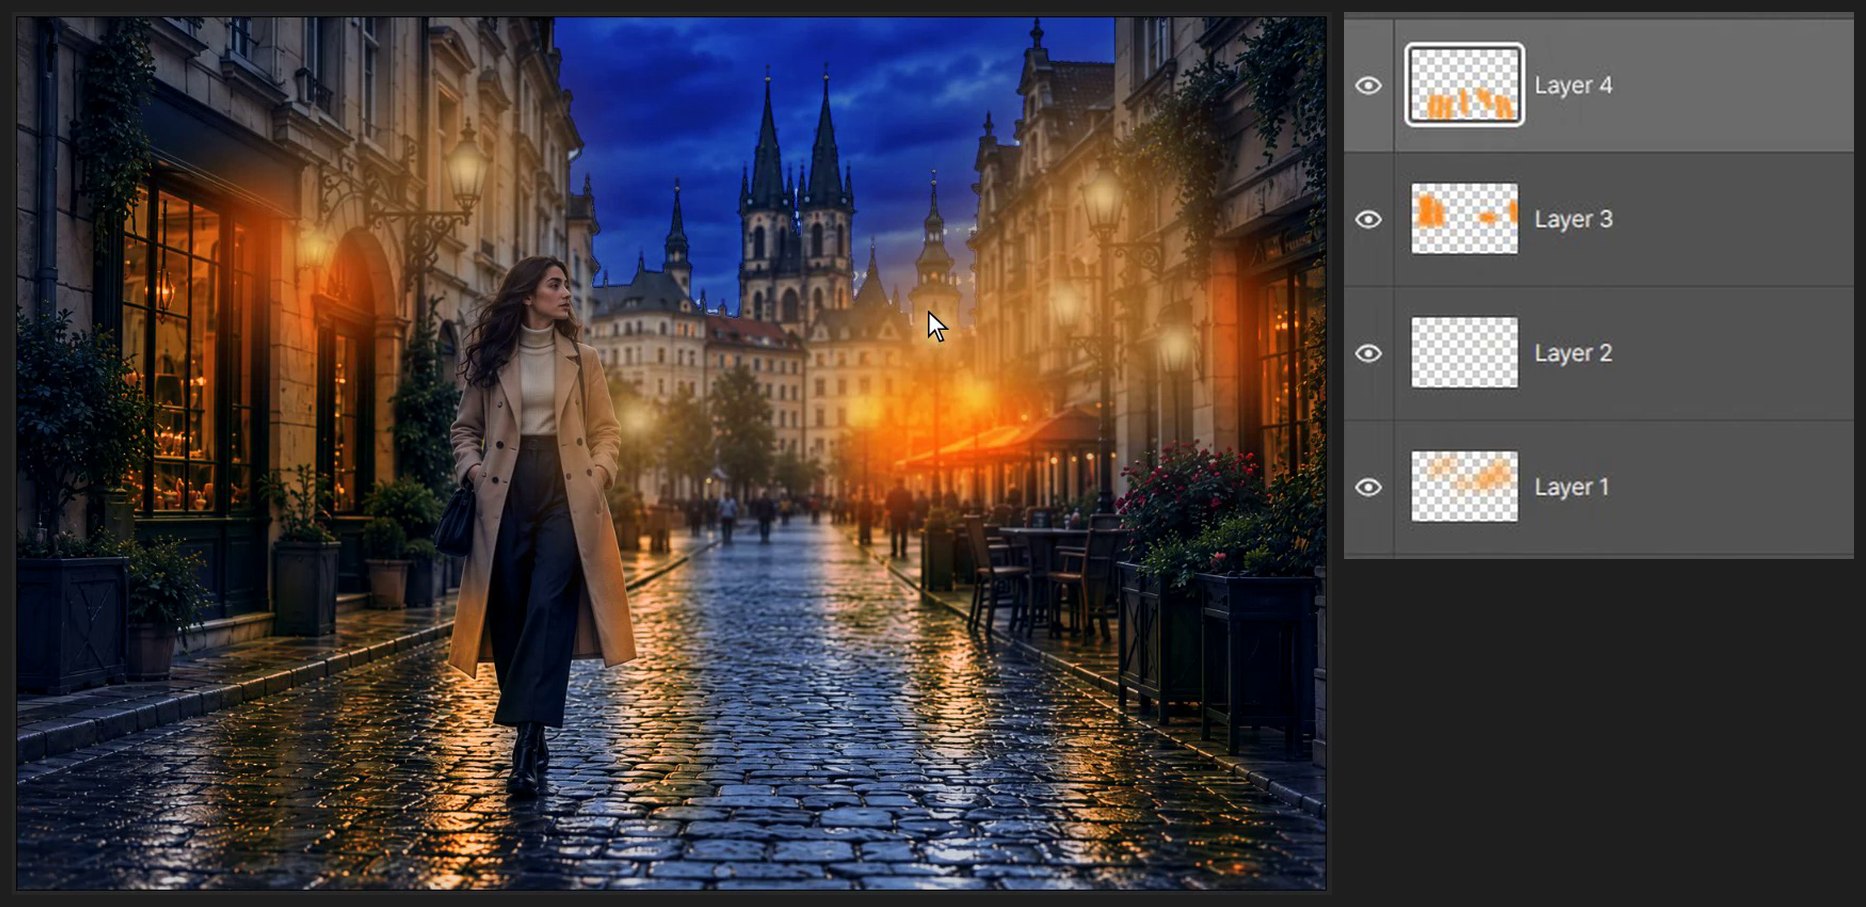
Add another new layer set to Overlay. With color FF9B32 and Size 70, paint short downward strokes on the street below each lamp. Choose Filter > Blur > Gaussian Blur…, type 5 in Radius and click OK.
-
Group and compare
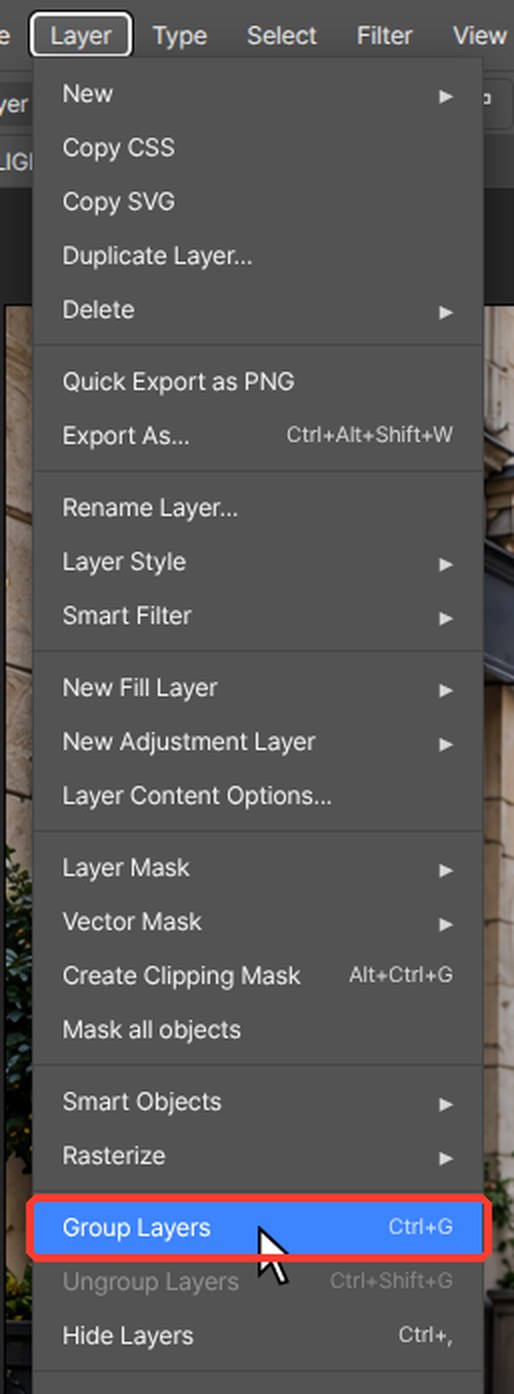
Click Curves 1, hold Shift and click the top layer to select all night layers. Press Ctrl+G (Layer > Group Layers). Click the eye icon of the group to compare day and night.
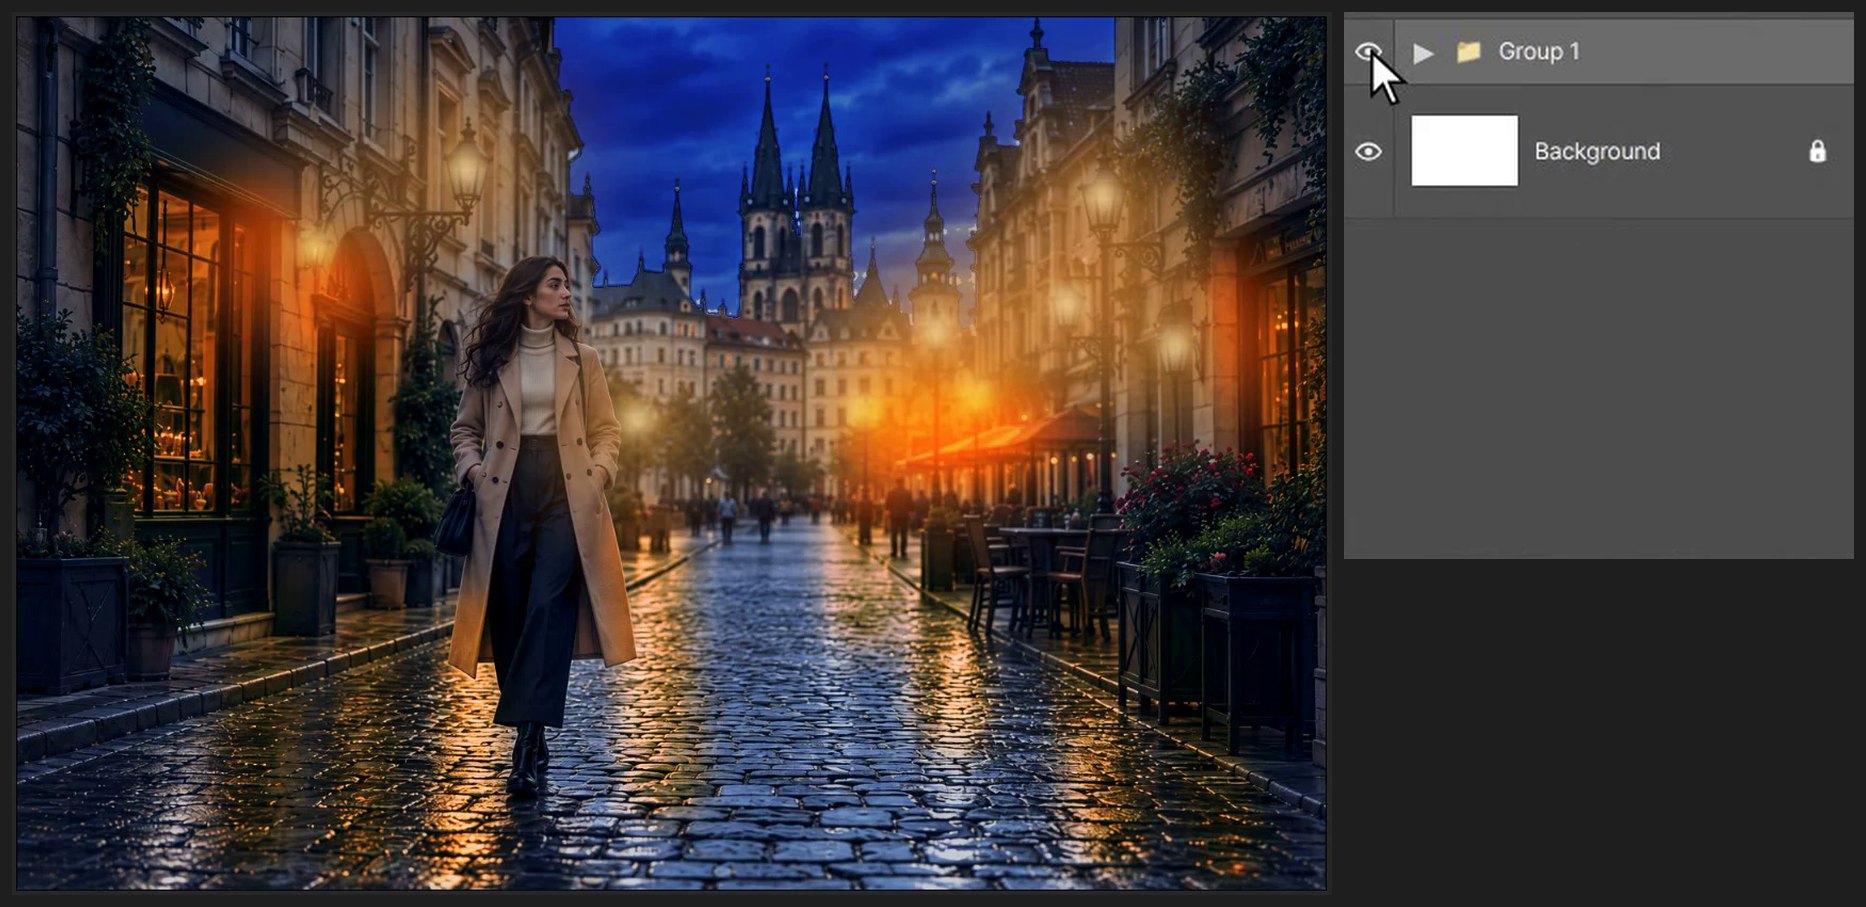
If a browser shortcut takes over, use the matching editor menu command. Keep the source files and practice on a copy.
Questions
Do I need Photoshop for this tutorial?
No. Every step is done in PhotoVim in your browser, with nothing to install. Menu names and shortcuts follow Photoshop, so the steps look familiar if you already use it.
Can I switch between day and night?
Yes. All night layers are in one group, so turning the group's eye off shows the original daylight photo.