Create a Coastal Travel Cover with Layered Photos and Type
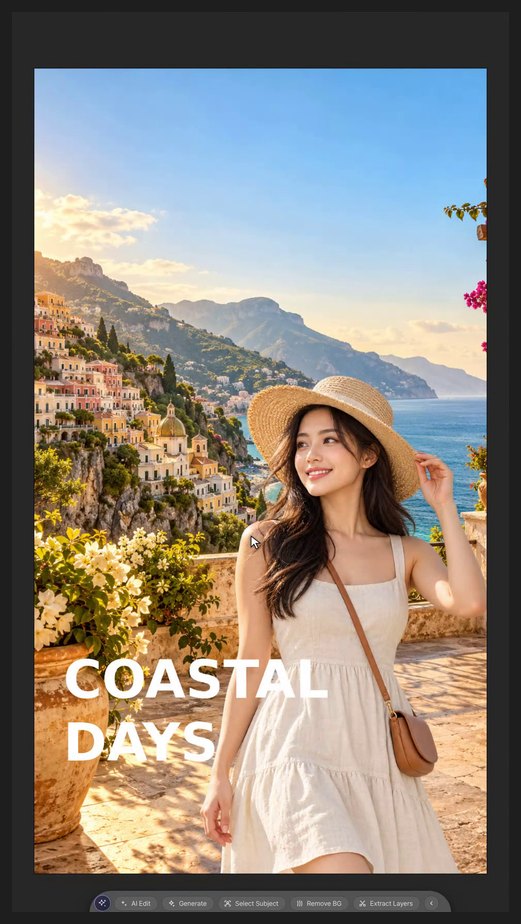
Composite a coastal scene and transparent portrait, then add an editable COASTAL DAYS headline. Includes a recorded workflow, English subtitles and practice sources.
Pause at each step and follow the shortcuts on screen. The practice files contain separate source layers; the video is a recorded UI demonstration.
Steps
-
Create the document and place the background
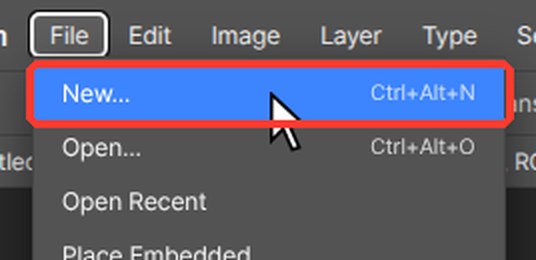
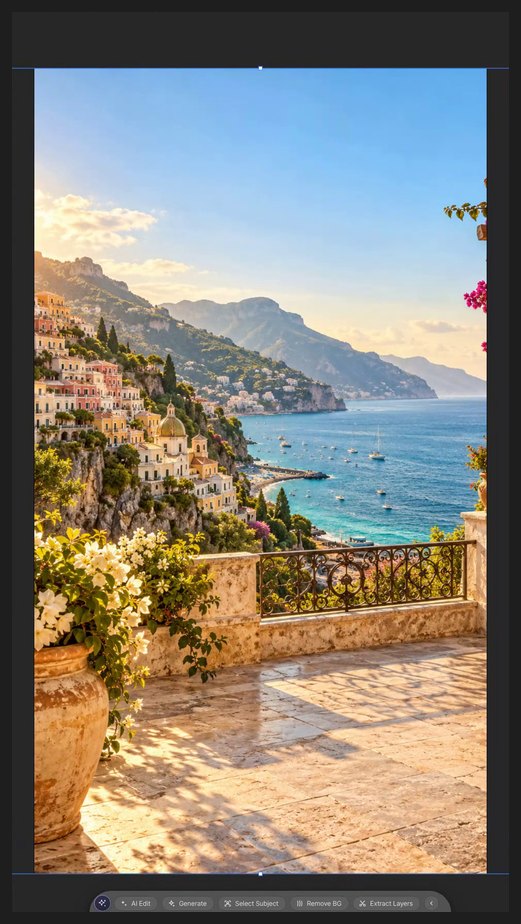
Press Ctrl+Alt+N (or File > New…). Type 1080 in Width and 1920 in Height, then click Create. Choose File > Place Embedded… and pick 02_BACKGROUND.png. Drag inside the box to move it and drag a corner handle to resize it. Press Enter (or double-click the image) to finish.
-
Place the person low in the frame
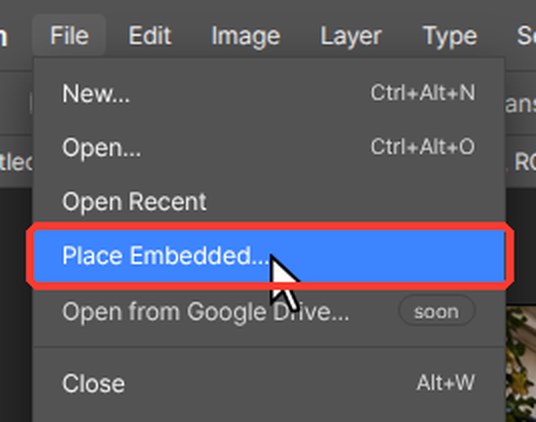
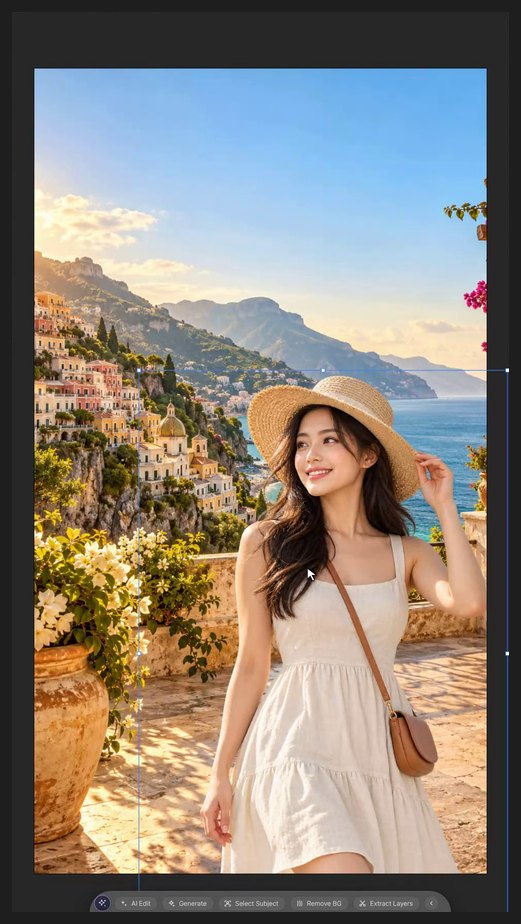
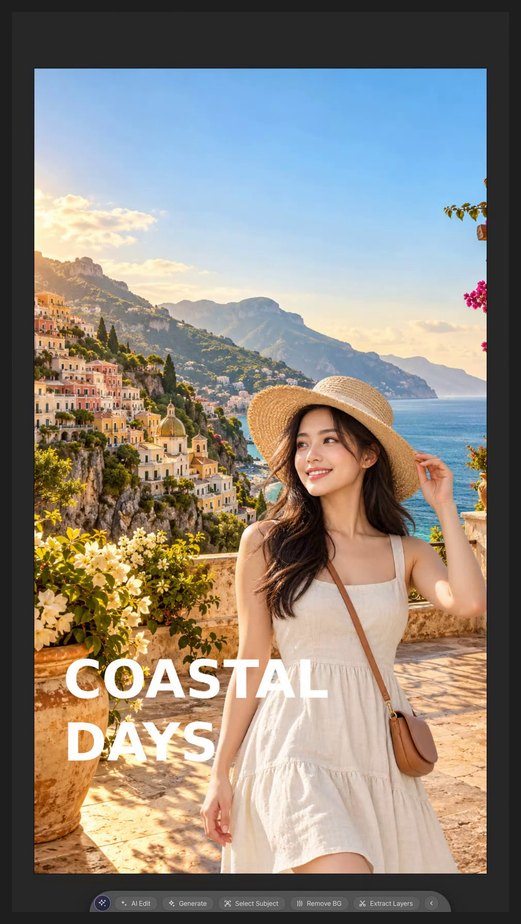
Choose File > Place Embedded… and pick 01_PERSON_TRANSPARENT.png. Drag inside the box to move it and drag a corner handle to resize it. Press Enter (or double-click the image) to finish. Press V and drag her down so the cut edge at the bottom of the photo stays below the canvas.
-
Type the cover title
Press D, then X so white is the foreground color. Press T for the Type tool, click on the canvas and type COASTAL, press Enter, and type DAYS. Press Ctrl+Enter to finish.
-
Check the details
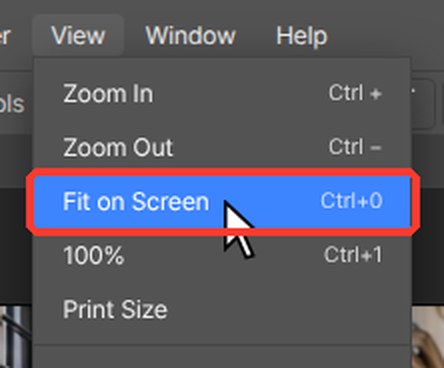
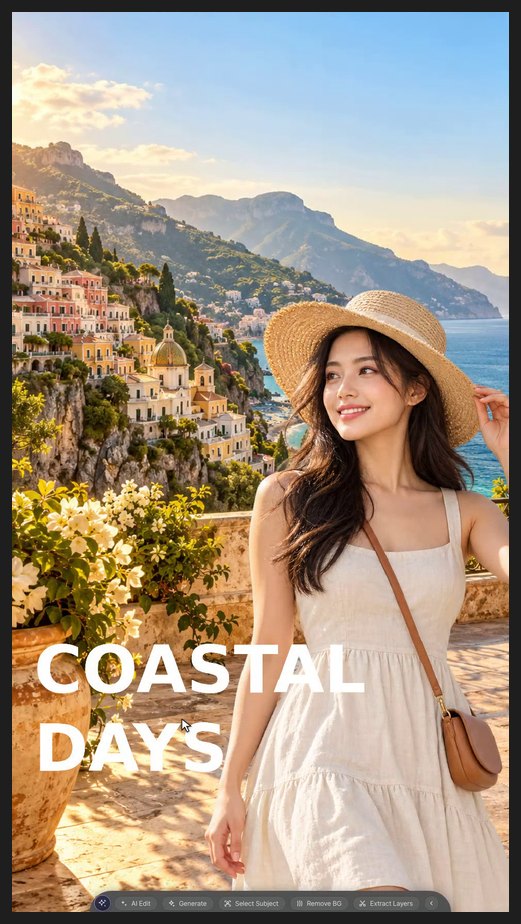
Press Z for the Zoom tool and click on the area you want to check. Press Ctrl+0 (View > Fit on Screen) to see the whole picture again.
-
Save
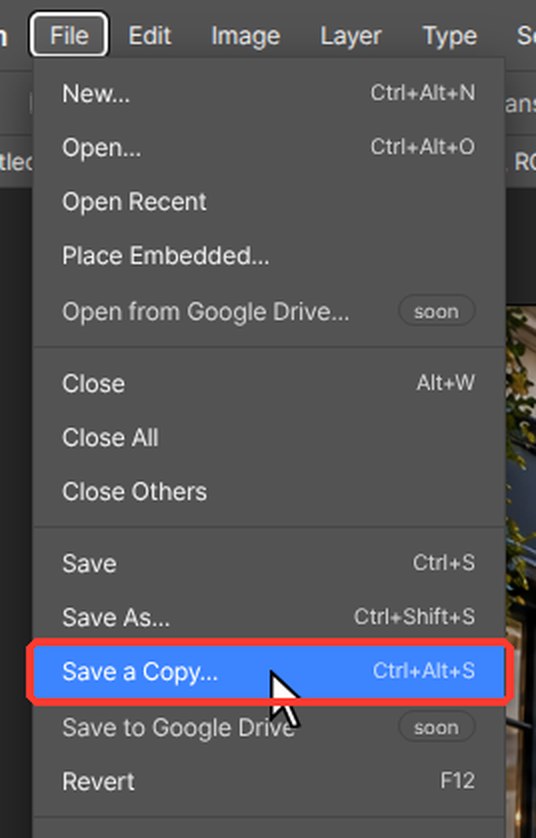
Press Ctrl+Alt+S (File > Save a Copy…) and choose PSD to keep an editable layered copy.
If a browser shortcut takes over, use the matching editor menu command. Keep the source files and practice on a copy.
Questions
Do I need Photoshop for this tutorial?
No. Every step is done in PhotoVim in your browser, with nothing to install. Menu names and shortcuts follow Photoshop, so the steps look familiar if you already use it.
Why move the person so low?
The source photo is cut off at the bottom. Moving her down keeps that cut edge outside the canvas.